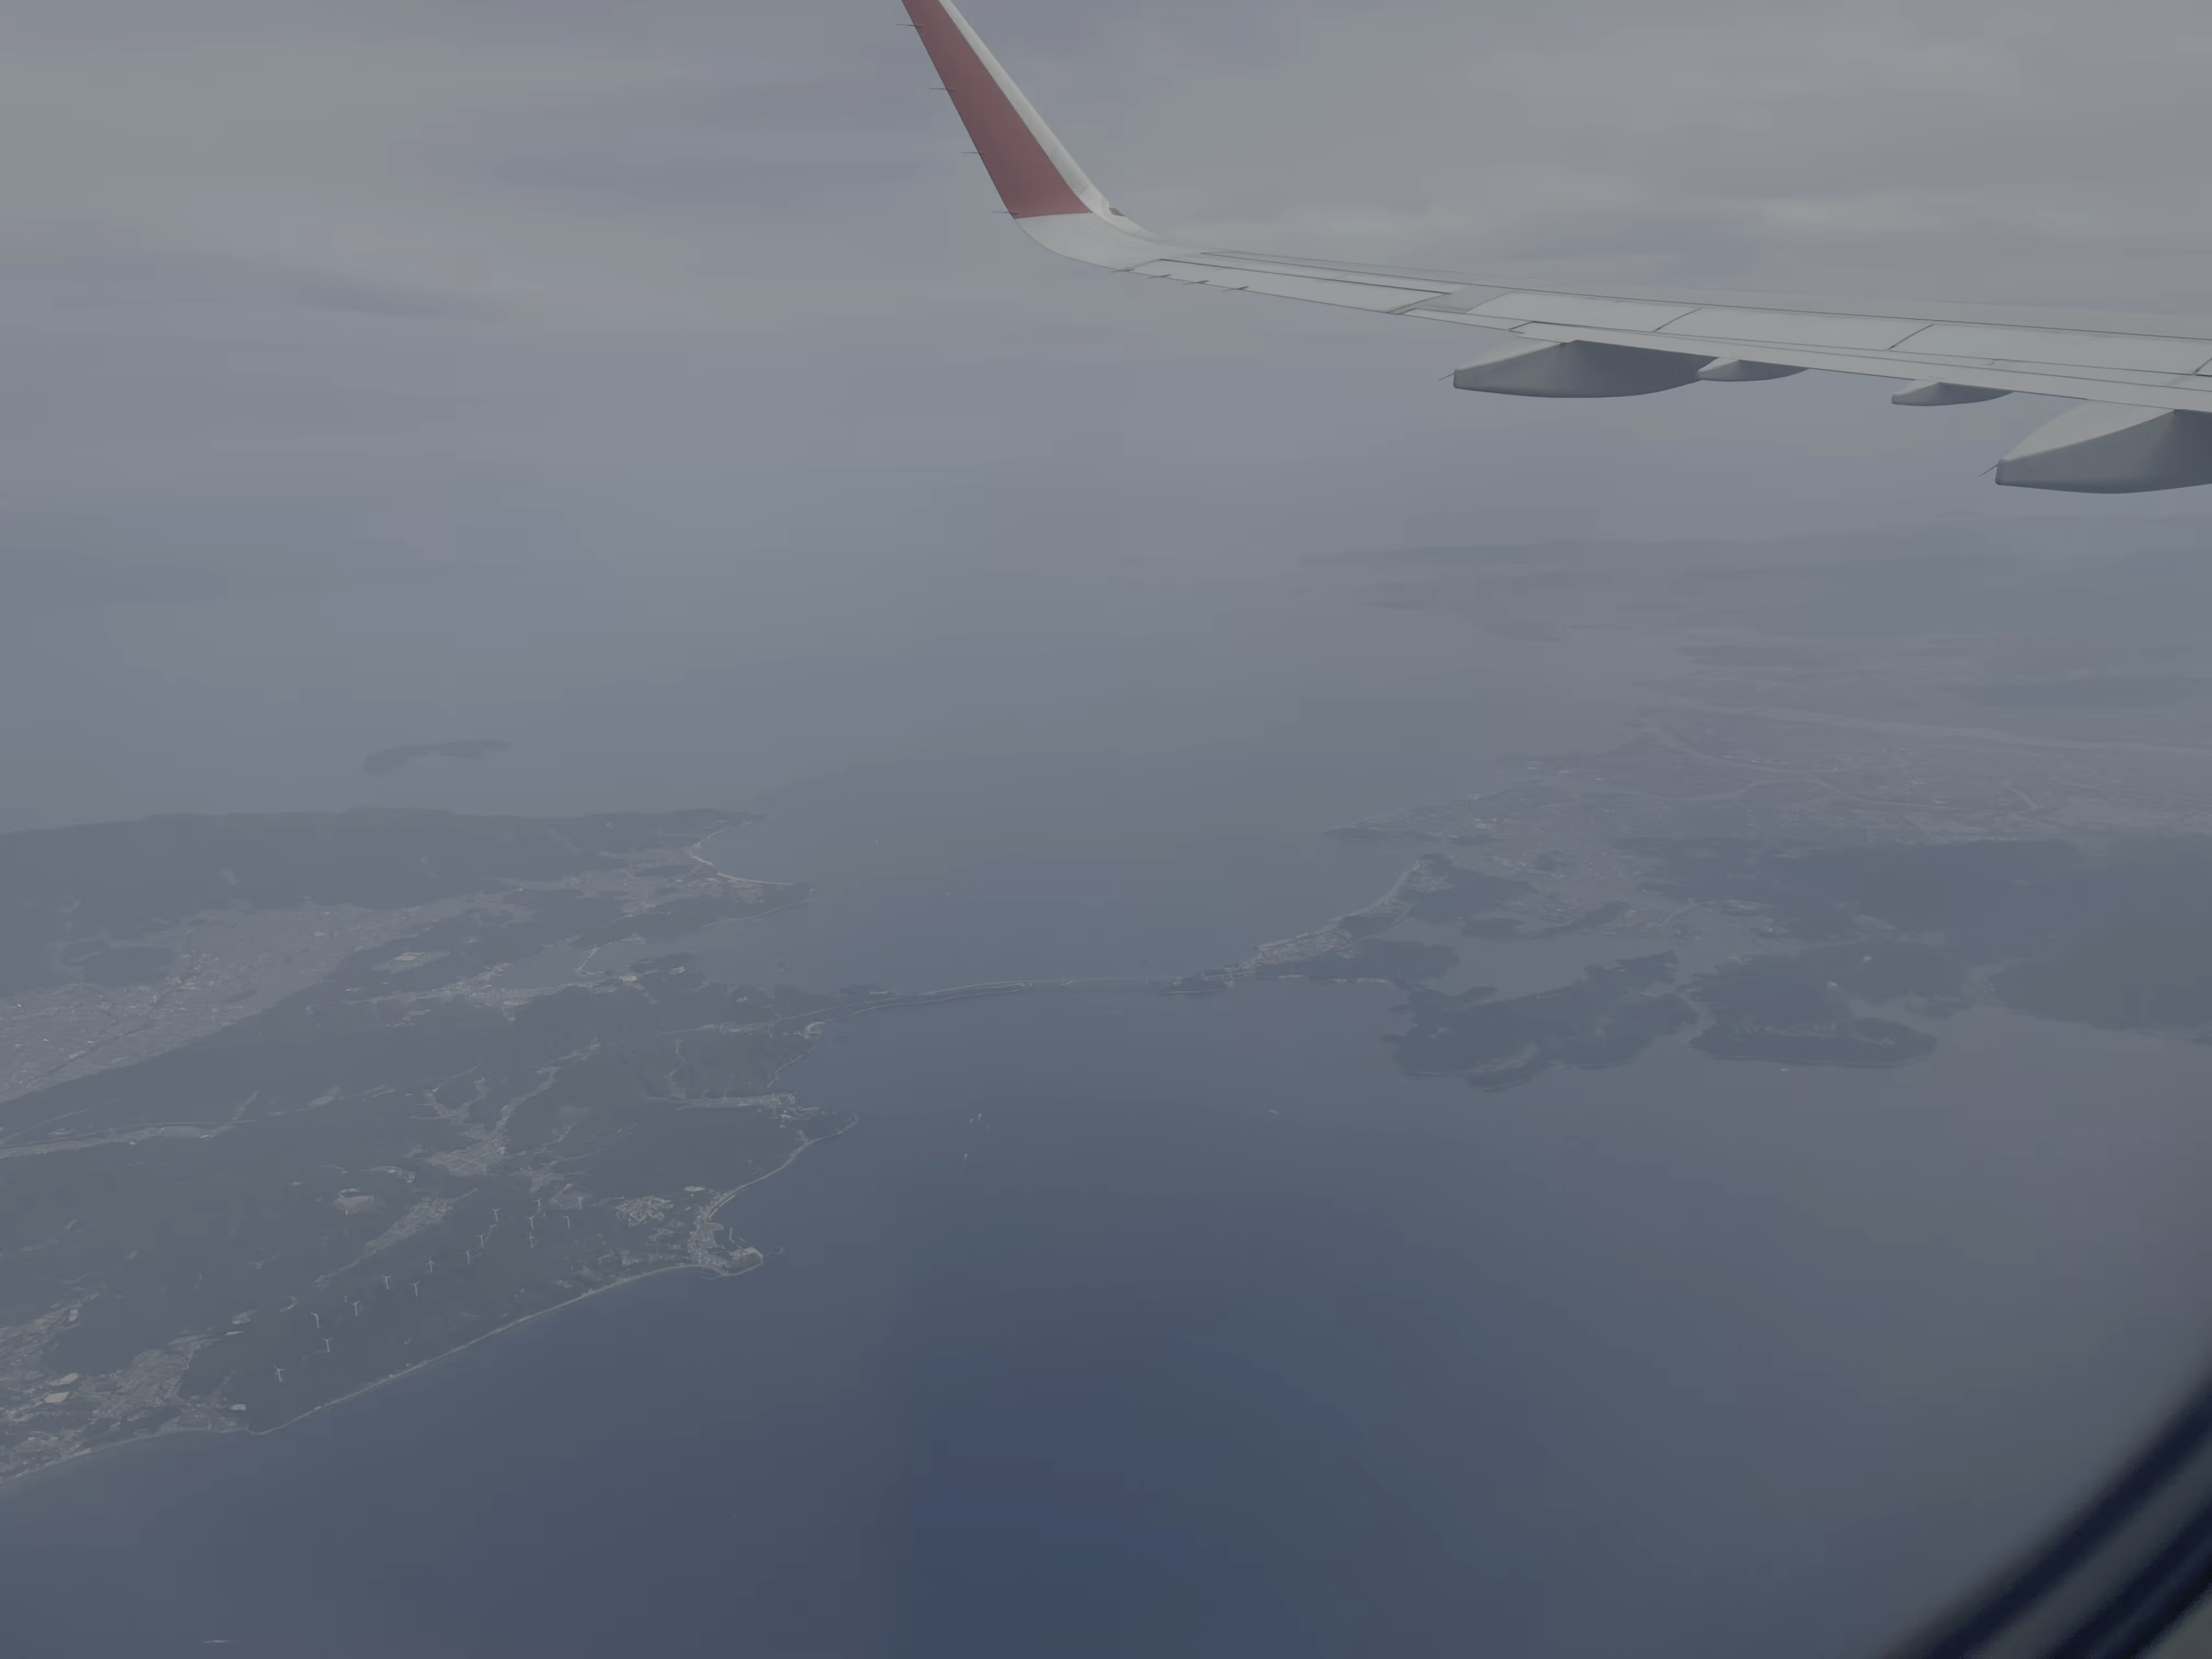
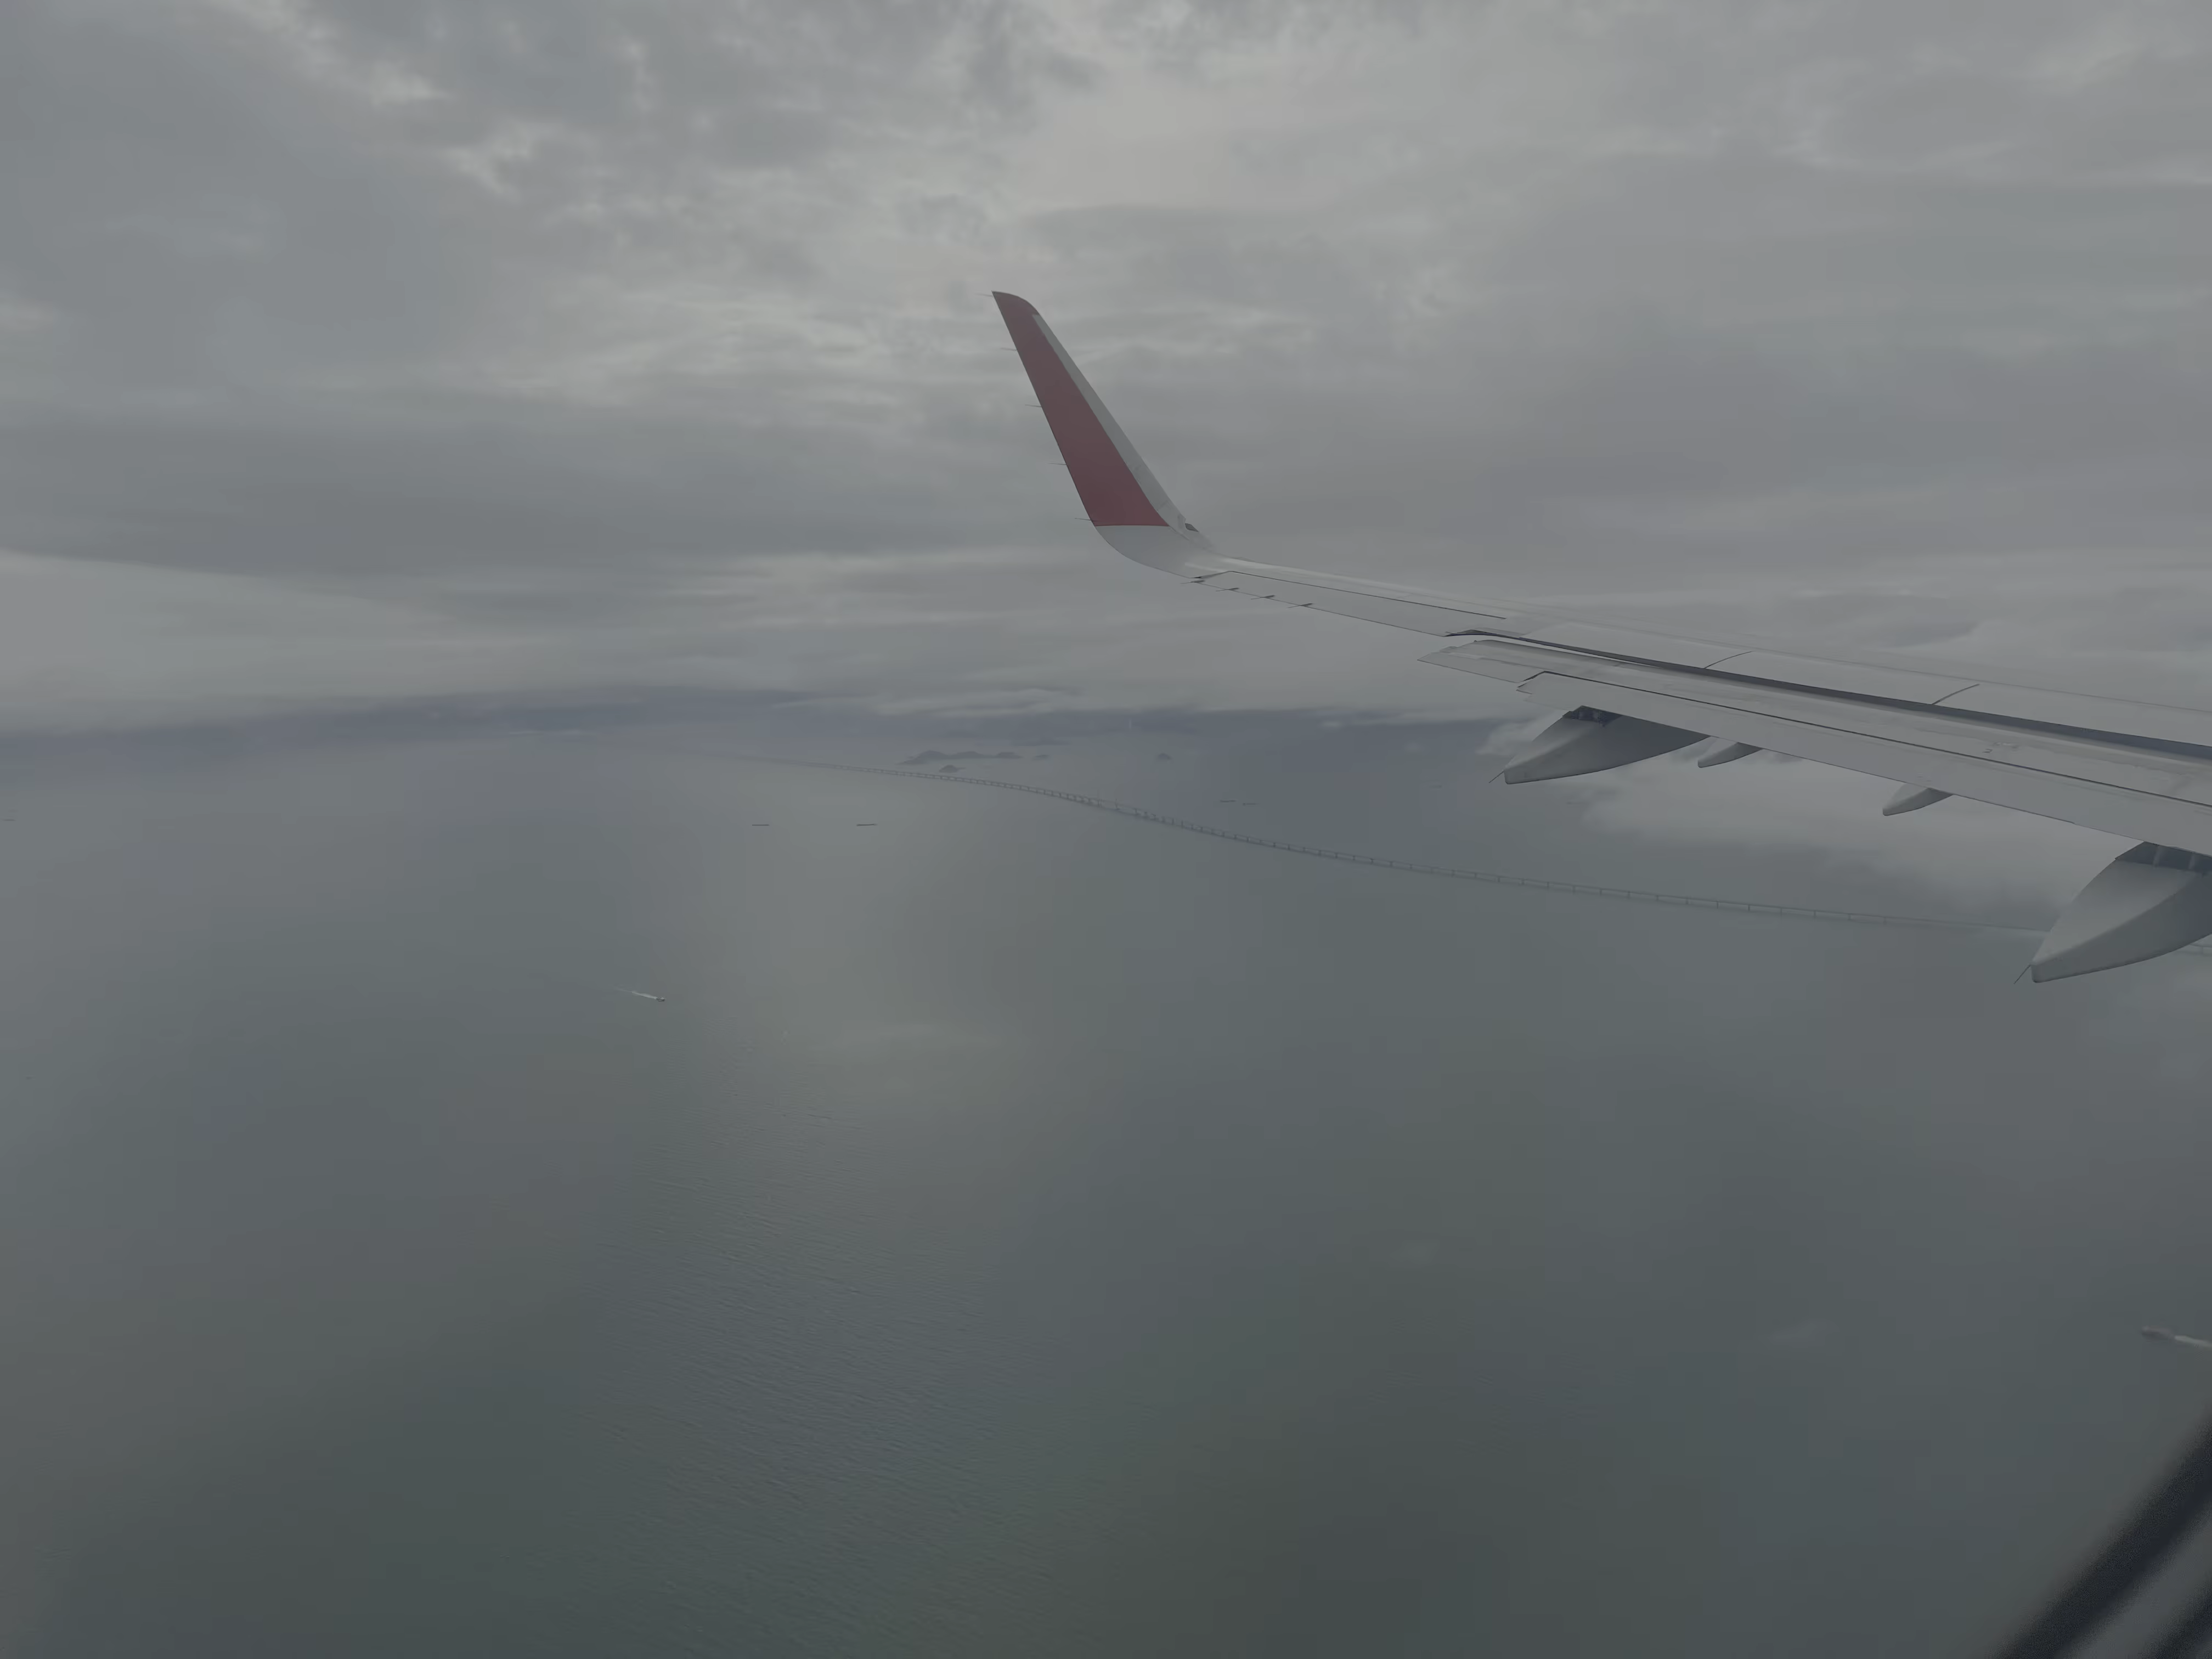
This weekend trip was sparked by my friend getting a student discount on a hkexpress flight, with round-trip tickets for each of us costing just 1300HKD. Considering our limited travel time, we decided to stick to the Kansai region of Japan, focusing on Osaka and Kyoto.
Pre-Trip Preparations
Visa
University/graduate students or graduates within three years in Mainland China can apply for a single-entry visa using their student ID and a report from the China Higher Education Student Information and Credit System (CHSI, 学信网). Since Japan has started issuing e-visas, some travel agencies in Guangdong don’t even require sending your passport, and all documents can be uploaded online. After uploading your documents, you will receive your evisa within 7-10 working days. It is valid for three months and allows for a 15-day stay.
Flight
My friend purchased student tickets from hkexpress during a promotion, costing around 1300HKD/person round-trip. However, you should note that hkexpress is a low-cost carrier. There are no free meals or drinks on board, and they discourage bringing your own food (although they are not strict about it in practice). Also, the seat spacing on hkexpress is slightly smaller than full-service airlines. On their A320/A321neo aircraft, the seatbacks are not adjustable.
Hotel
My friend and I booked a capsule hotel in Osaka (details below) and a regular hotel in Kyoto on booking.com.
Mobile Network/Power/Essentials to Bring
I bought a SIM card on Fliggy, which was a random selection. A 4-day (natural days) / 2GB-per-day package cost around 25 yuan. I noticed that many merchants sell Joytel SIM cards. This card seems to have multiple IMSI capabilities and can automatically switch IMSIs based on your location to avoid roaming charges. It connects to Softbank’s network in Japan, and the speed is decent, around 40Mbps.
The Kansai region of Japan uses 100V/50Hz power. If you only need to charge your phone or laptop, most chargers support wide voltage. However, be aware that some chargers (like Baseus Gan Pro 3) and adapters with power plugs (similar to power strips) might only have a voltage range of 110V-240V or 200V-240V. In Kansai, where the voltage is 100V, they might not start due to low voltage. My Gan Pro 3 charger encountered this problem, but my other Apple-branded charger worked fine.
Payment
Traffic cards can be used on trains, subways, and buses. Most convenience stores accept credit cards, traffic cards, WeChat Pay, Alipay, and cash. Larger restaurants accept credit cards, WeChat Pay, and Alipay. Temples and some small restaurants may only accept cash. If you are not eating anything too expensive and only encounter a few cash-only restaurants, 10,000 yen per person should be enough.
For transportation cards, I recommend using an iPhone to get a Suica card (Japan also has an IC Card Alliance, making transportation cards nationwide). You can recharge Suica with cash or a credit card via Apple Pay. You can also use UnionPay cards issued in mainland China.
Itinerary
You can refer to the map below. We only had two full days during our weekend trip, so we spent half a day in Osaka and the rest in Kyoto.
Day 1 Kansai Airport - Osaka
My friend and I both flew from Shenzhen to Hong Kong for our connection to Japan. Currently, you can use your passport for self-service customs clearance at the Shenzhen port, and no border control officers will intervene to force you to use the manual lane or check your passport. You still need to fill out an immigration declaration form and use the manual lane when entering the Hong Kong side, but you can use self-service for airport departure.
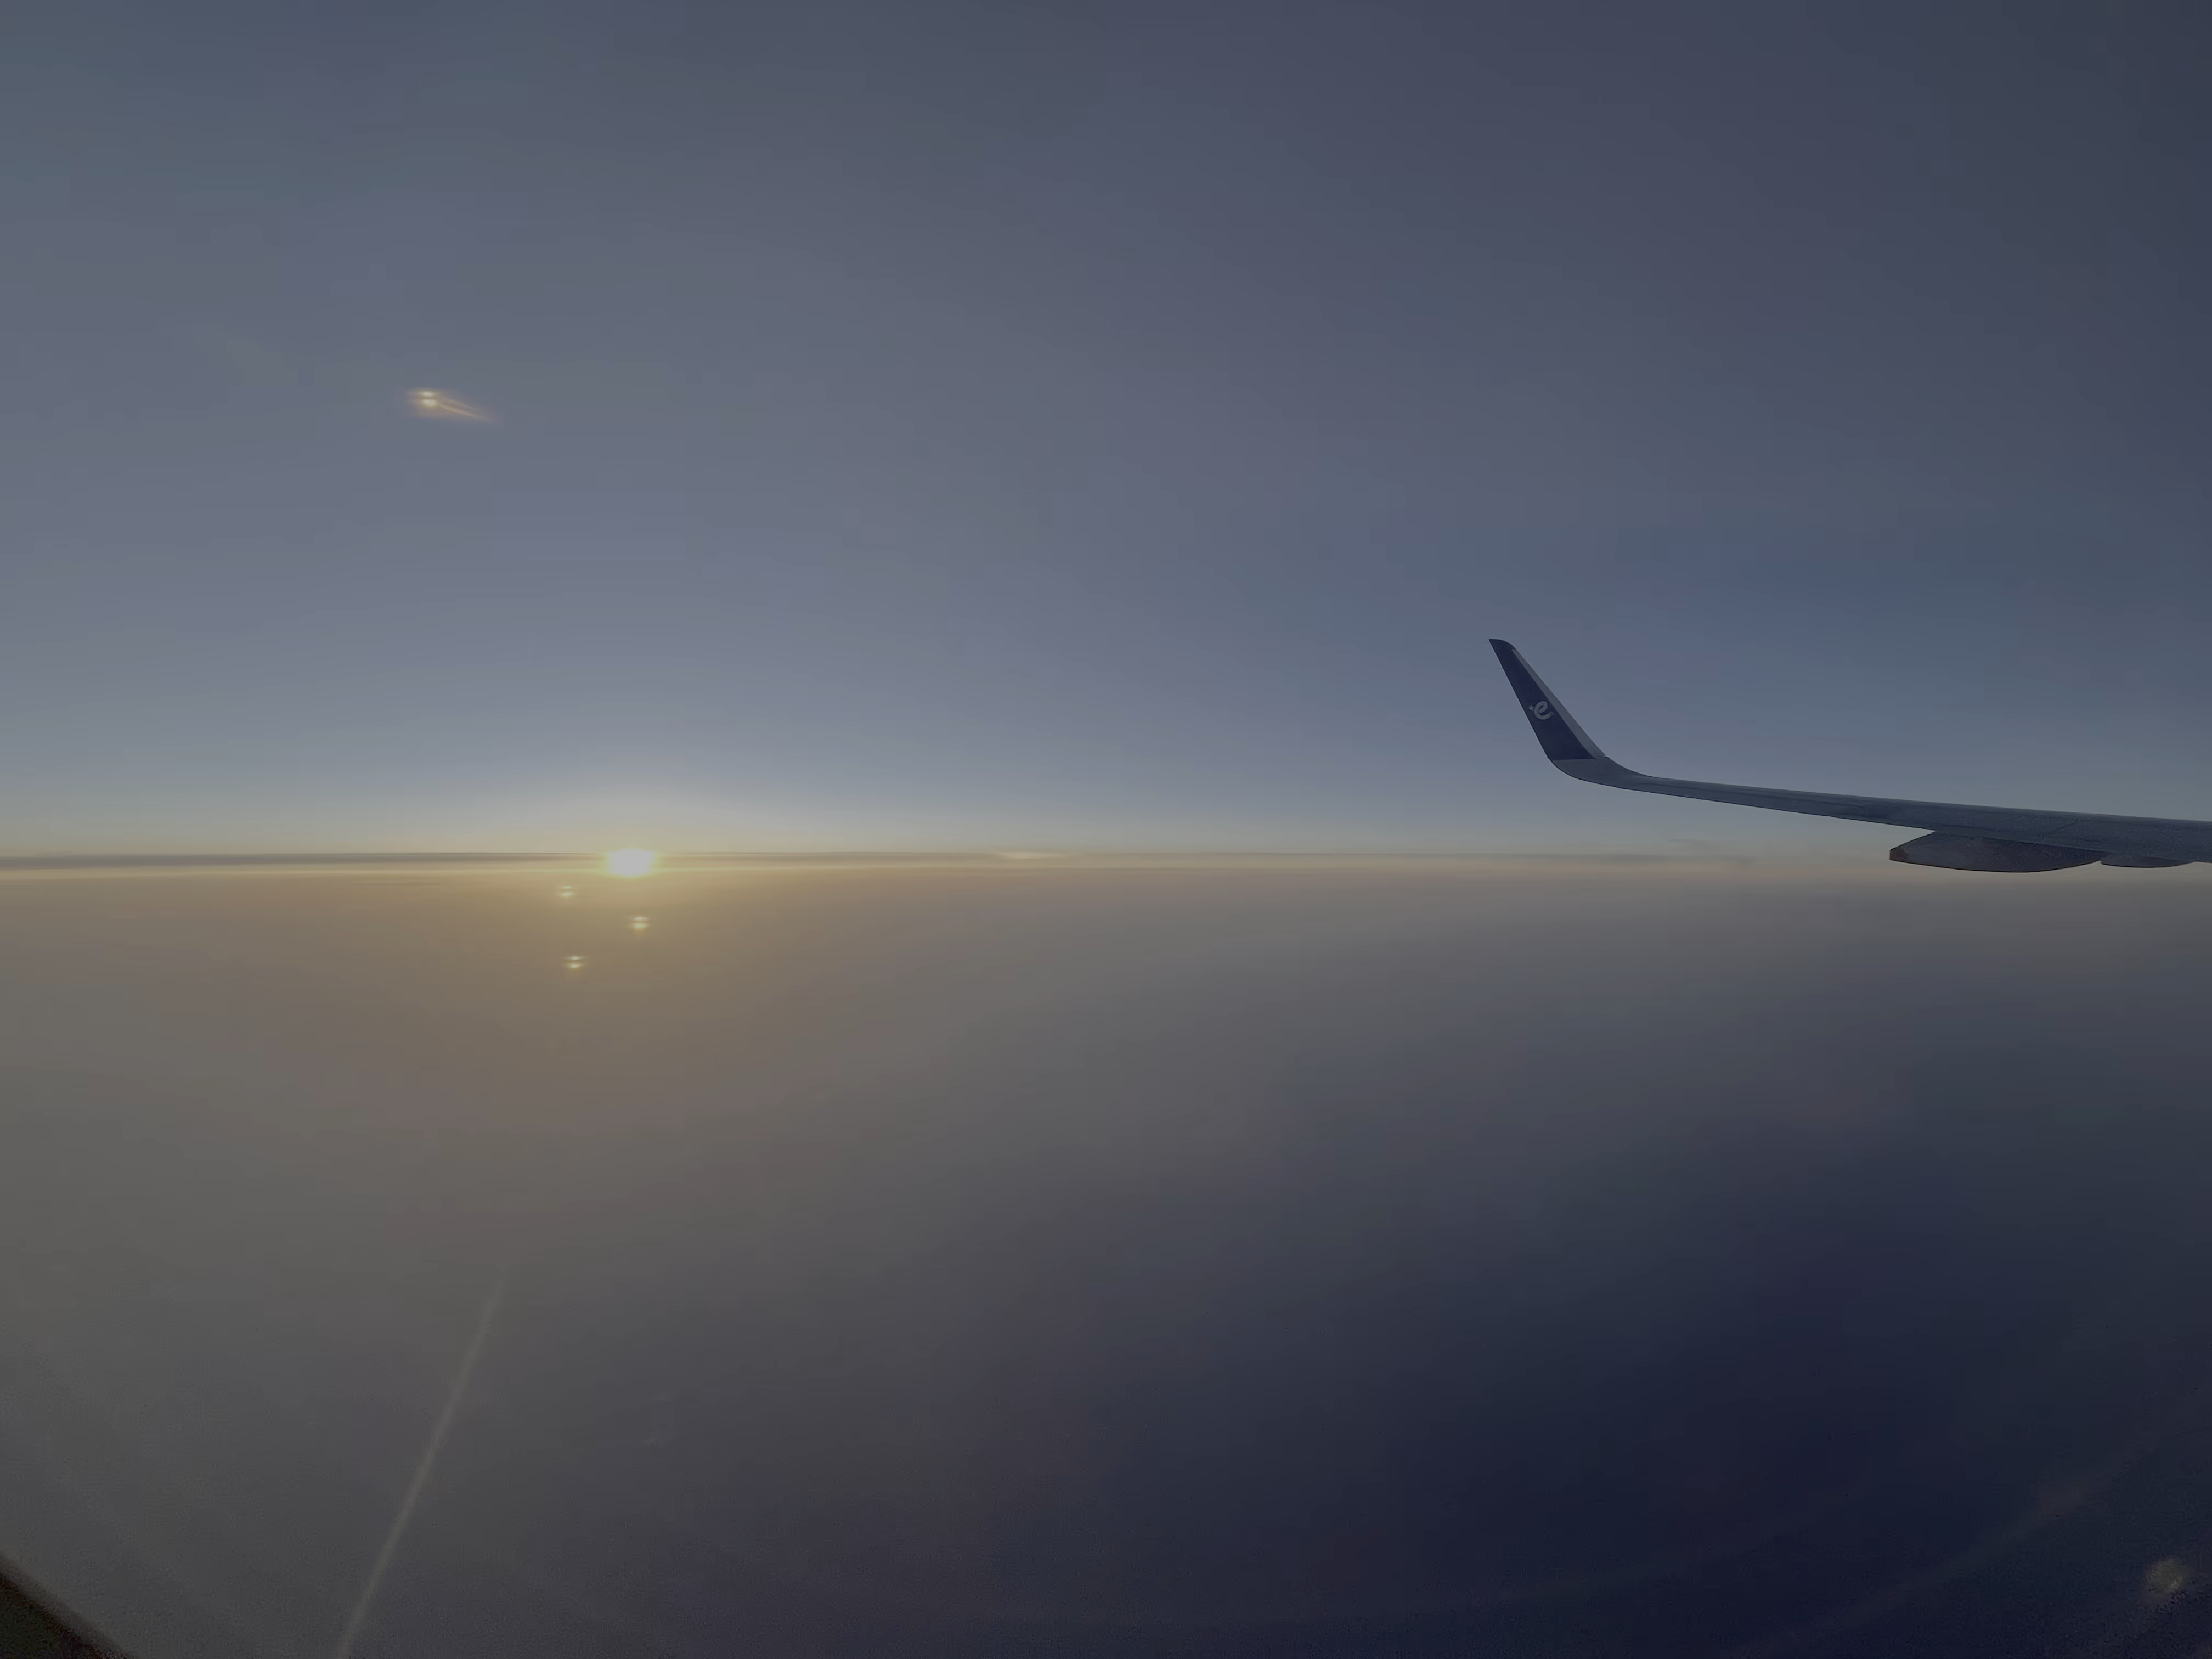
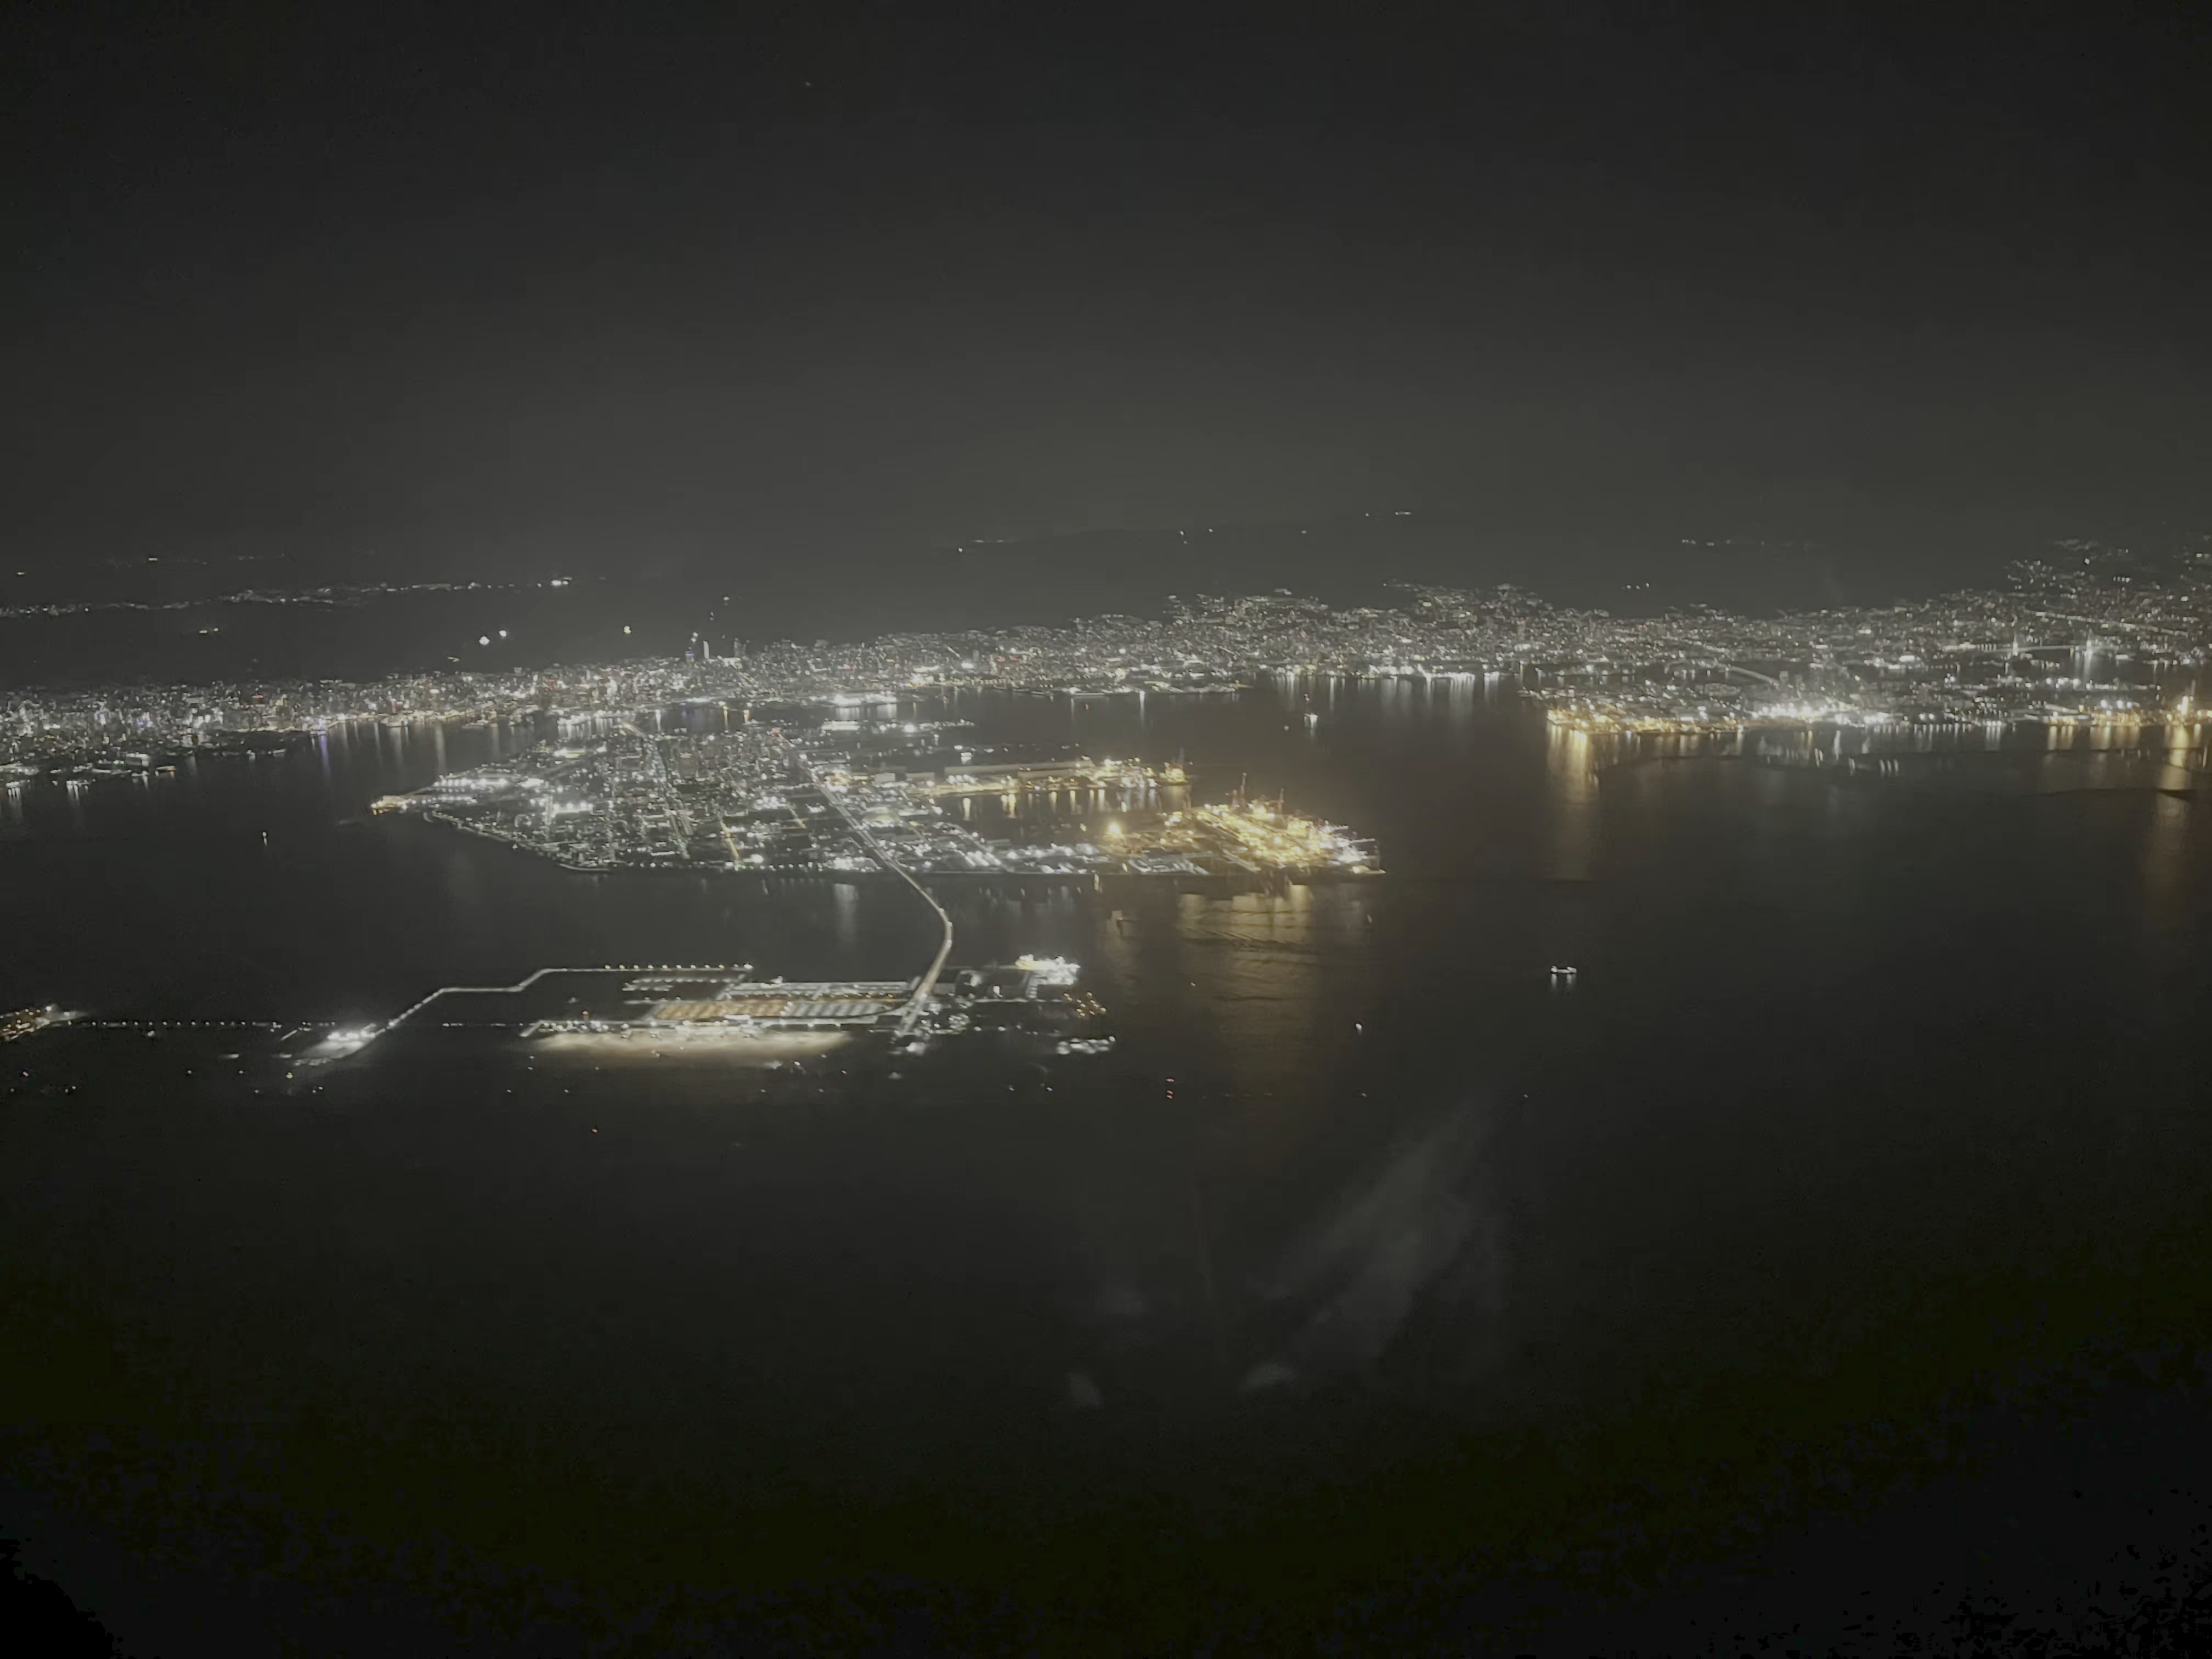
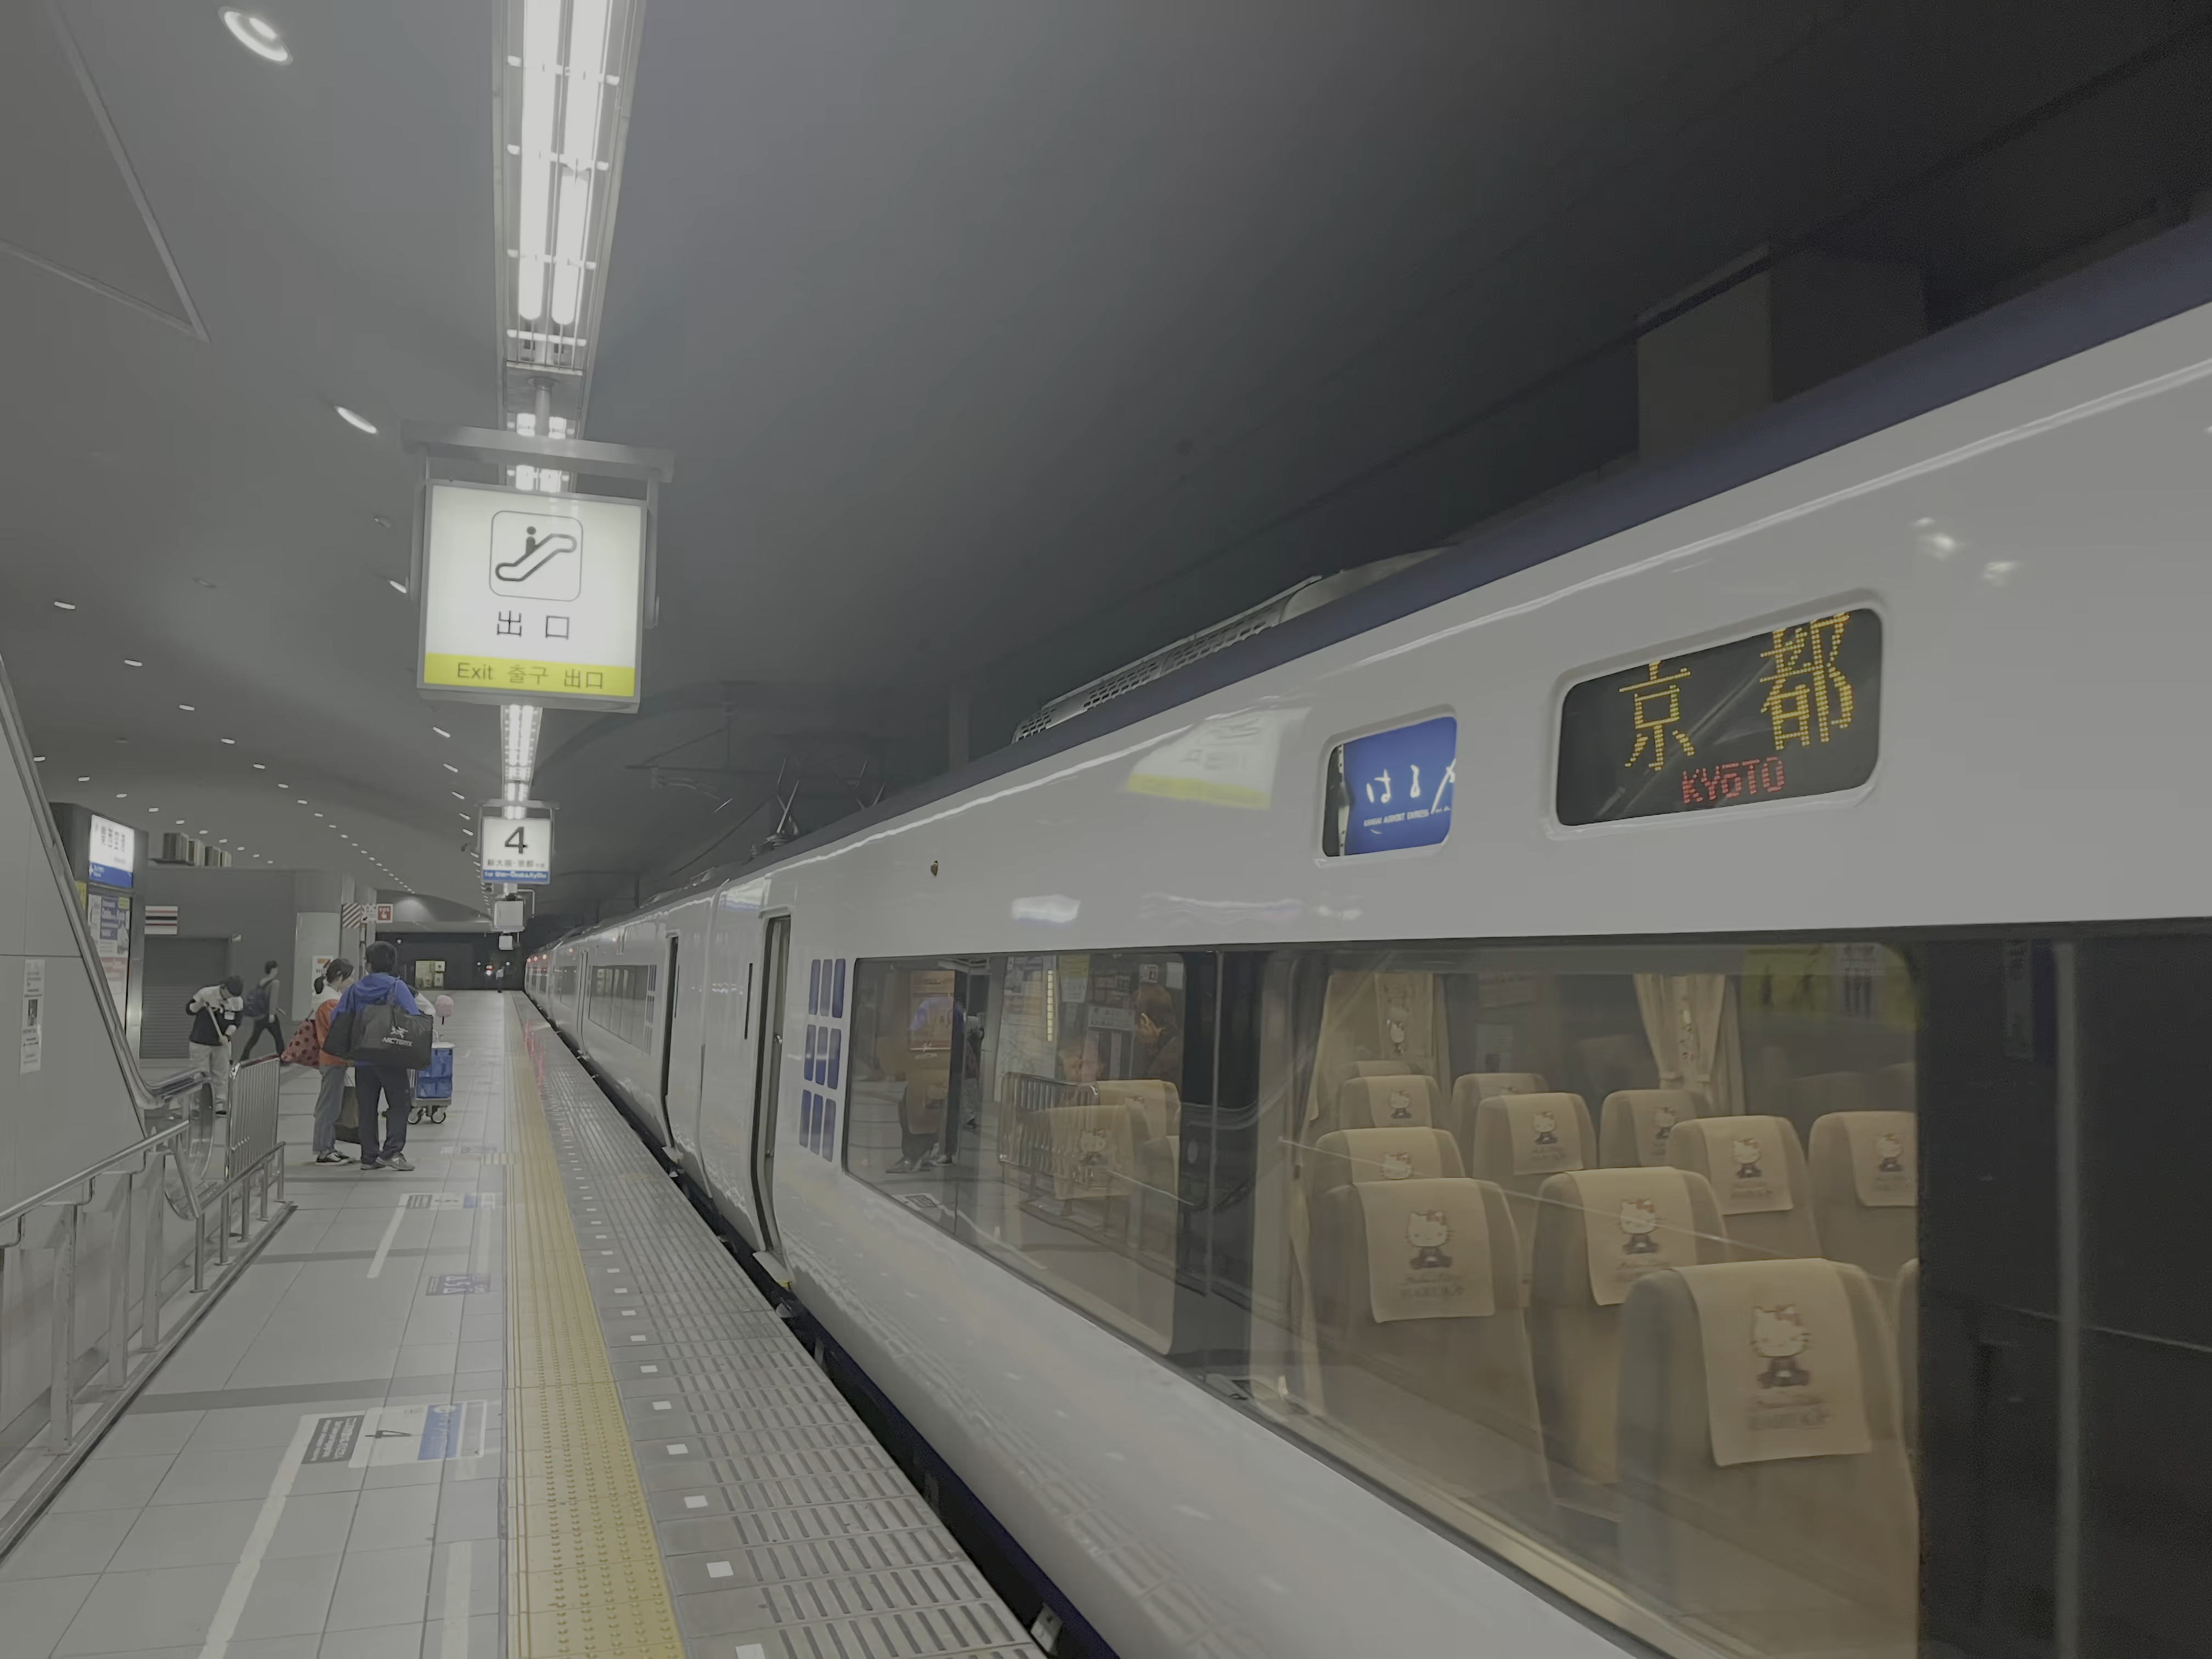
After arriving at Kansai Airport, you can take the Airport Rapid Service (HARUKA) to the city center. Consider purchasing tickets online in advance from some online travel agents (OTAs), which are usually cheaper than buying them at the ticket machines. If you don’t purchase online, you can buy tickets at the ticket machines using cash or your transportation card.
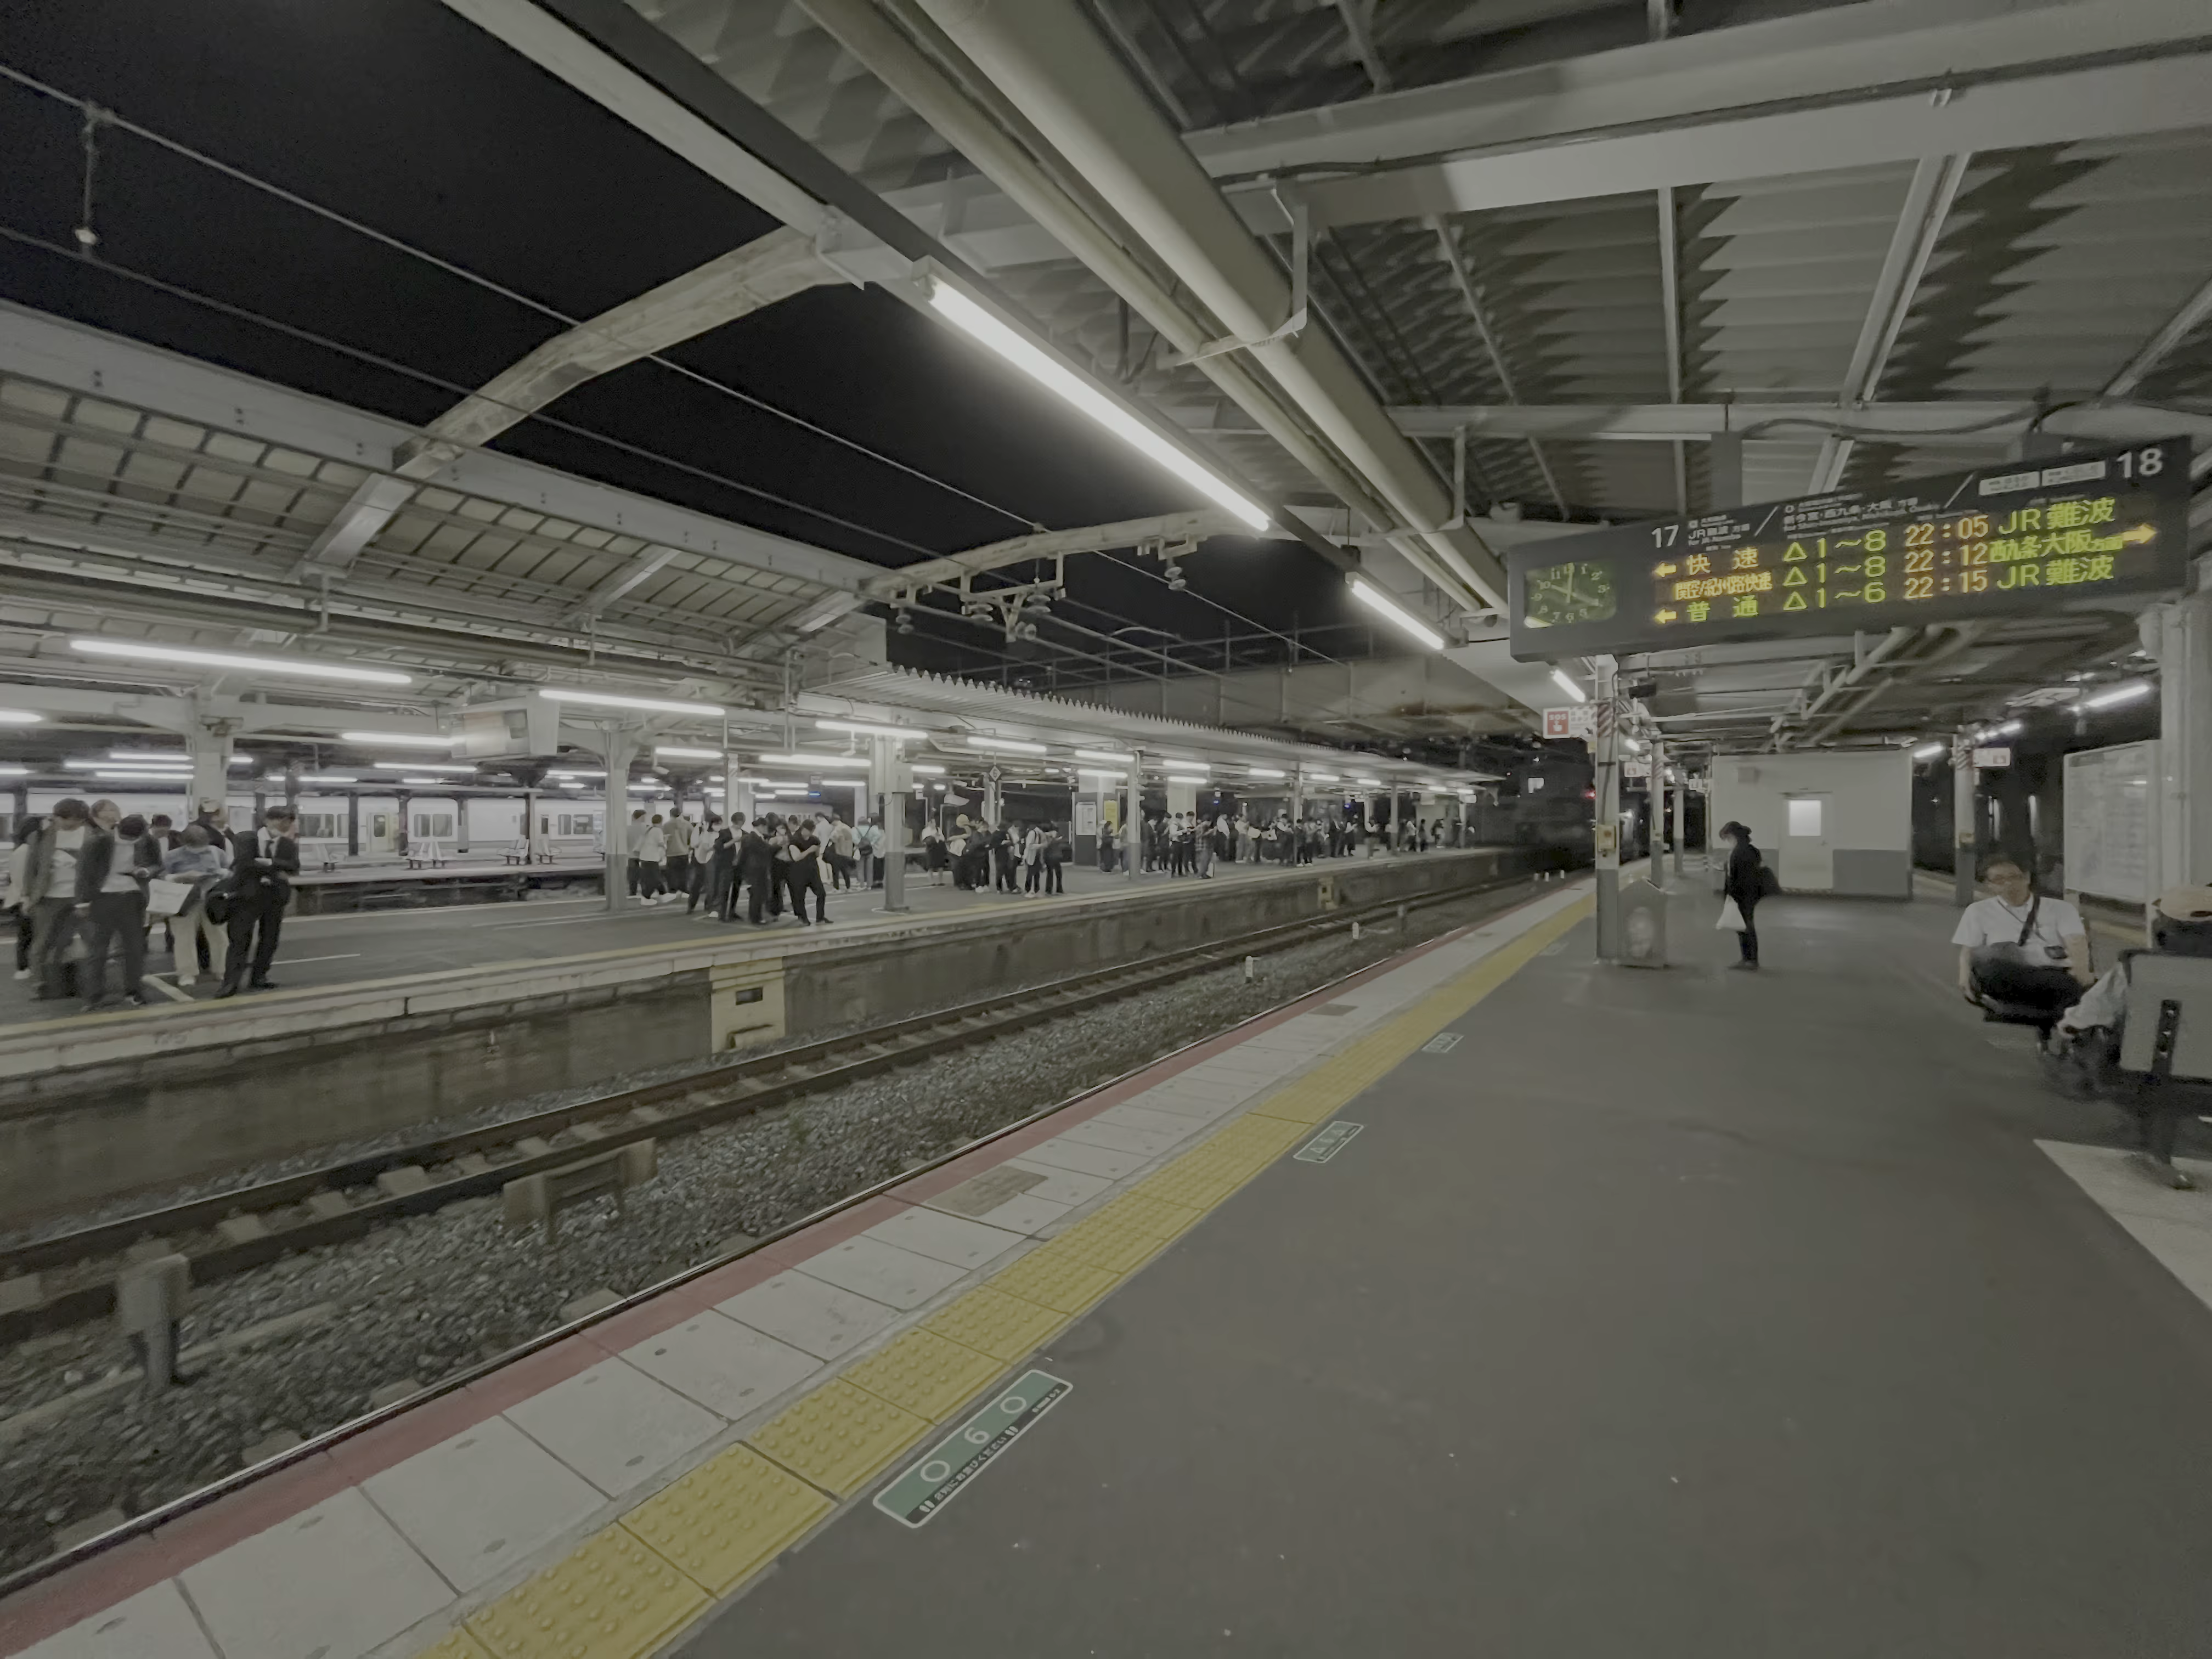
Capsule Hotel
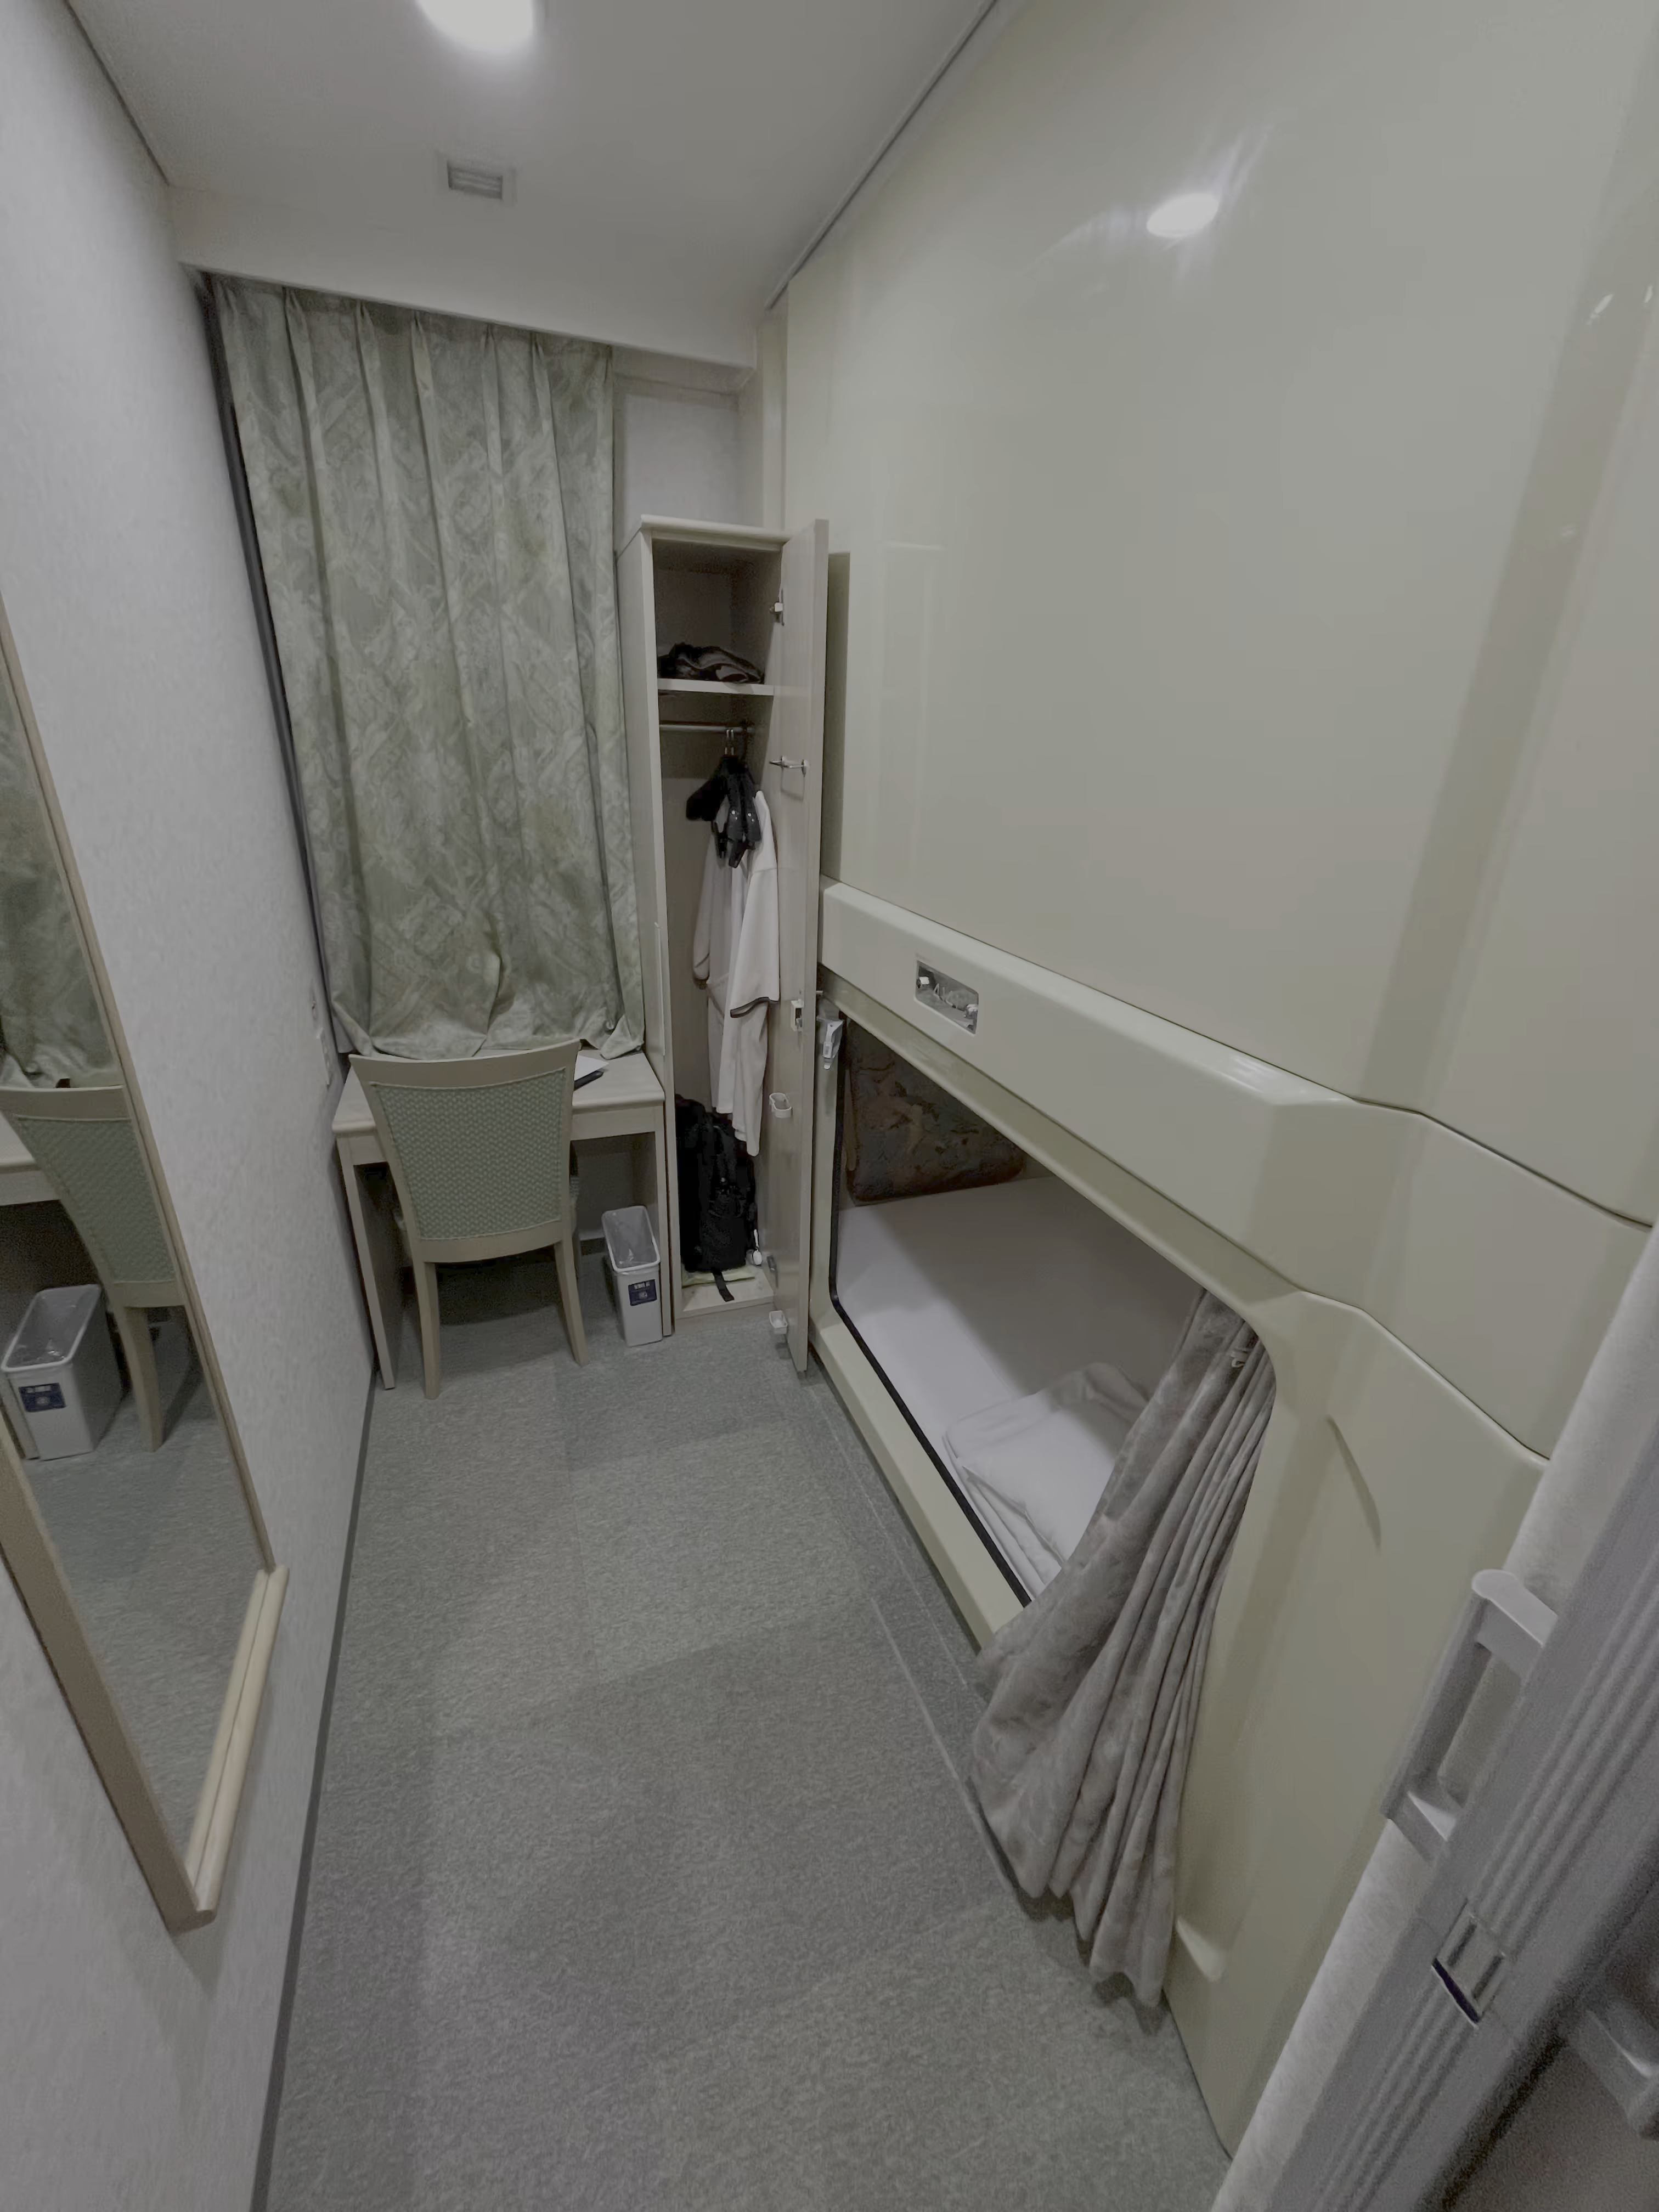
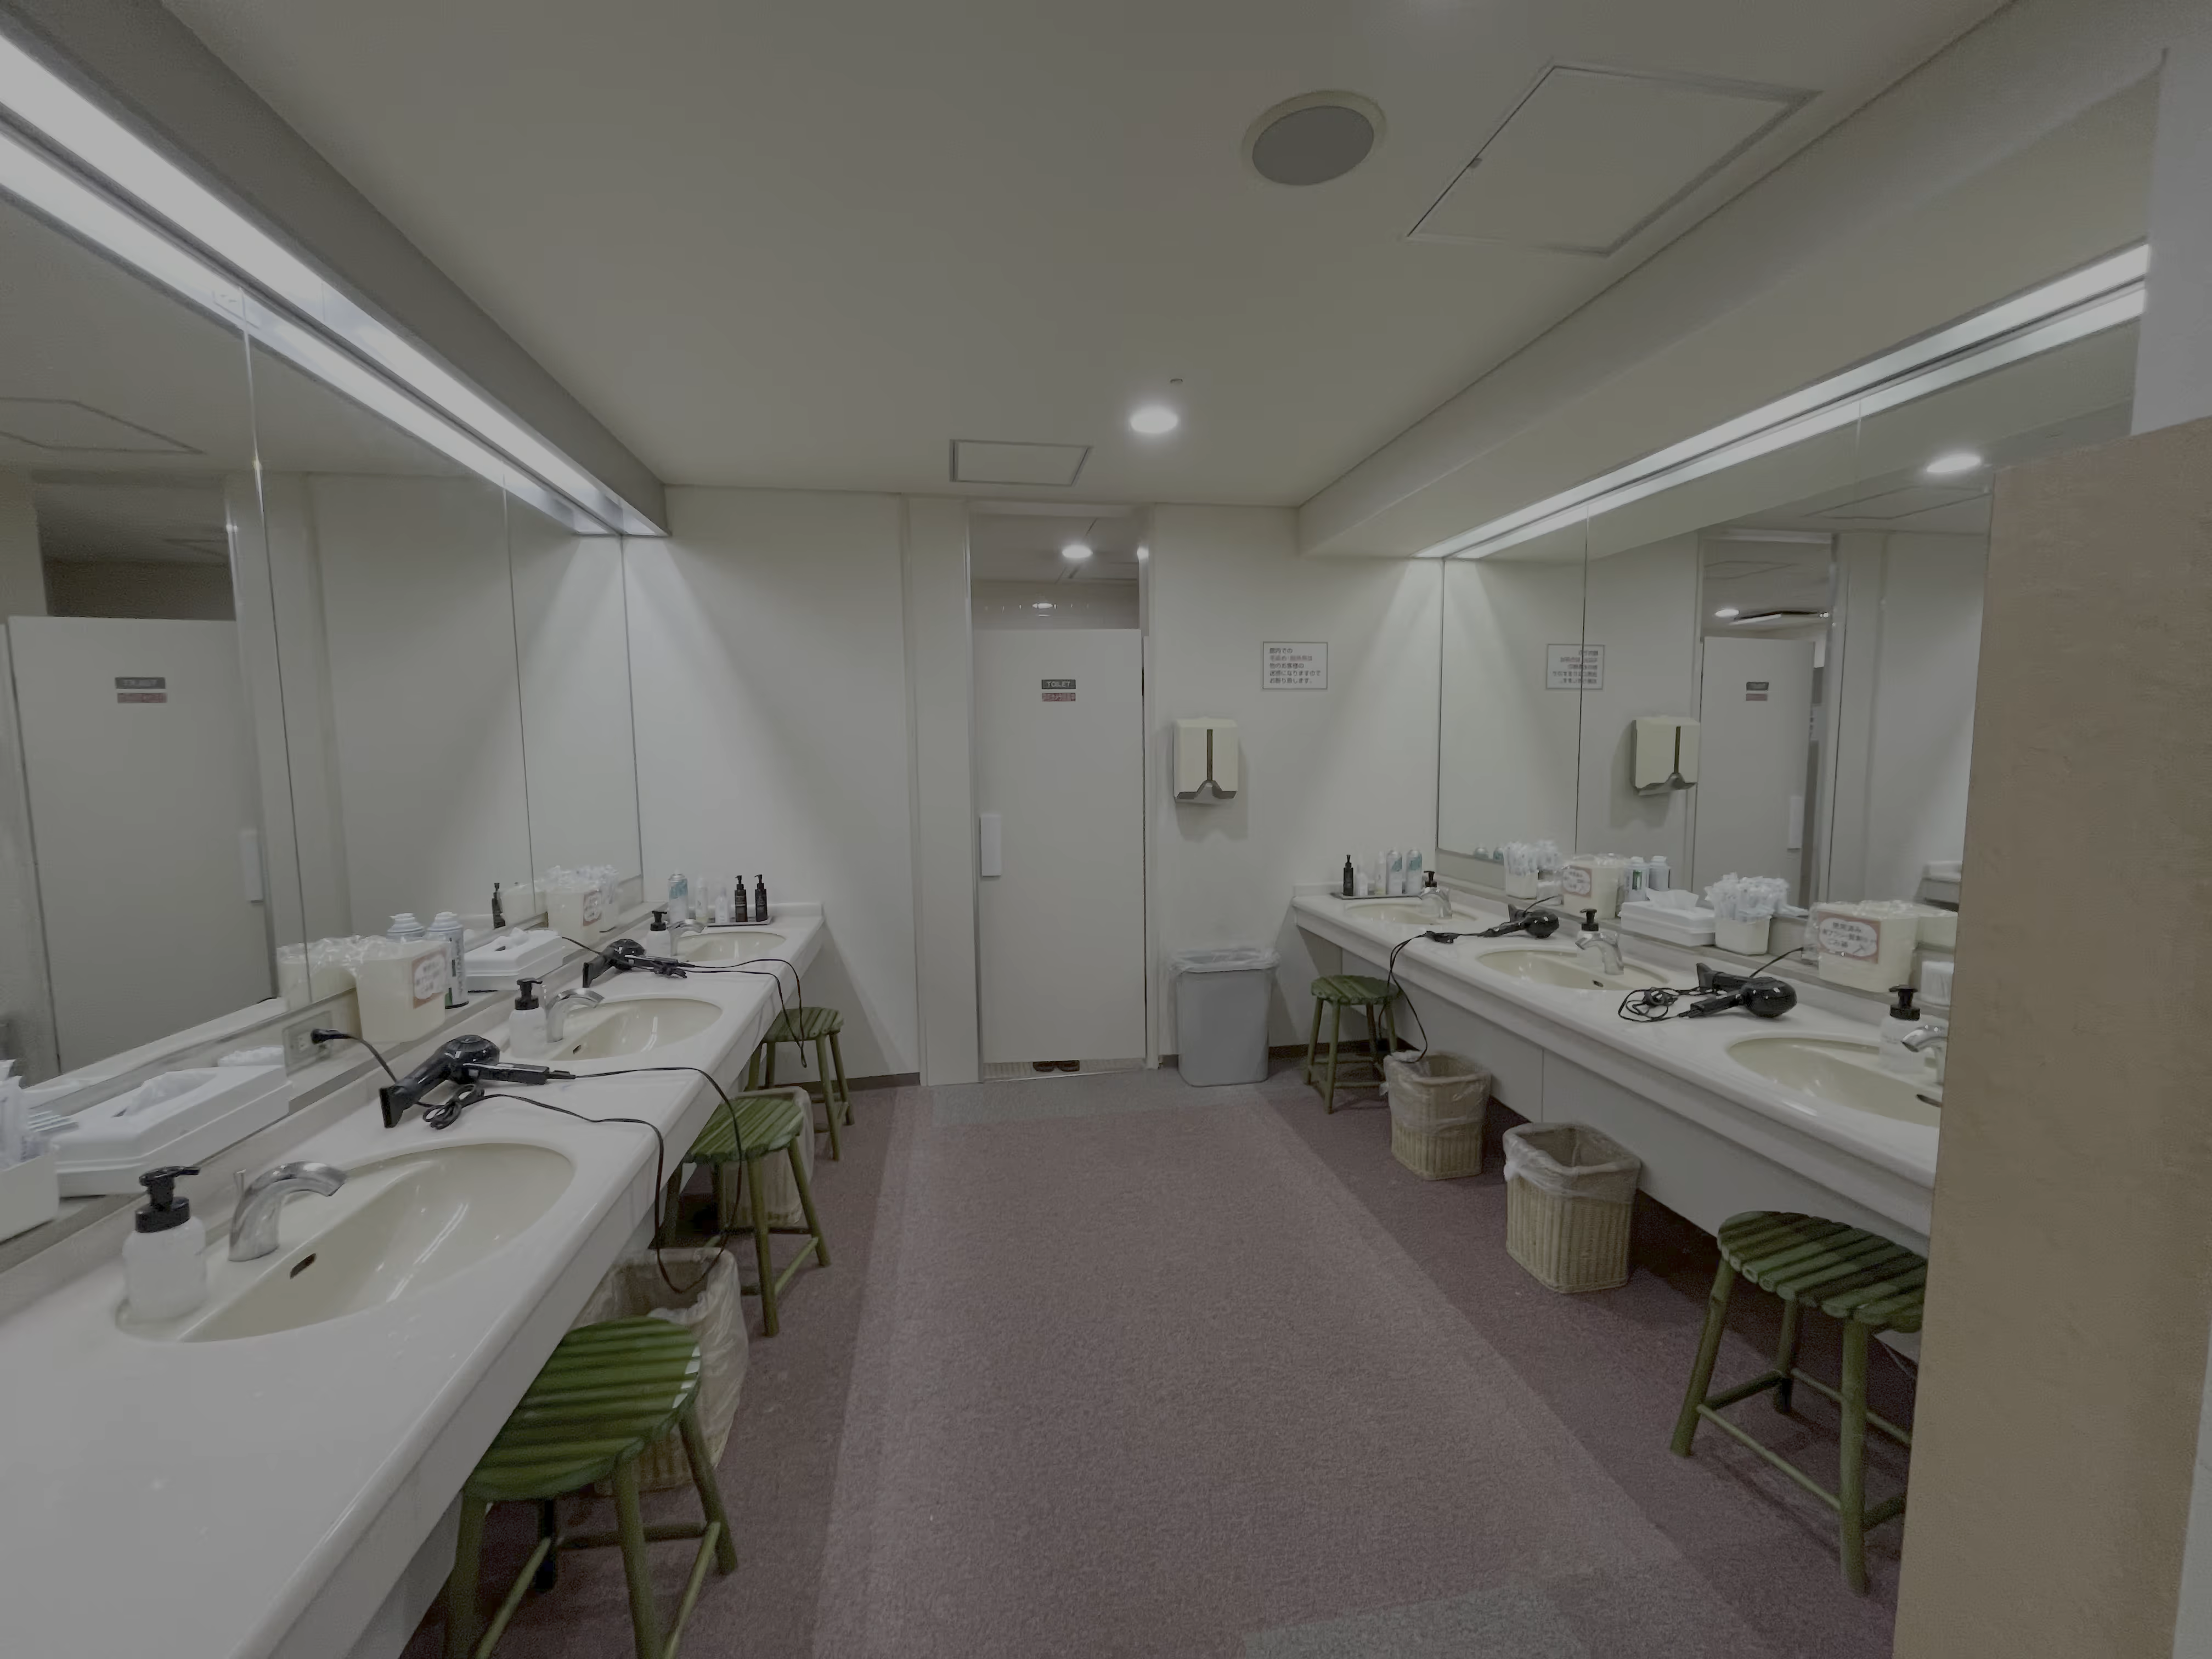
I stayed at the Grand Sauna Shinsaibashi (グランドサウナ心斎橋) that night. The hotel offers small single rooms without toilets (pictured below). It is quite quiet once you close the curtains at night. The hotel also has a hot spring pool, a sauna, and a bathhouse, but be aware that the bathhouse stalls do not have curtains, making it more like a traditional northern Chinese bathhouse.
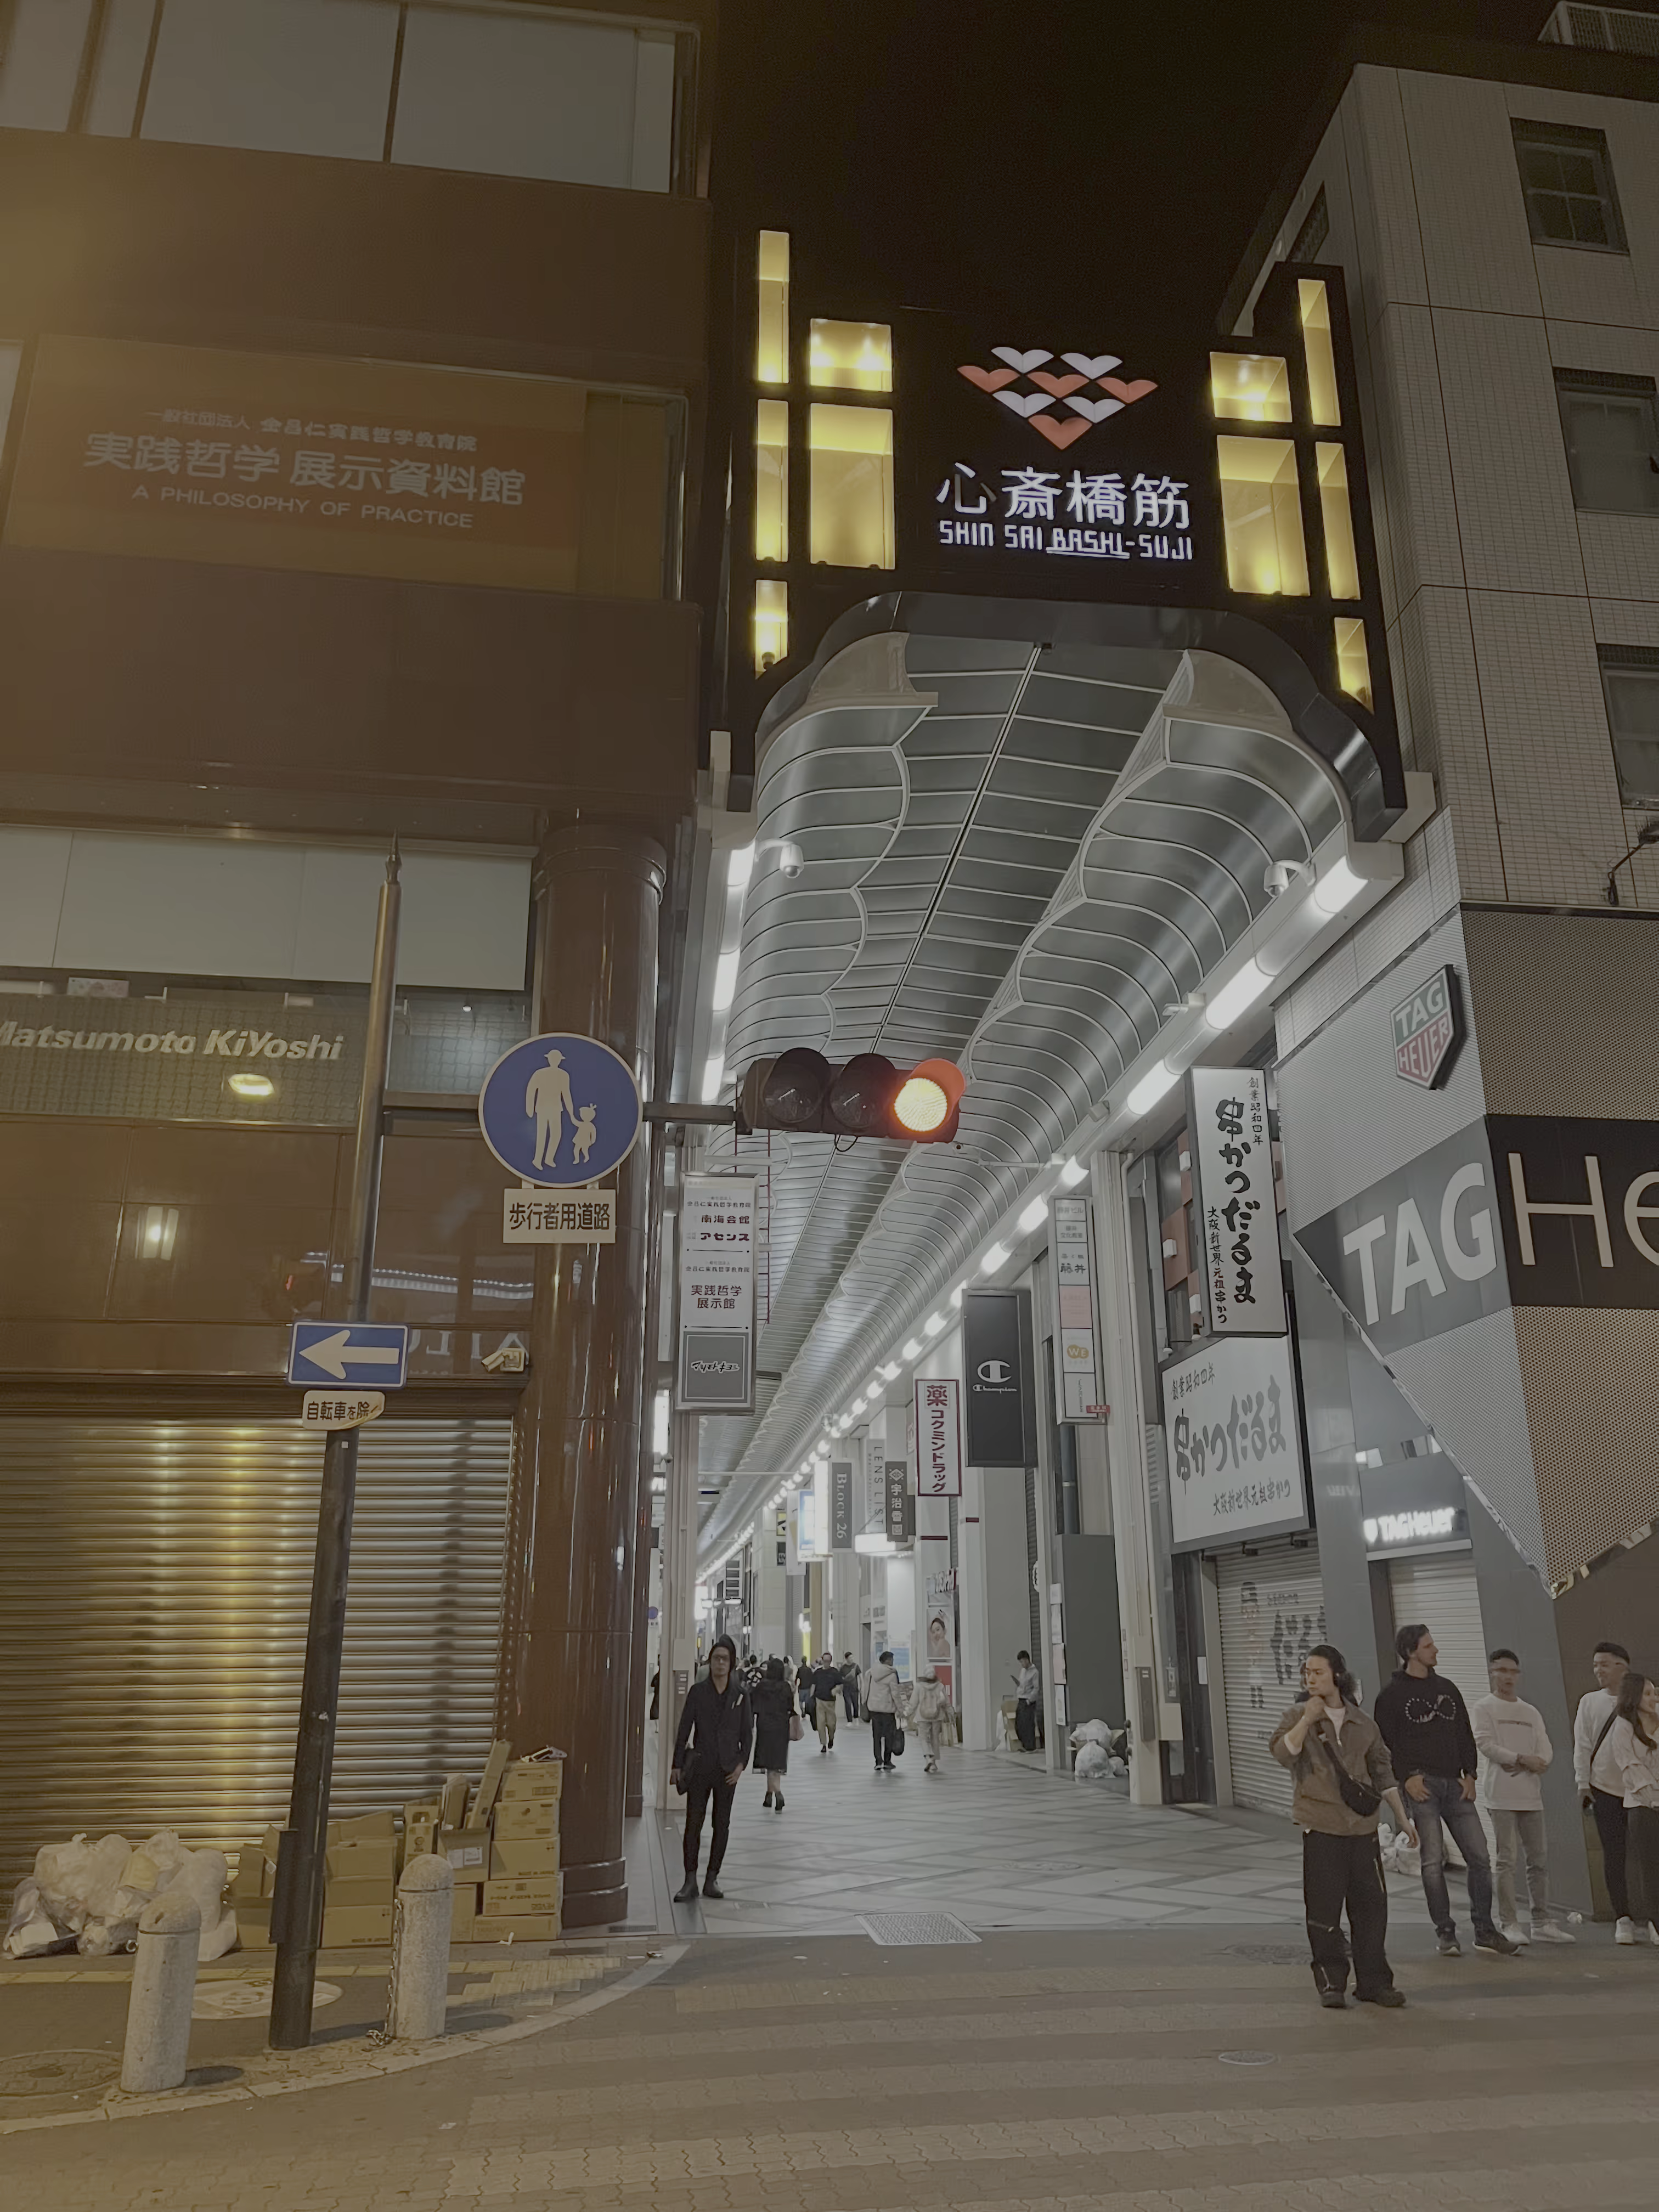
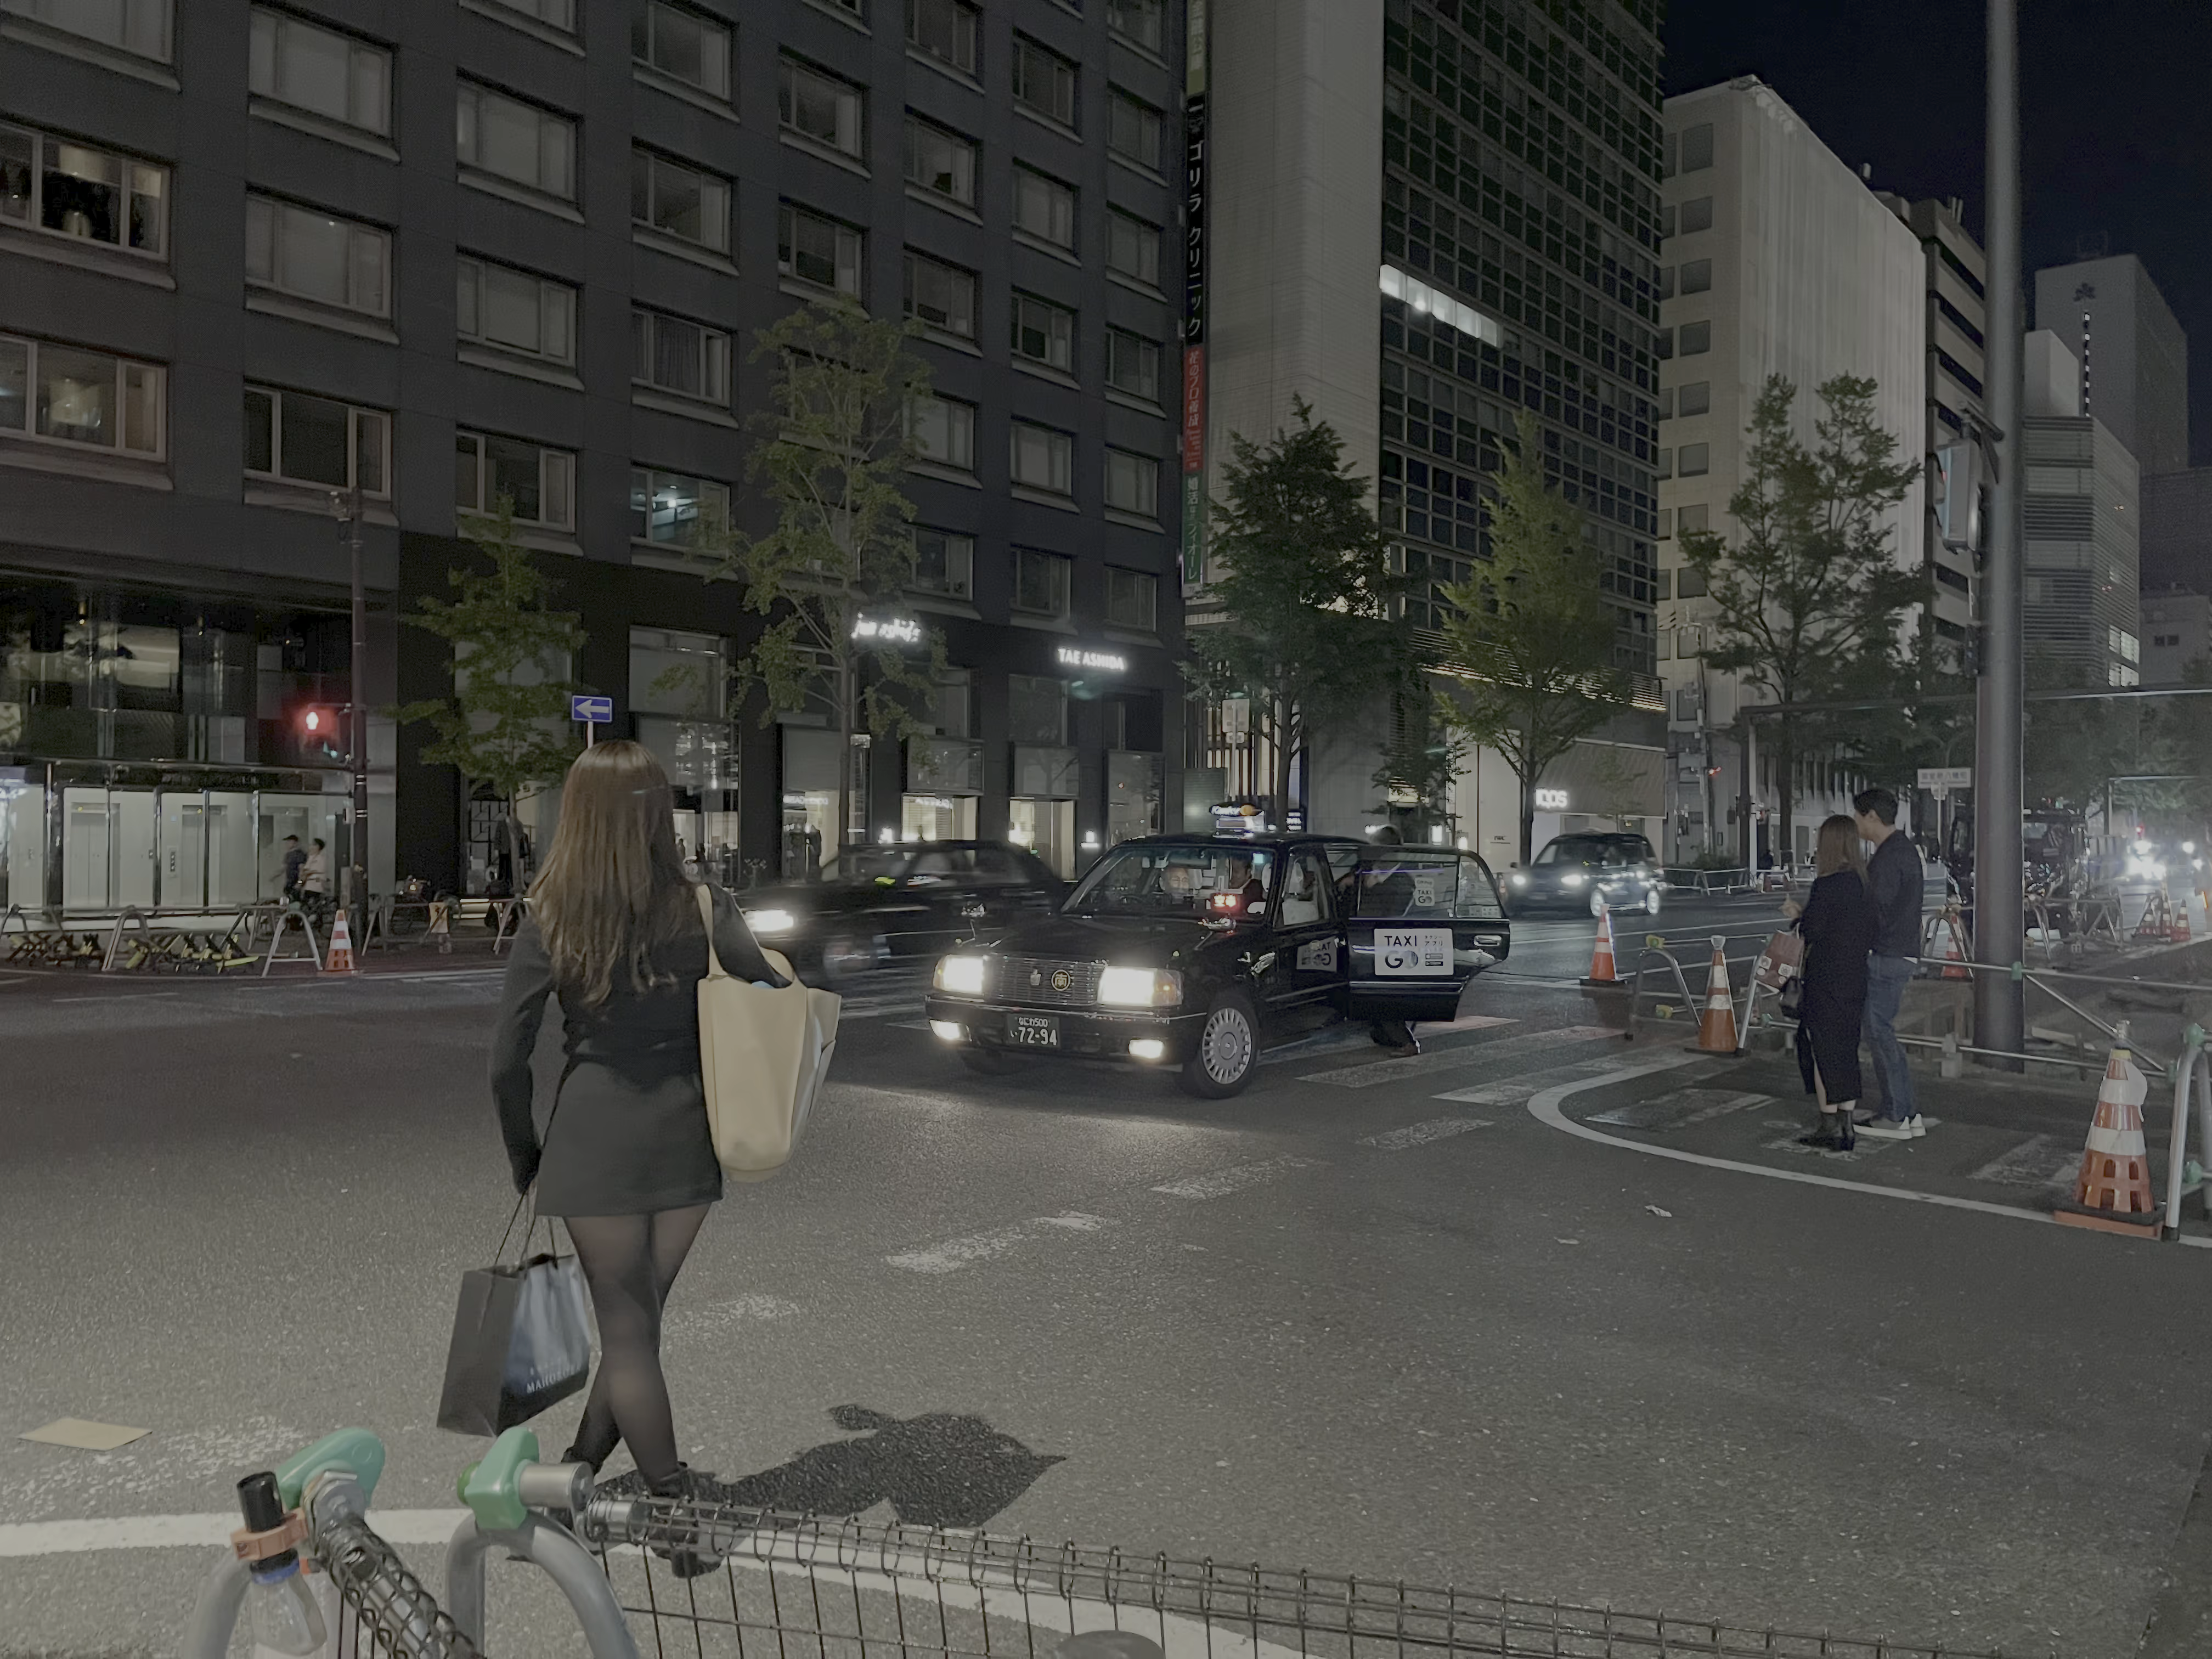
After checking in, my friend and I went for a walk around Shinsaibashi and Dotonbori. However, it was late, and most of the shops on both sides of Shinsaibashi were closed. We ended up having dinner and a late-night snack at an Ichiran Ramen restaurant next to Shinsaibashi.
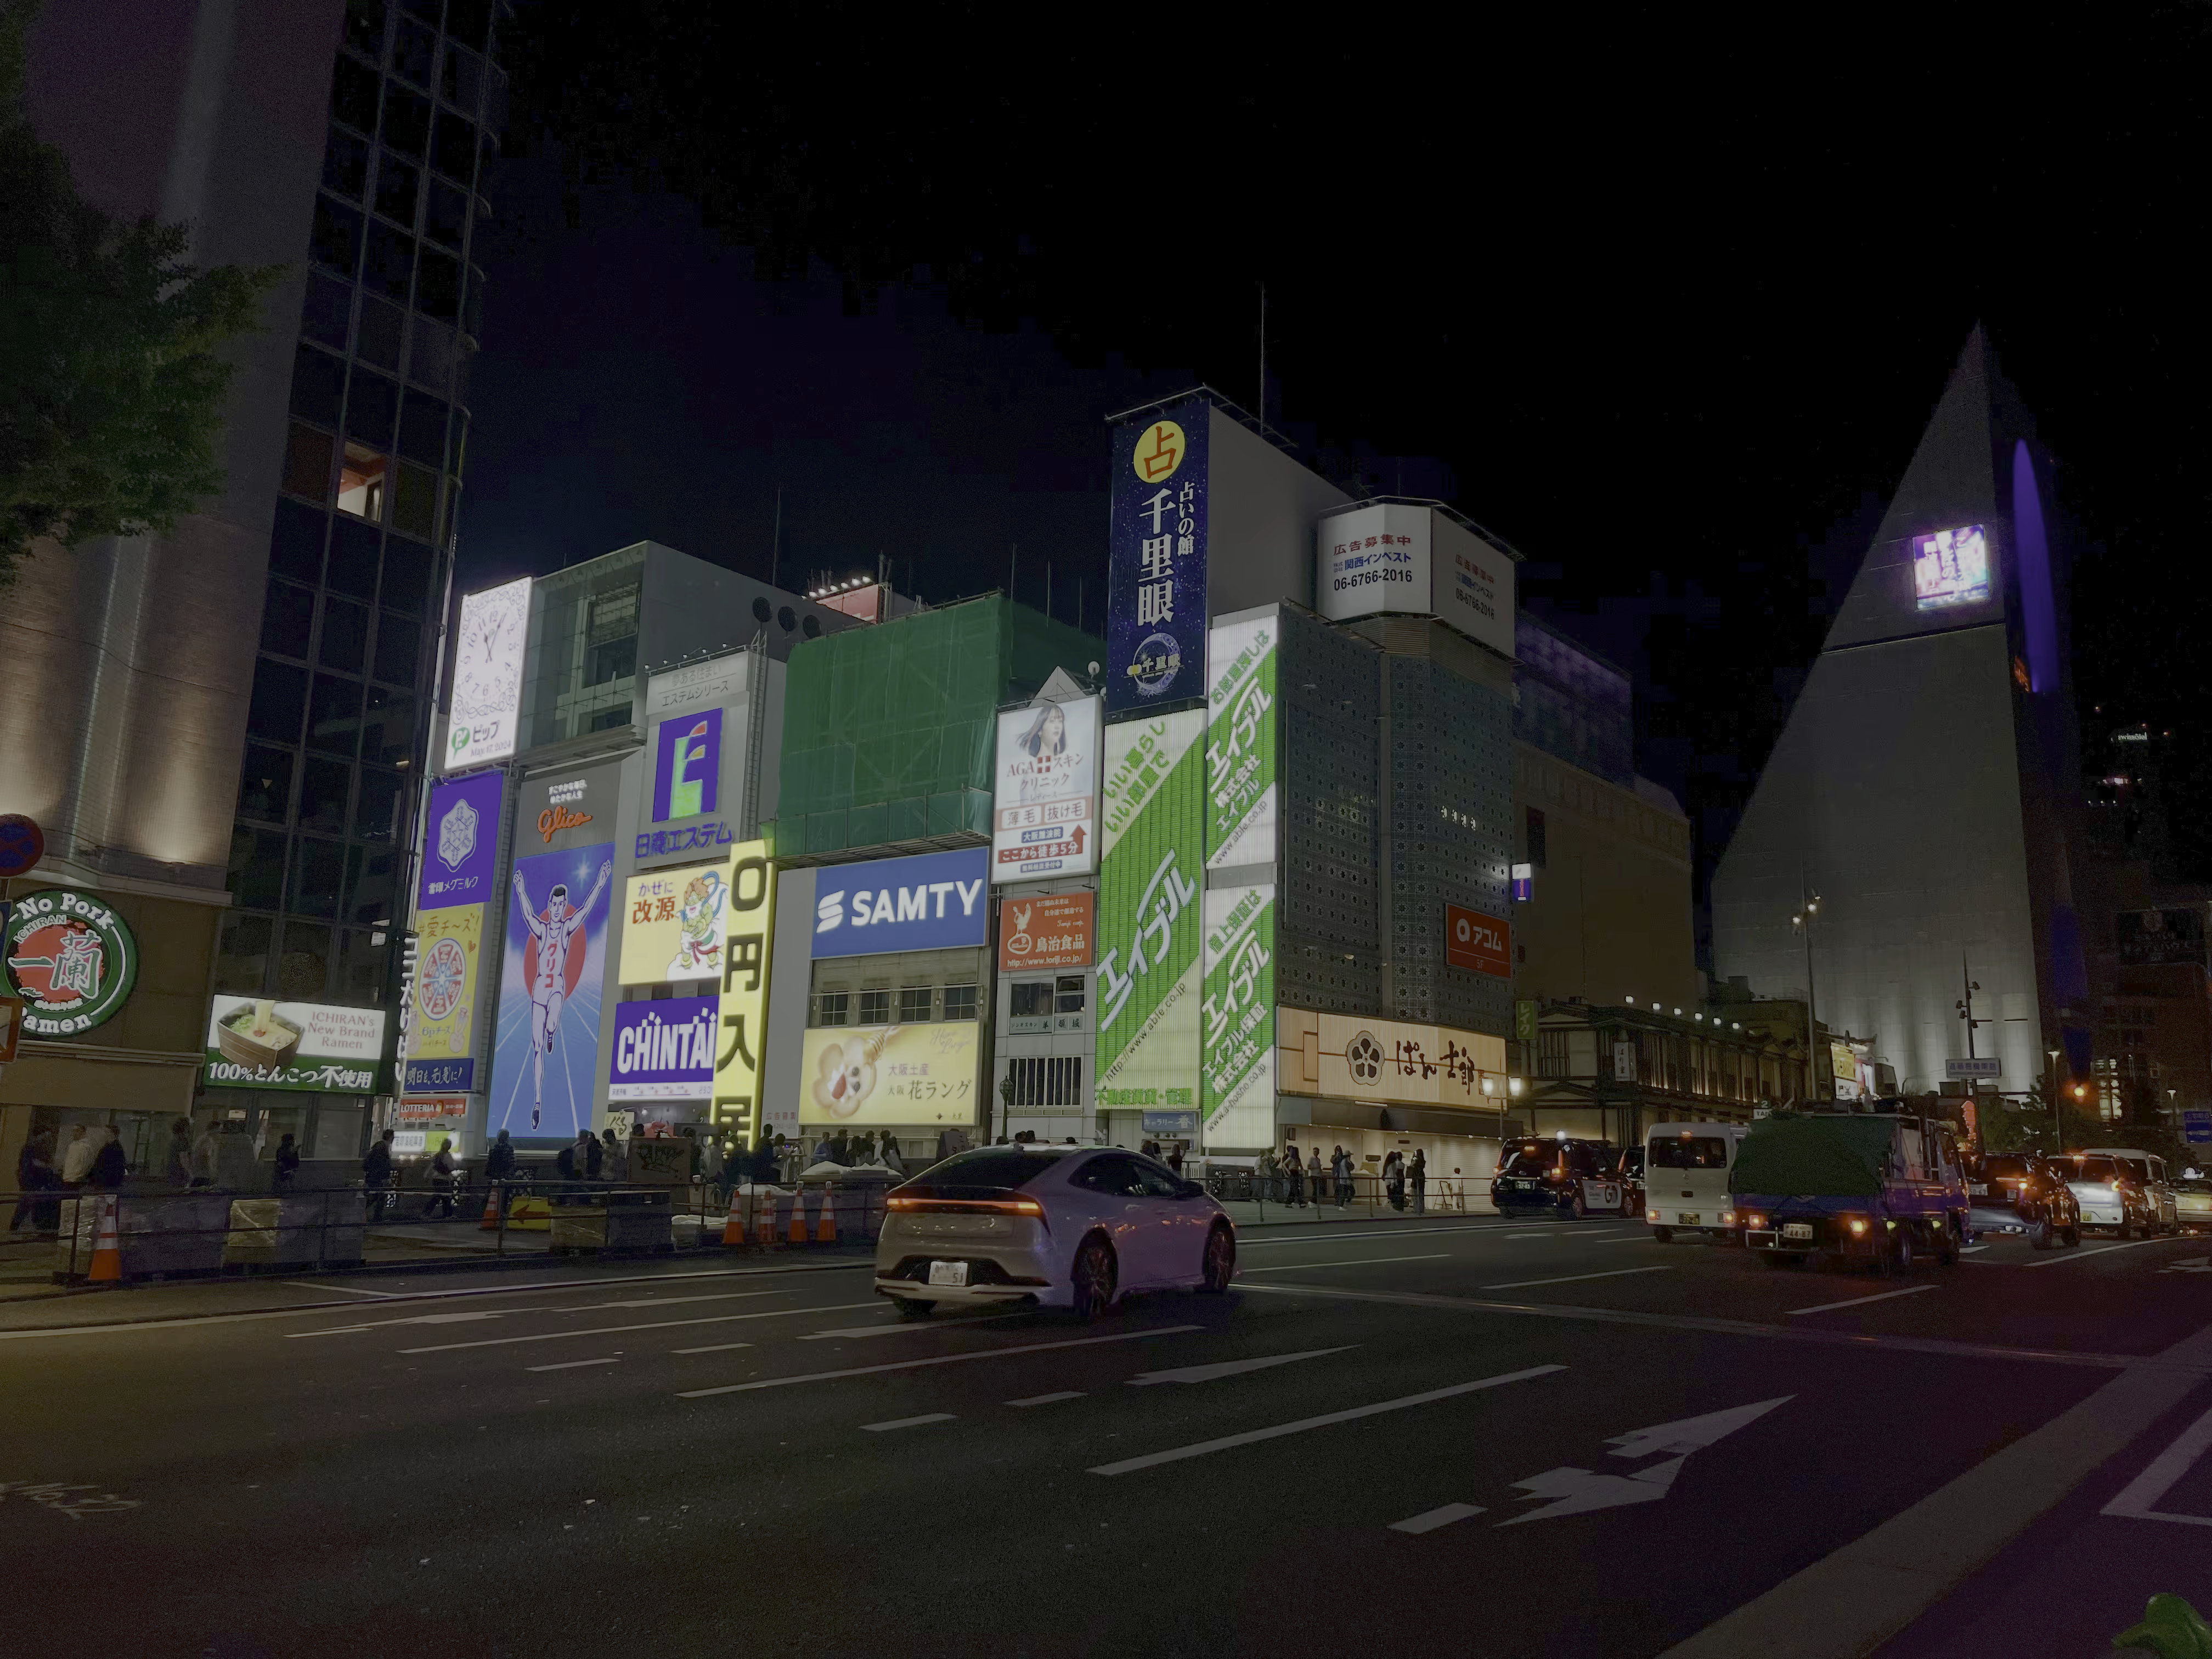
Ichiran Ramen
Ordering at Ichiran Ramen is incredibly friendly for social anxiety sufferers. When you enter, you first use the self-service ordering machine. After receiving your ticket, you join the queue. Once you enter the internal booths, you hand the ticket to the staff inside. You don’t need to say a word throughout the entire process.
Day 2 Osaka - Kyoto
Osaka Castle
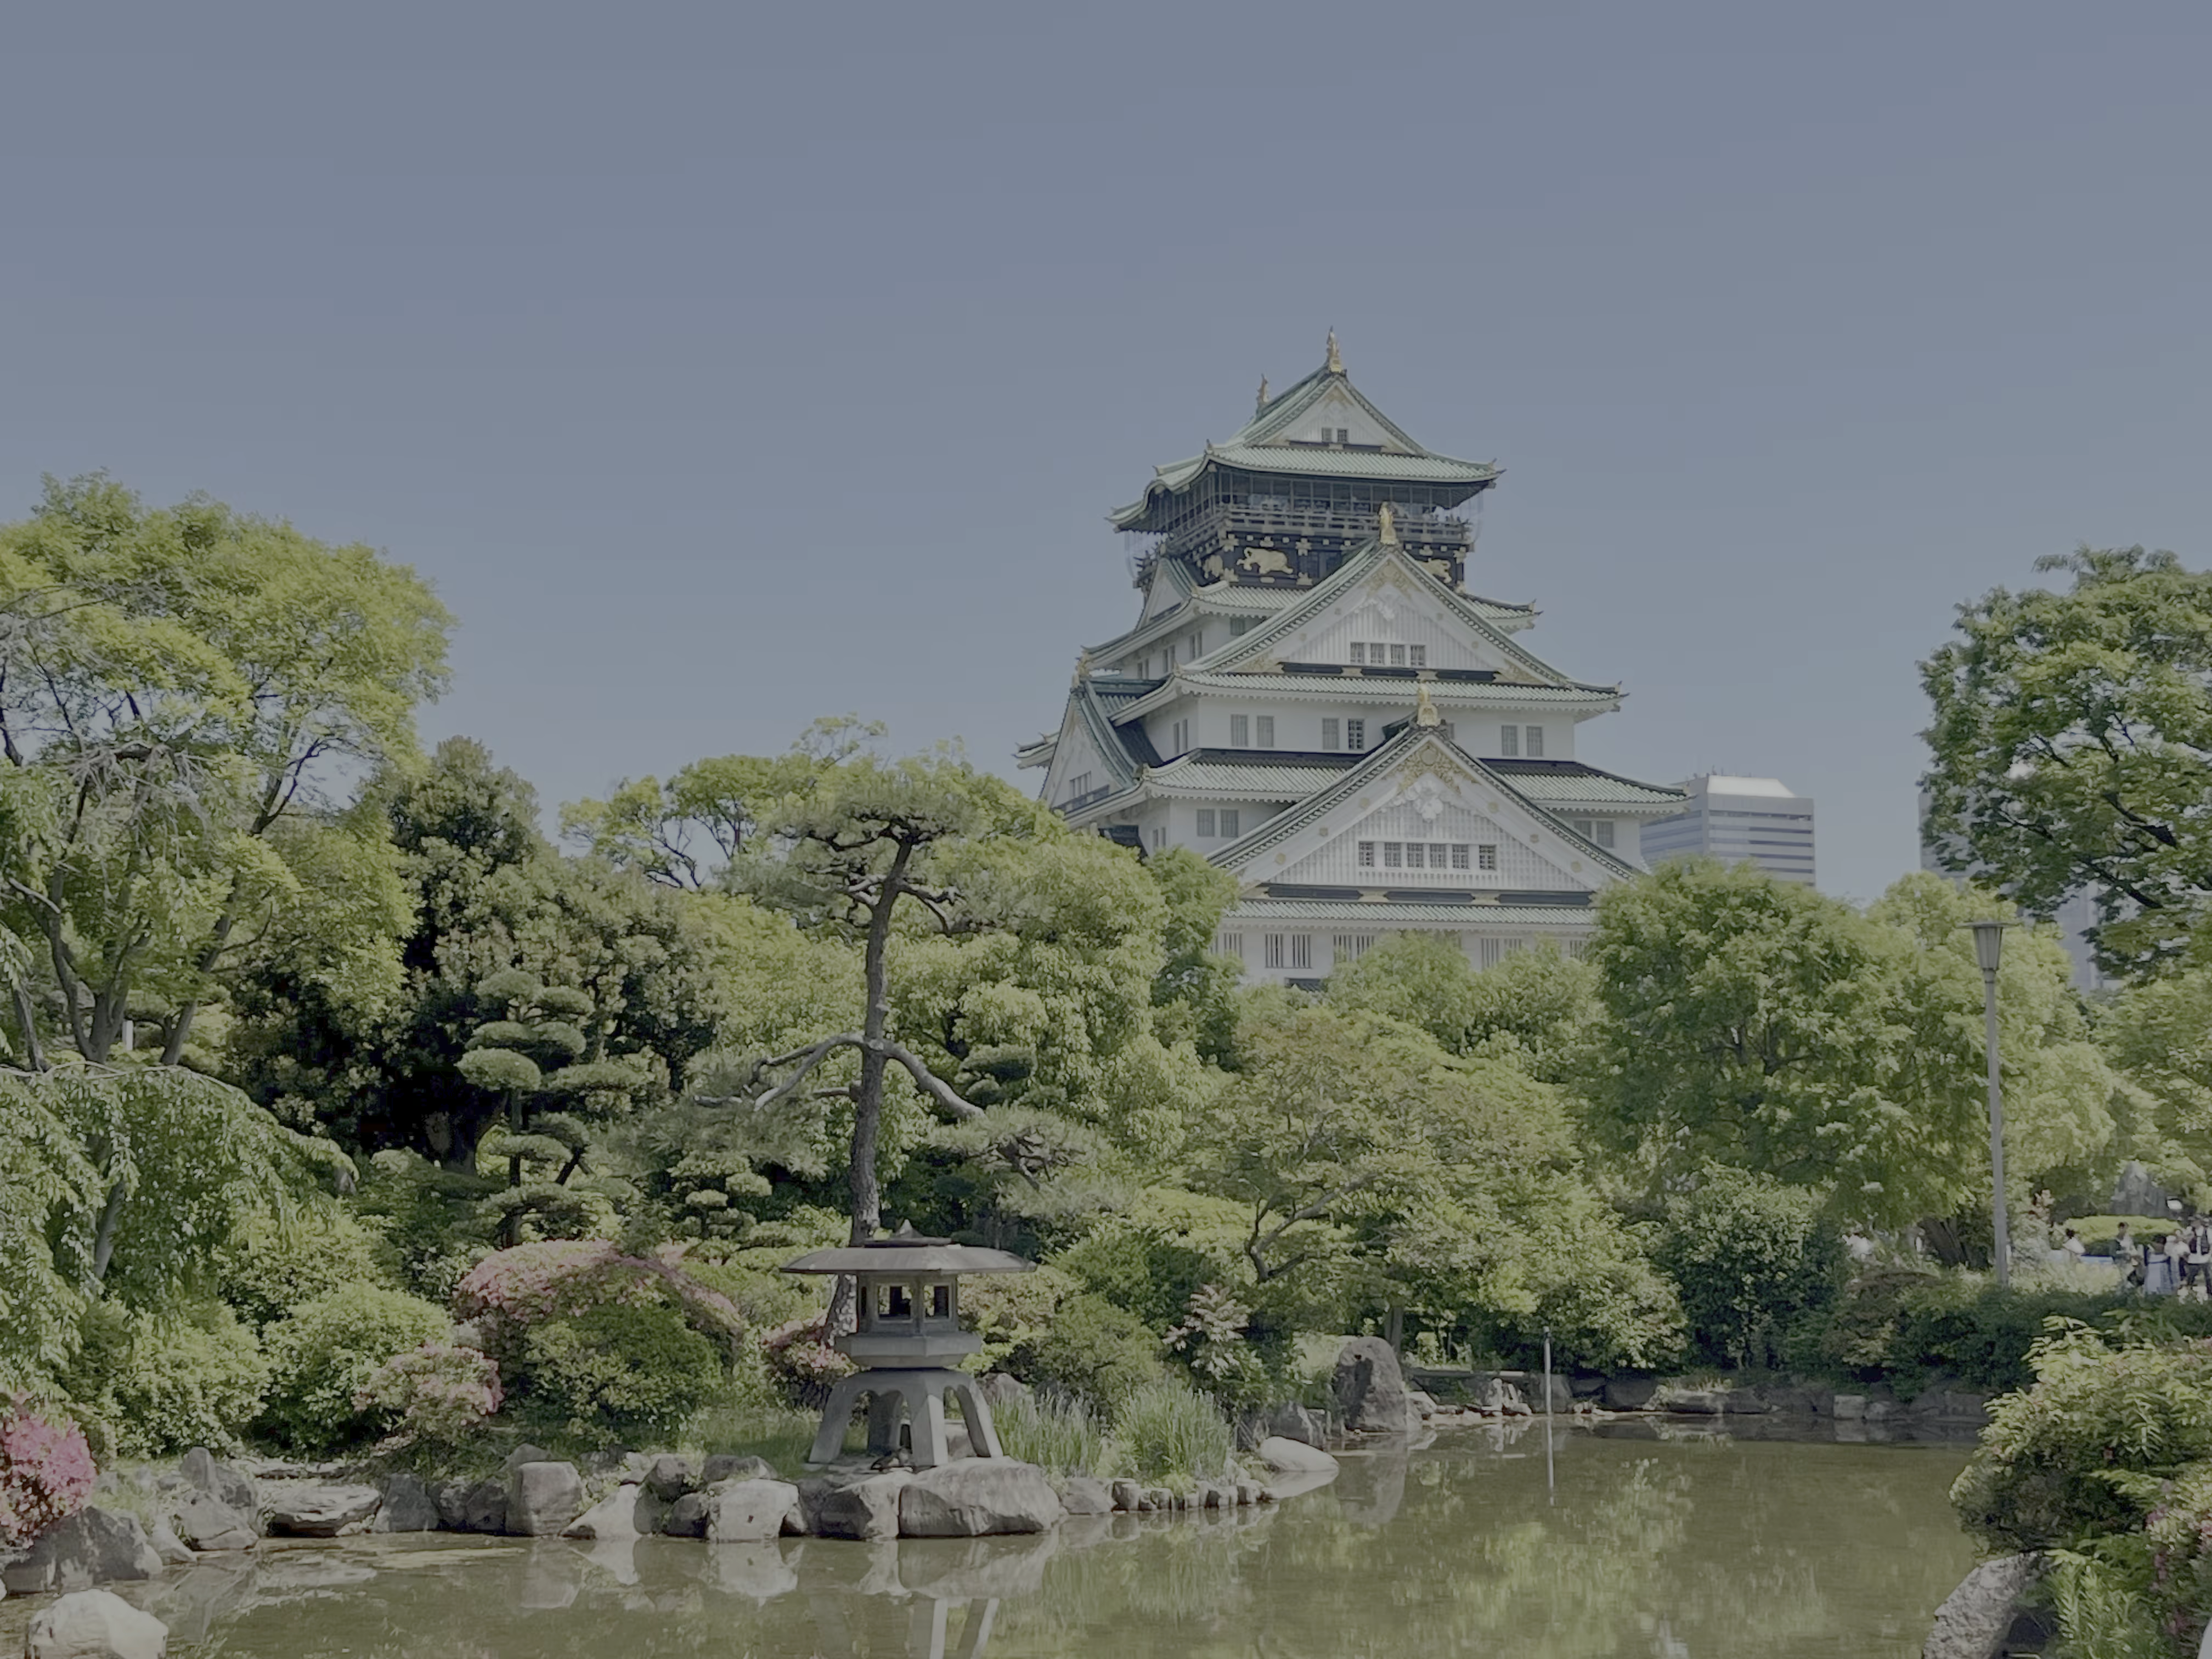
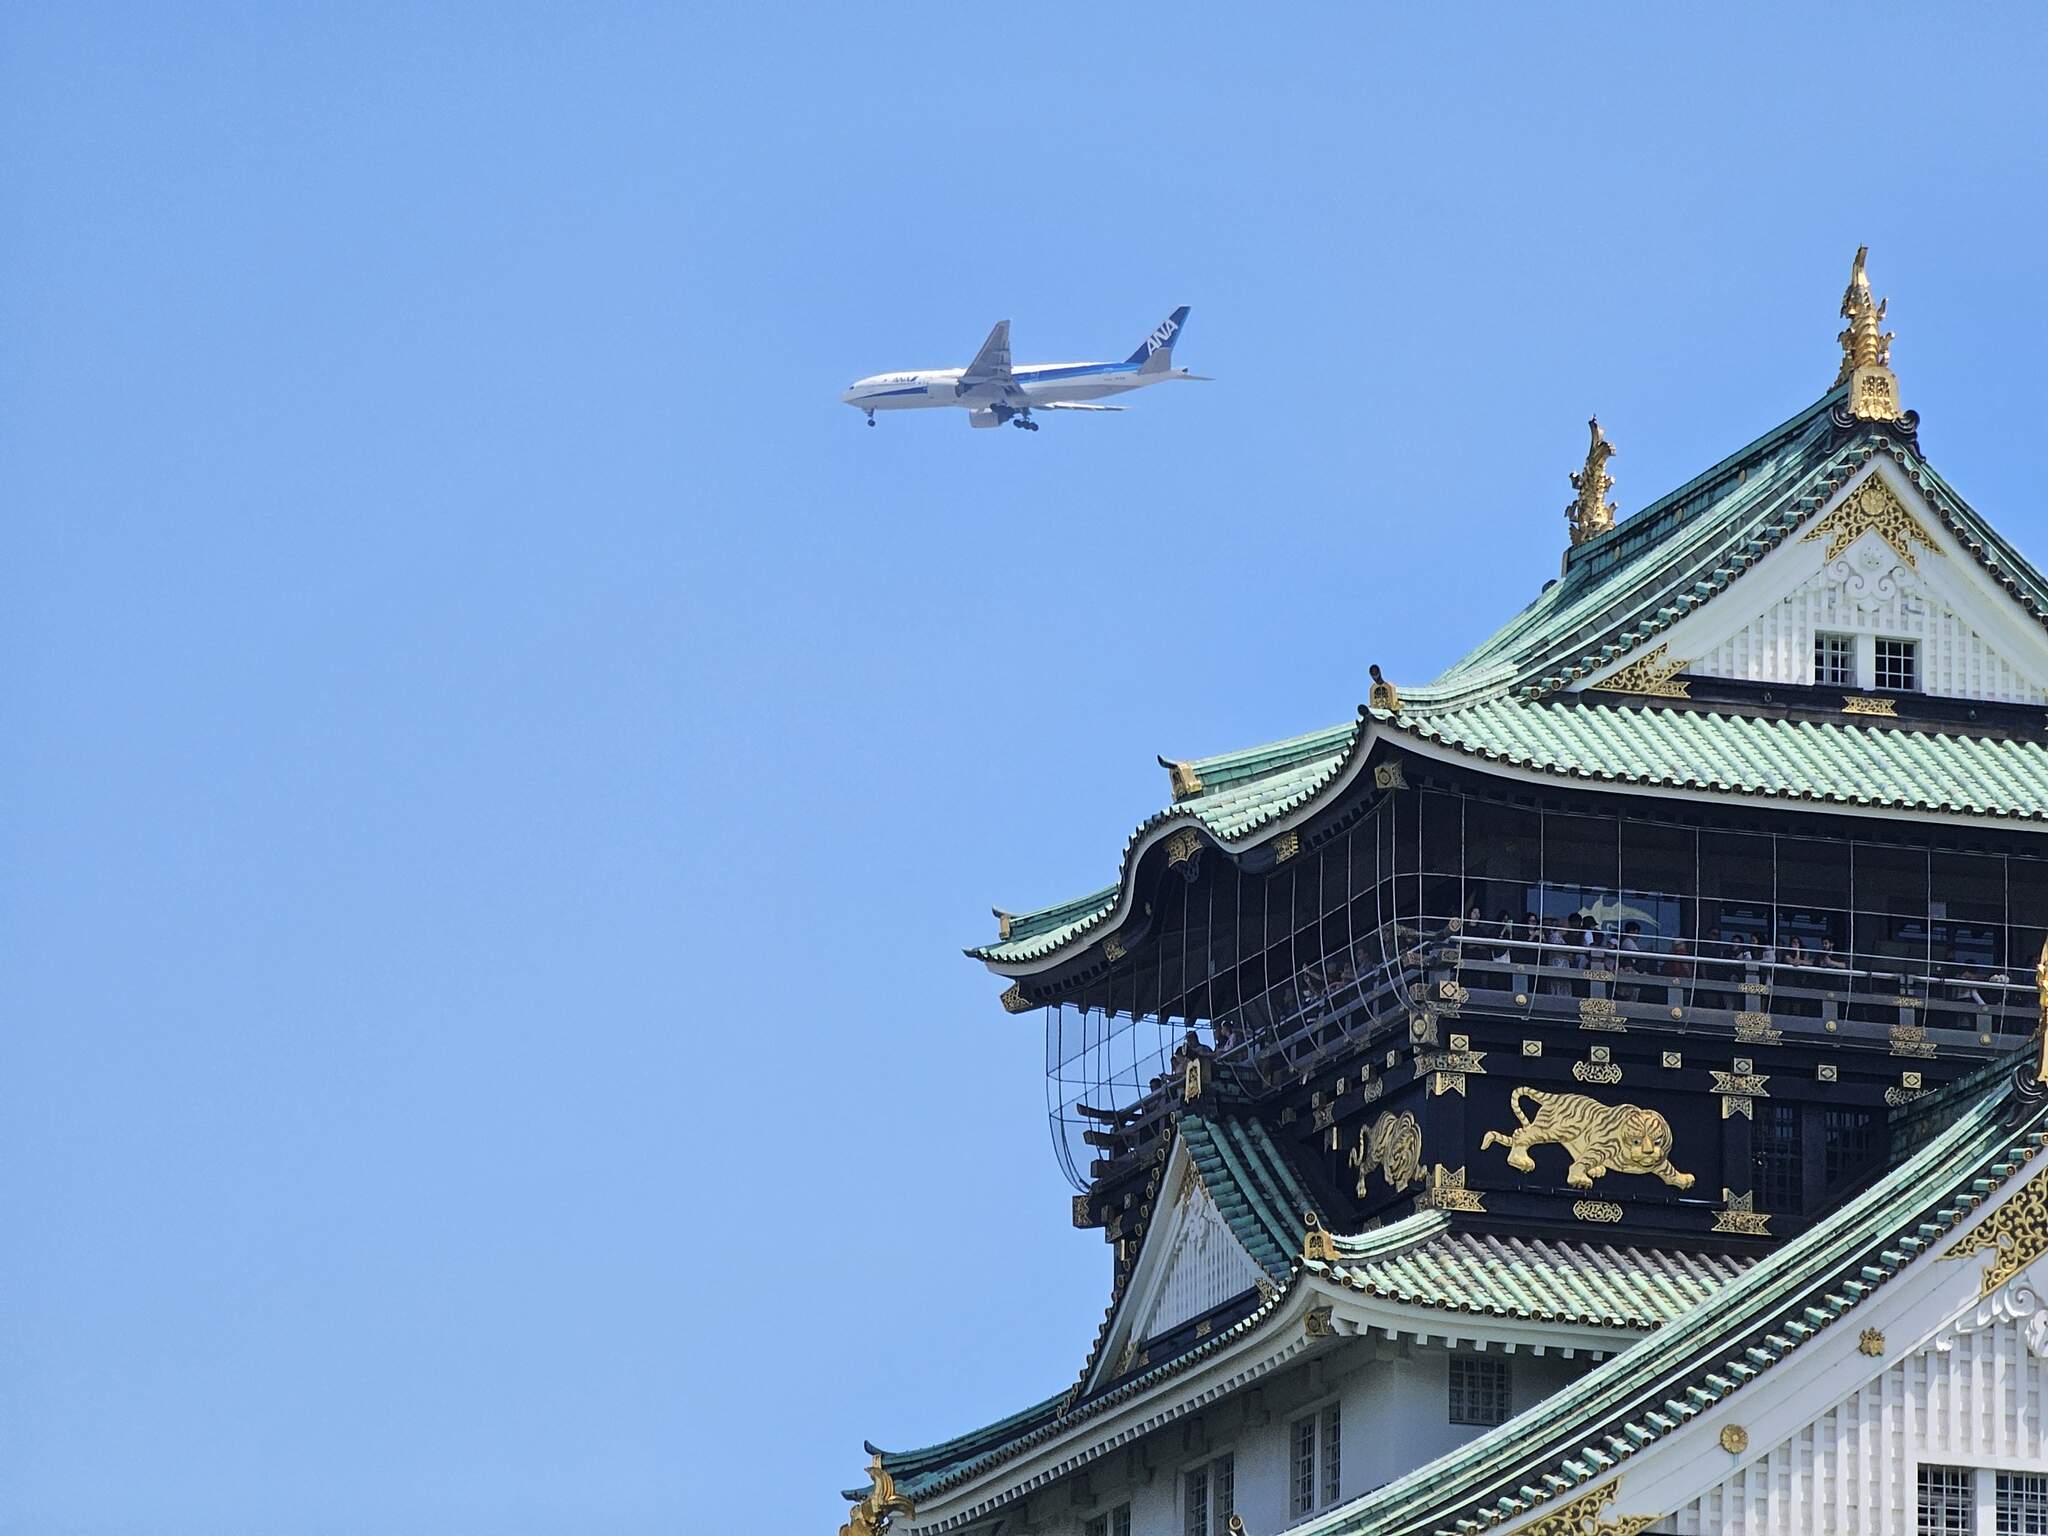
Osaka Castle was the residence of Toyotomi Hideyoshi and the center of the Toyotomi government during the Azuchi-Momoyama period of national unification. Later, Tokugawa Ieyasu destroyed the Toyotomi clan in two Battles of Osaka (Winter Siege and Summer Siege). After that, the Edo Shogunate made Osaka Castle a key base for controlling the daimyō in western Japan. However, the Osaka Castle keep we see today is a “replica” built in 1930 (reinforced concrete structure). The keep requires a ticket to enter. You can purchase tickets online in advance, which is slightly cheaper than buying them on-site. Inside, there are some exhibitions and paintings related to Toyotomi Hideyoshi. On the roof, there is an observation deck with views of surrounding Osaka buildings.
Osaka Castle
After visiting the keep, you can head north from Osaka Castle to Osaka Castle Park Station and take a train to Osaka Station.
Umeda Department Store, Osaka Station
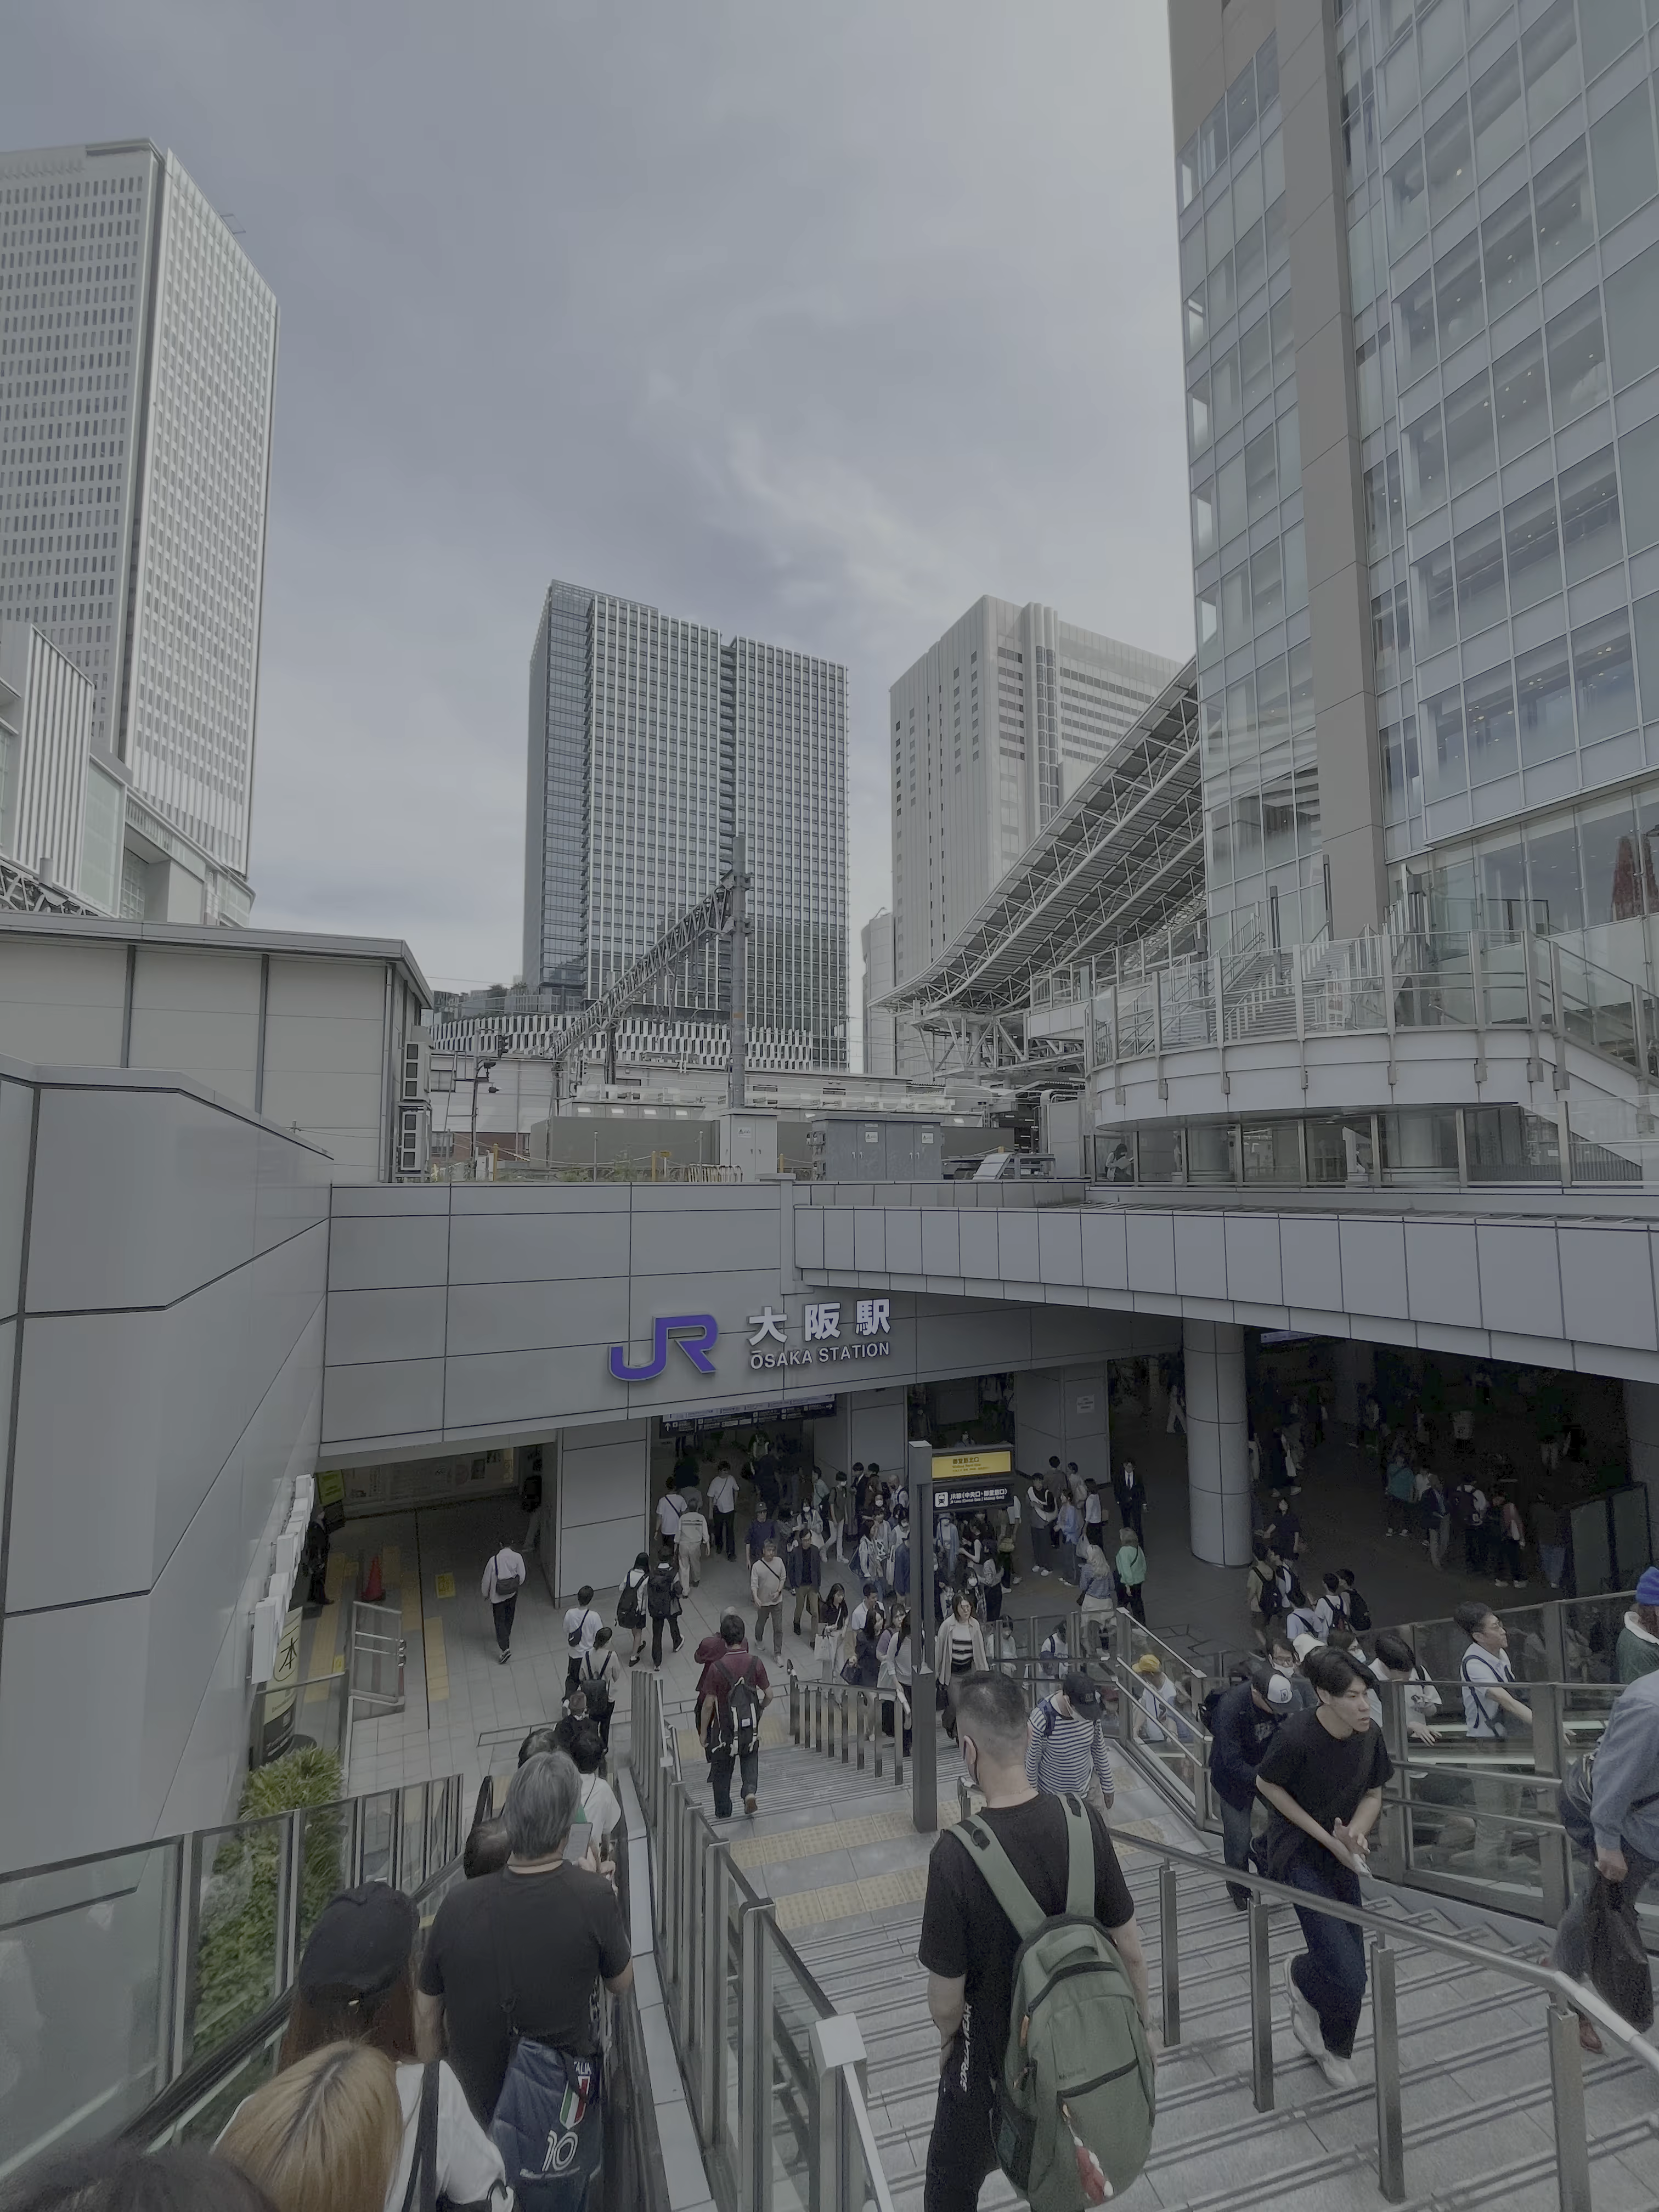
For lunch, we went to Umeda Department Store (near Osaka Station) and ate at an eel rice restaurant (Unagi-no Nakasho Links Umeda). Based on Google review recommendations, we ordered their white-grilled eel rice and traditional grilled eel rice. We found that the white-grilled or grilled eel tasted good with one or two pieces, but it became a bit too greasy after that. It might be better to share an order with a friend. It cost around 4300JPY per person.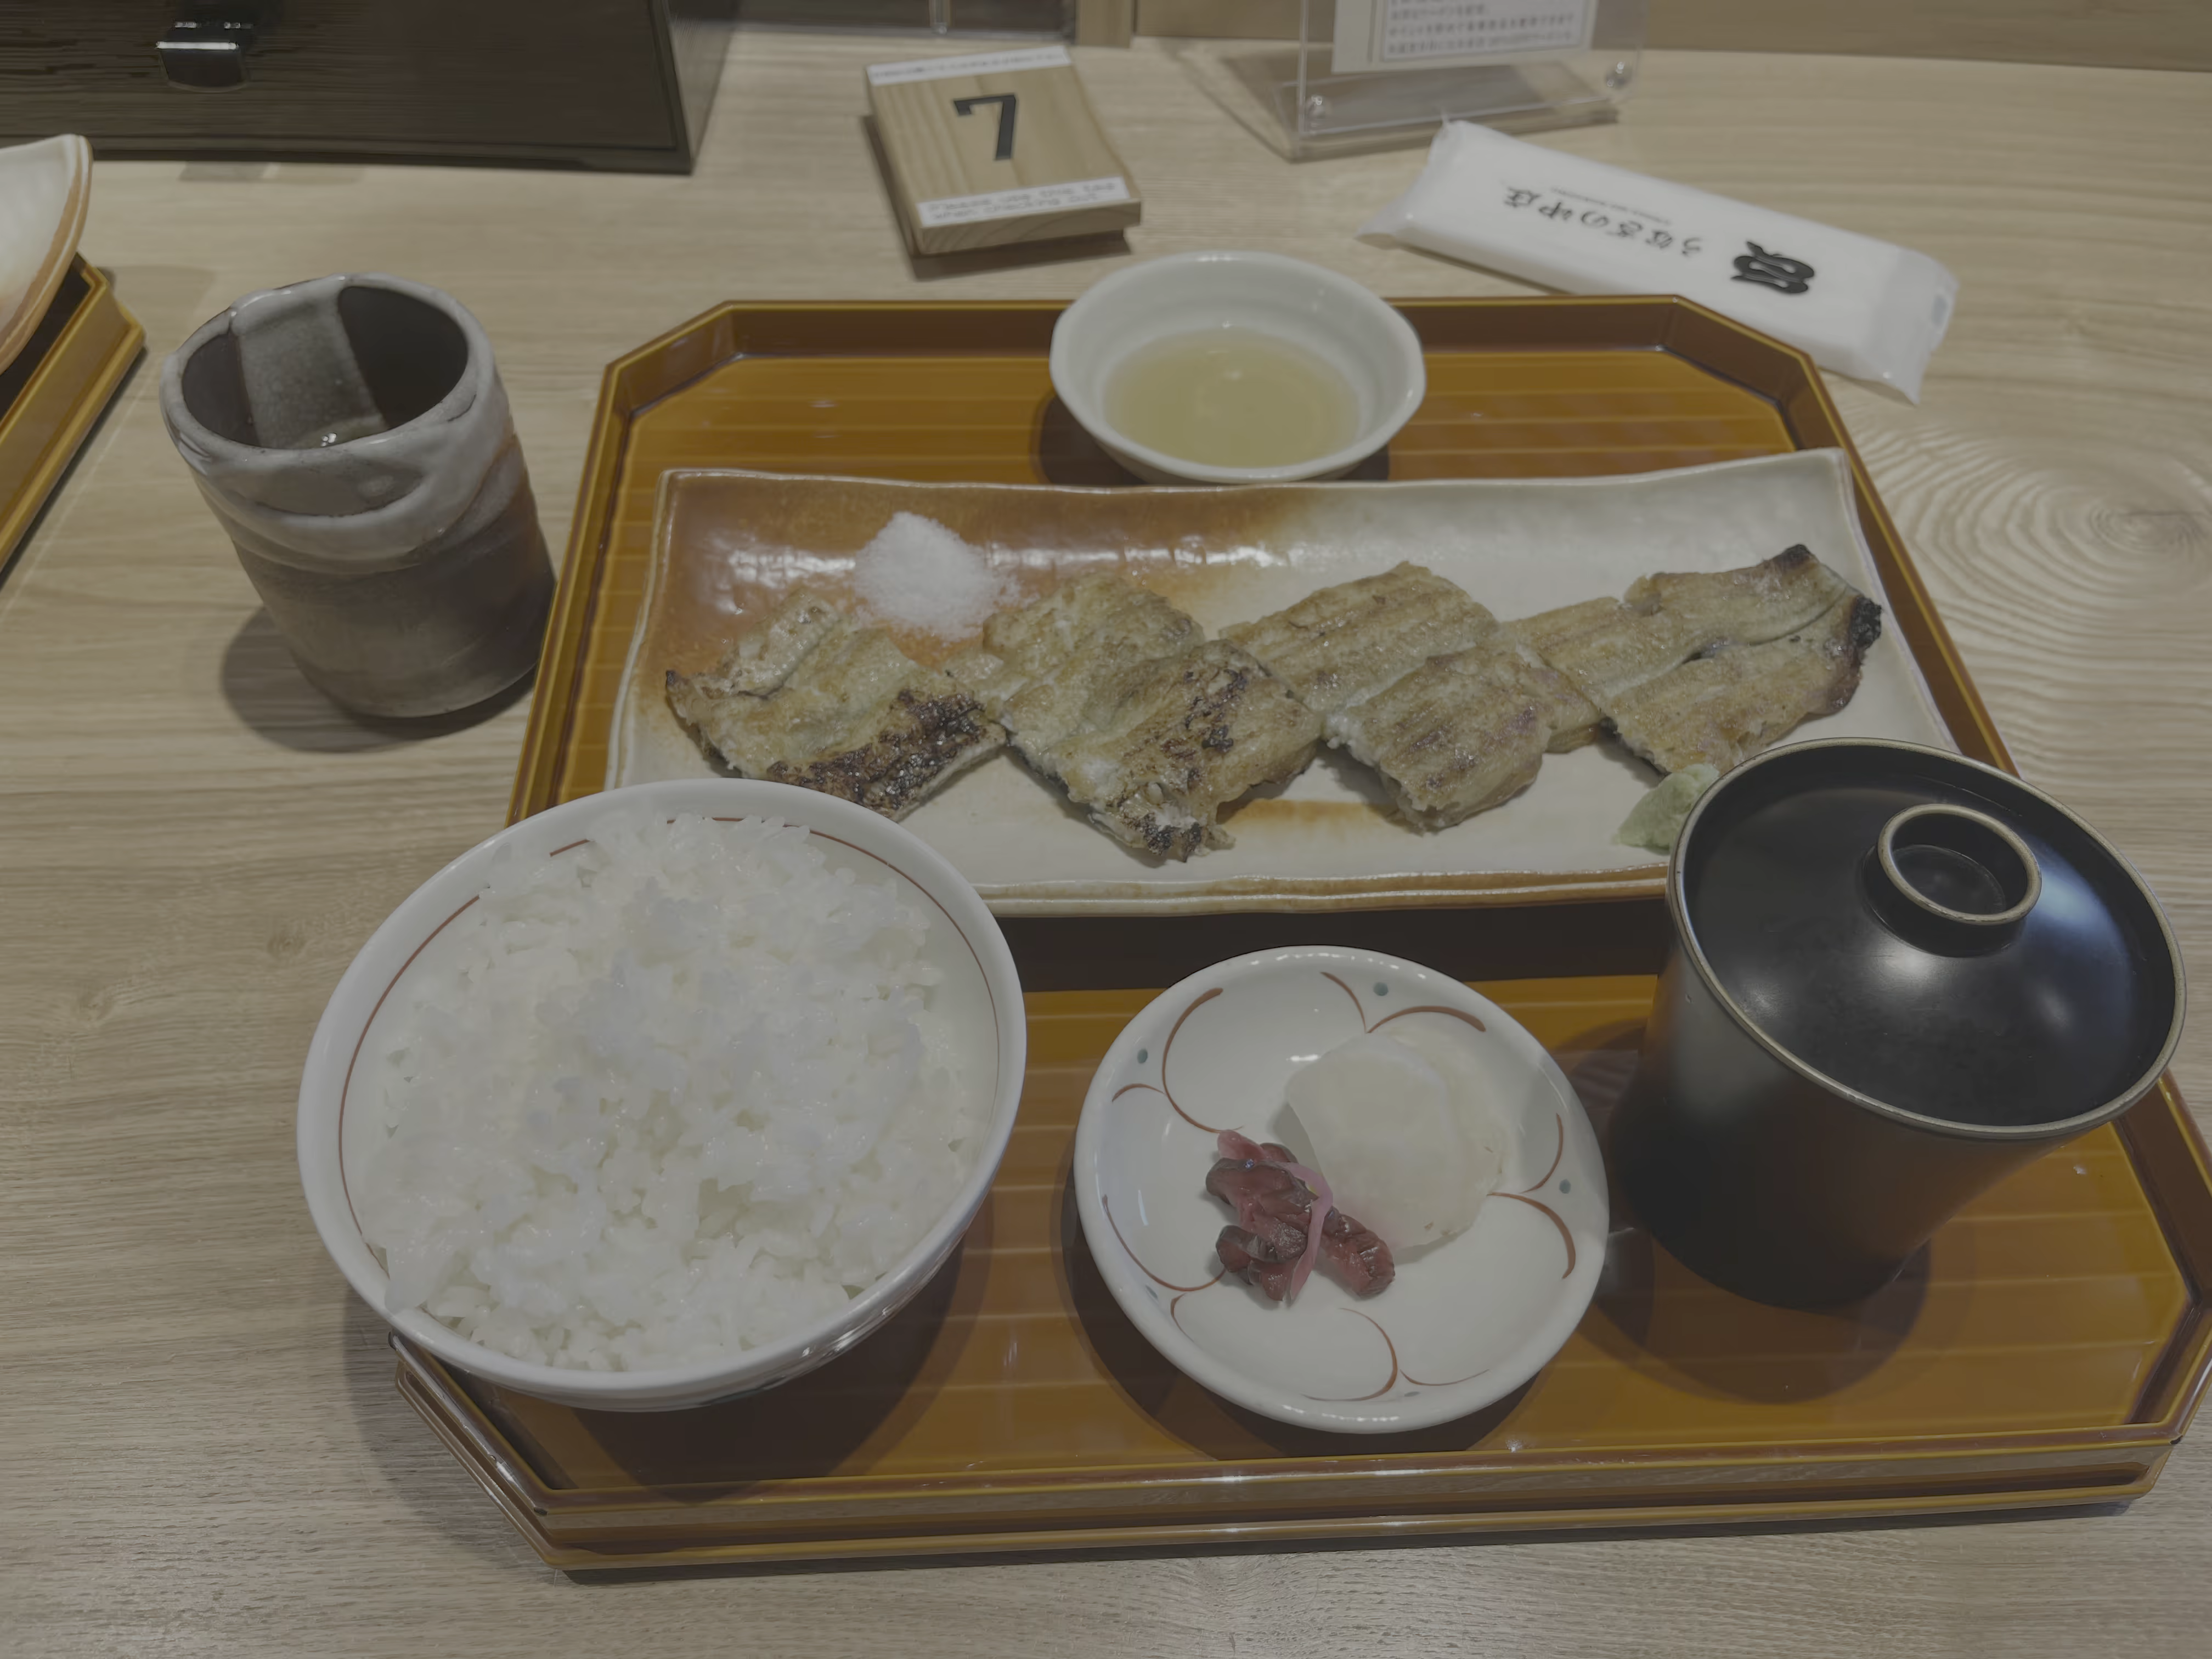
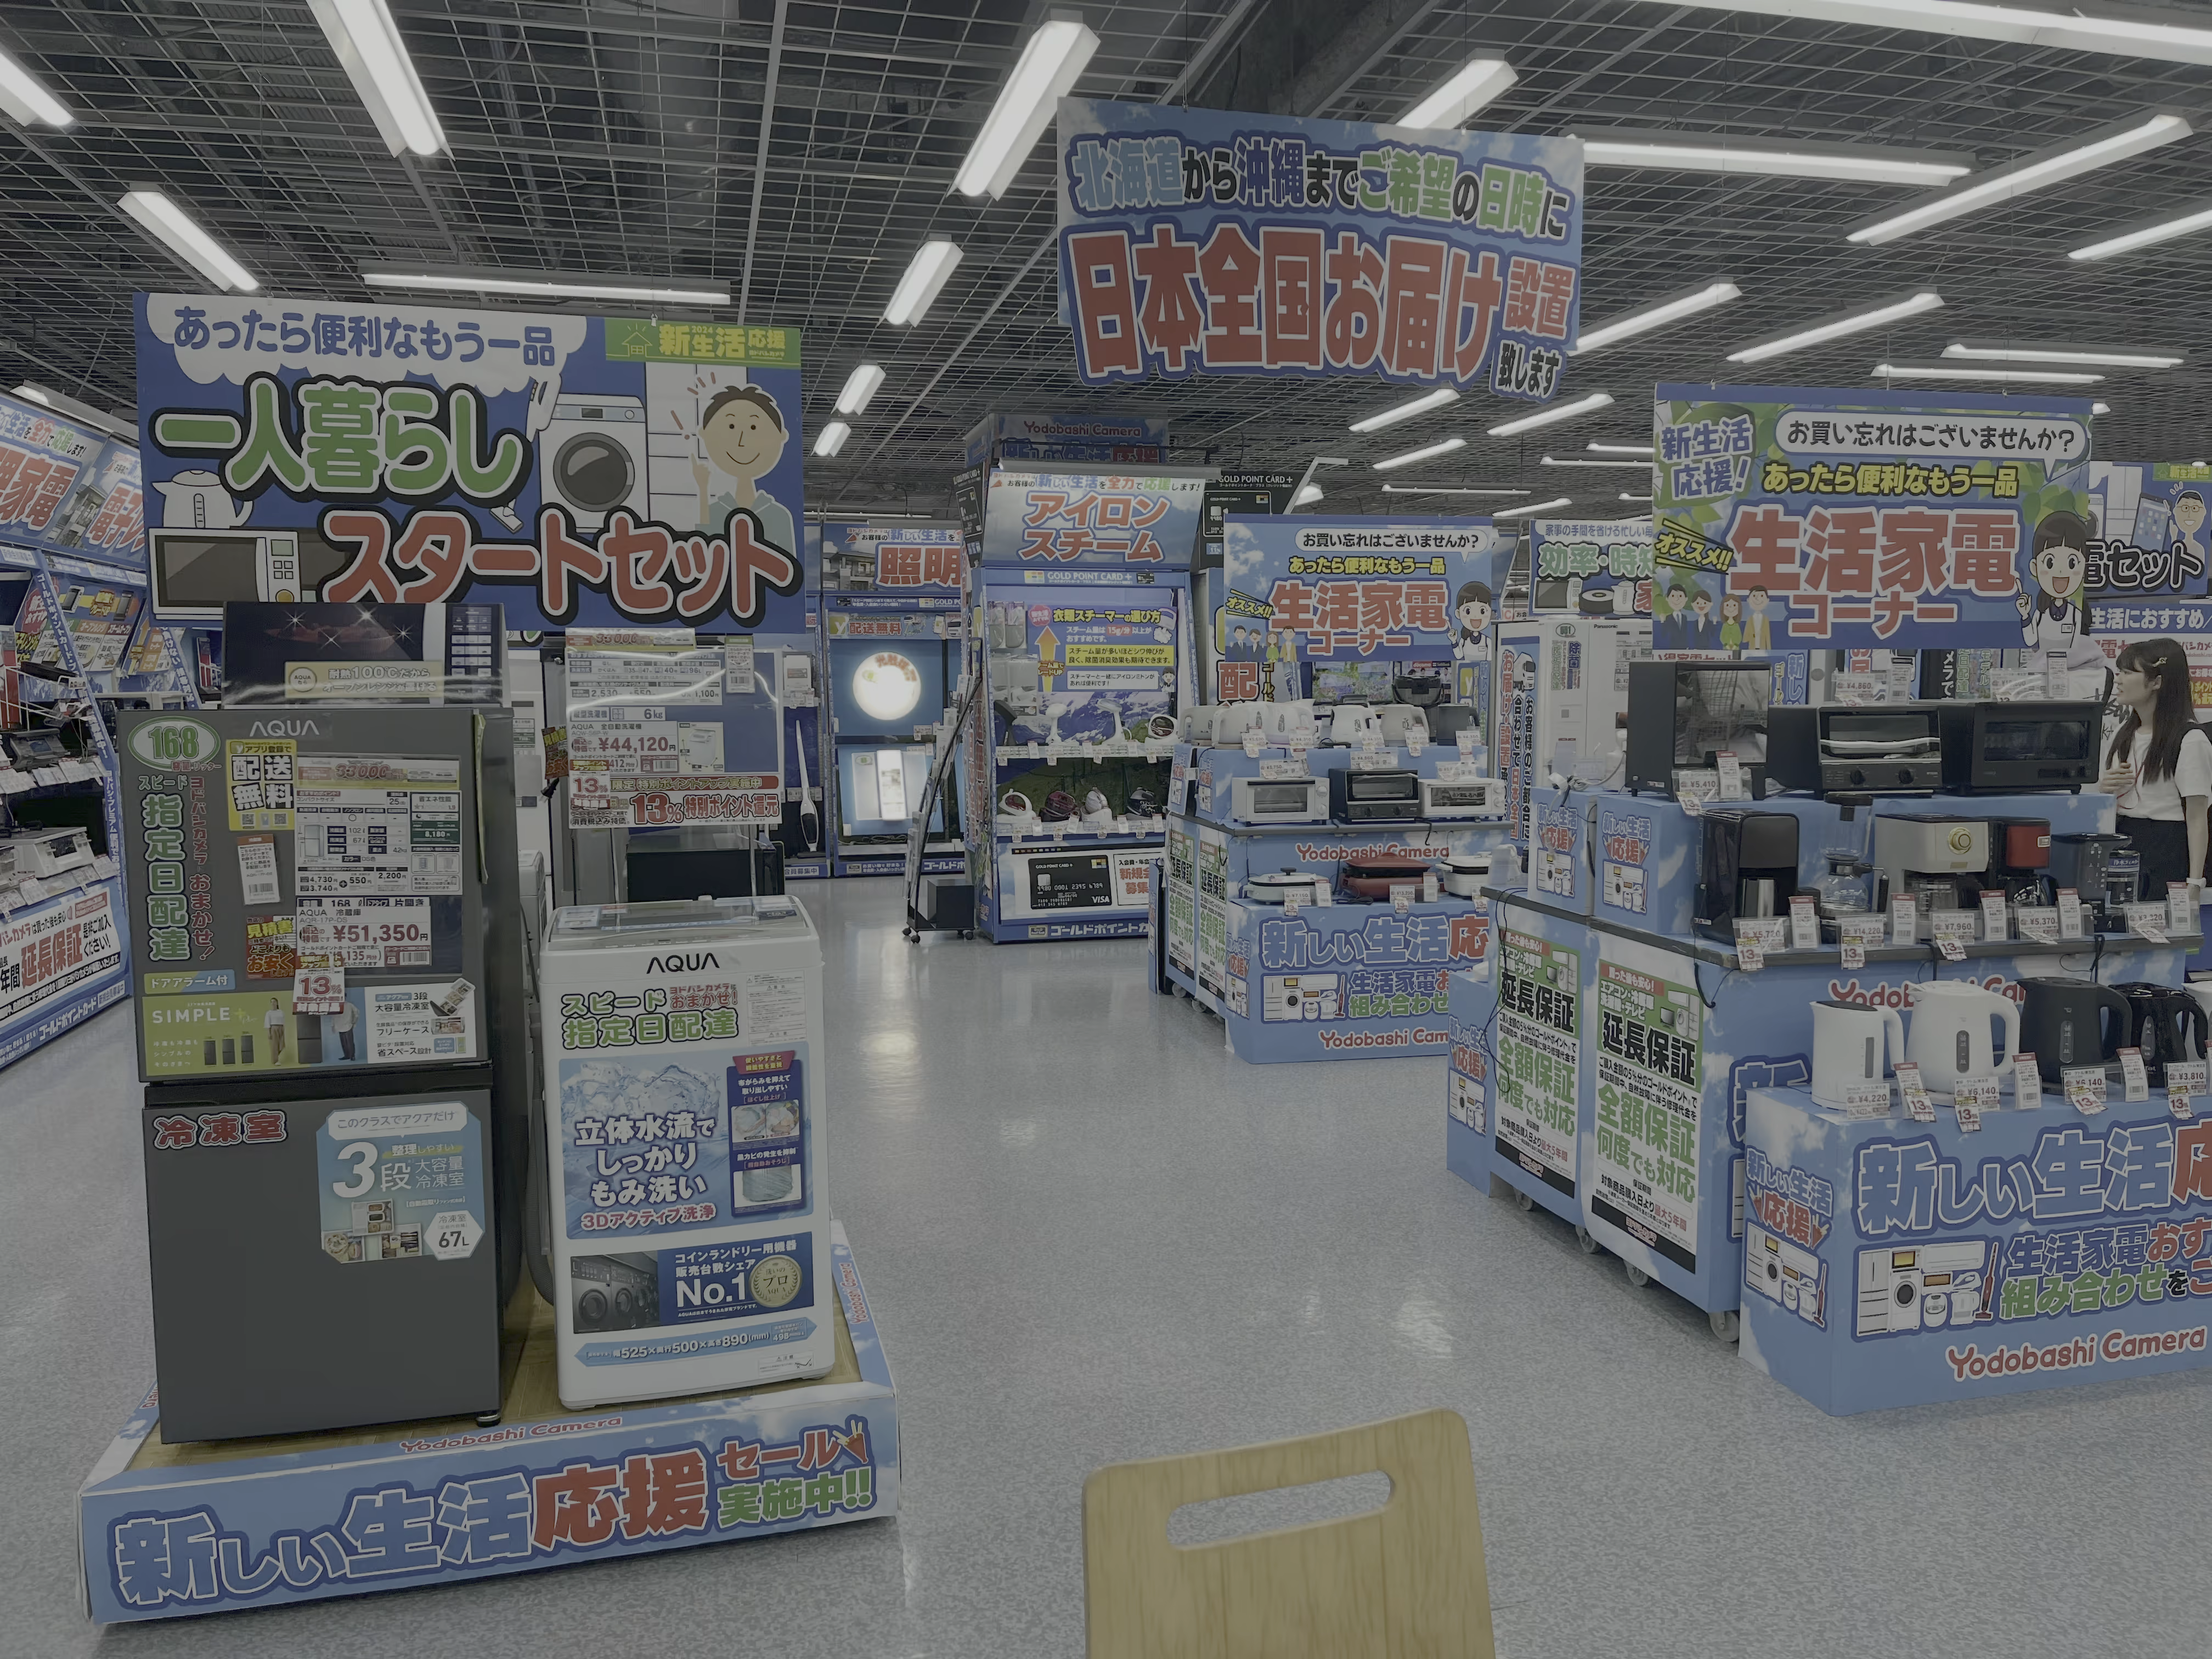
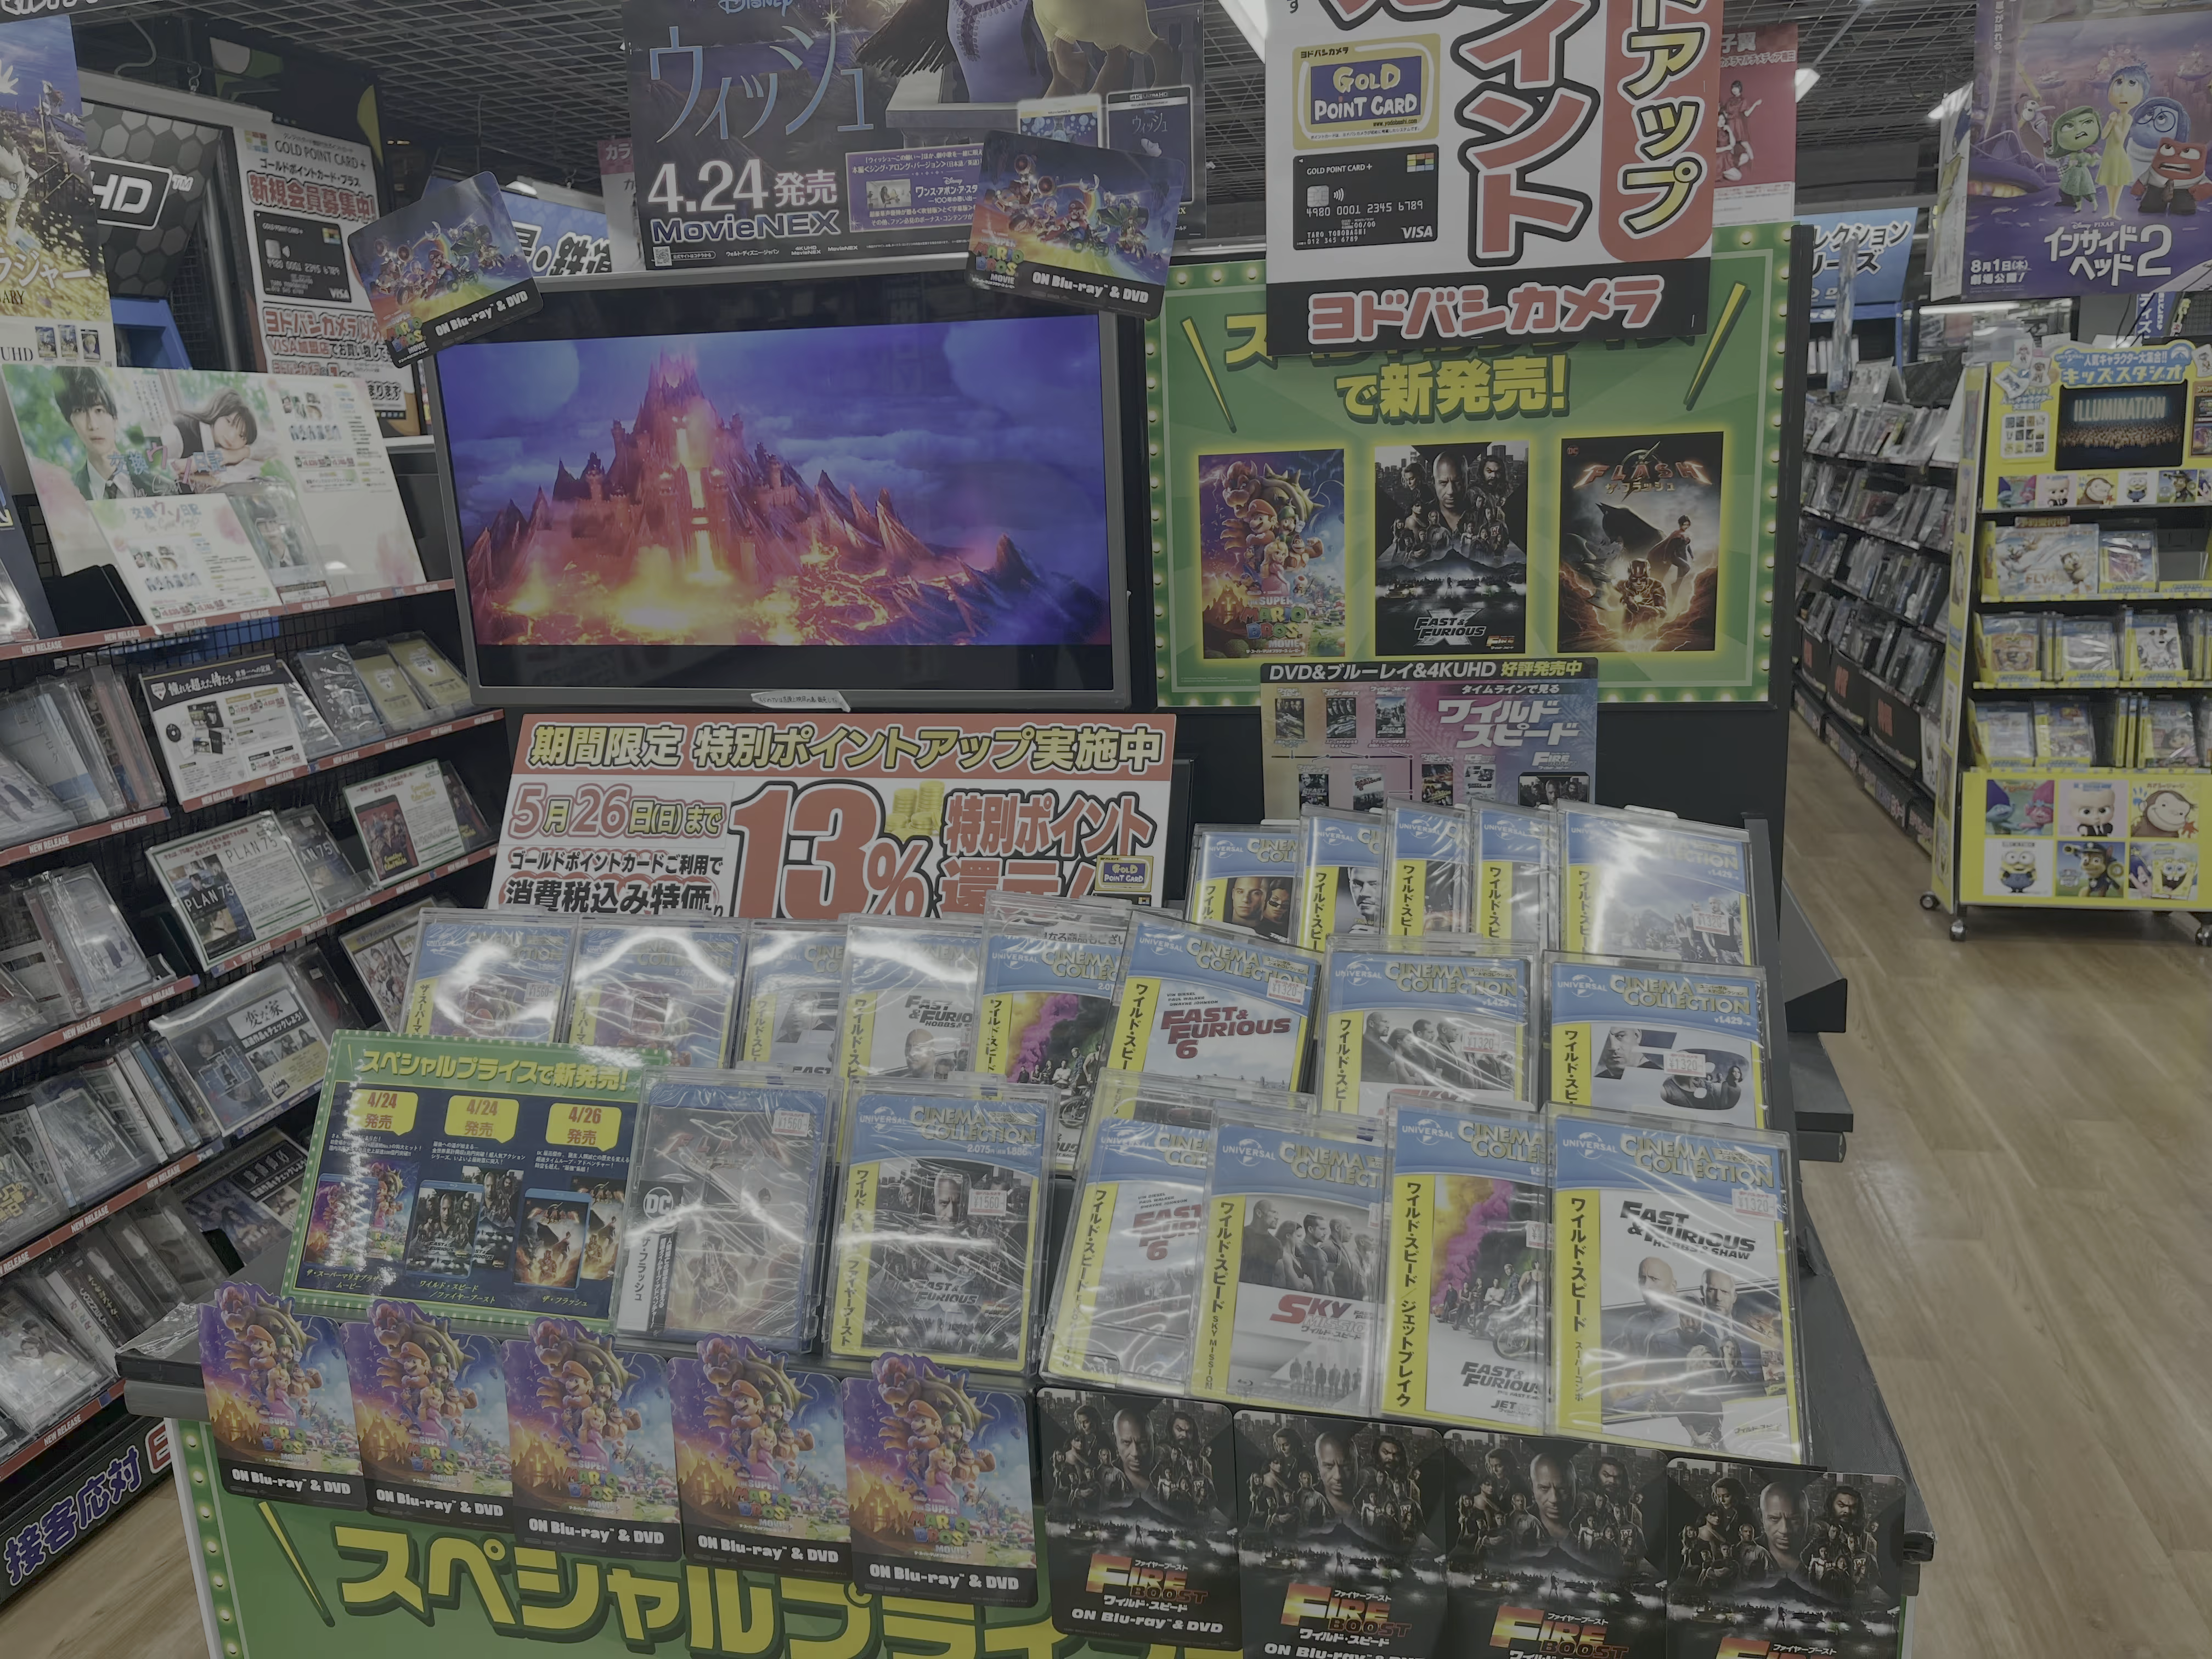
After lunch, we went to the nearby electronics store ( Yodobashi Multimedia Umeda Store) to browse. The style of the promotional boards and the store itself felt very different from electronics stores in mainland China, giving a sense of “it’s Japan when you see it.” We wanted to go to the bottom floor to ask if they had tax-free phones, but the lower floor seemed to be full of contract phones, and they weren’t tax-free, so we gave up.
From Osaka Station to Kyoto, you can take any train that is not HARUKA, which takes about half an hour to get to Kyoto Station.
Kyoto Railway Museum
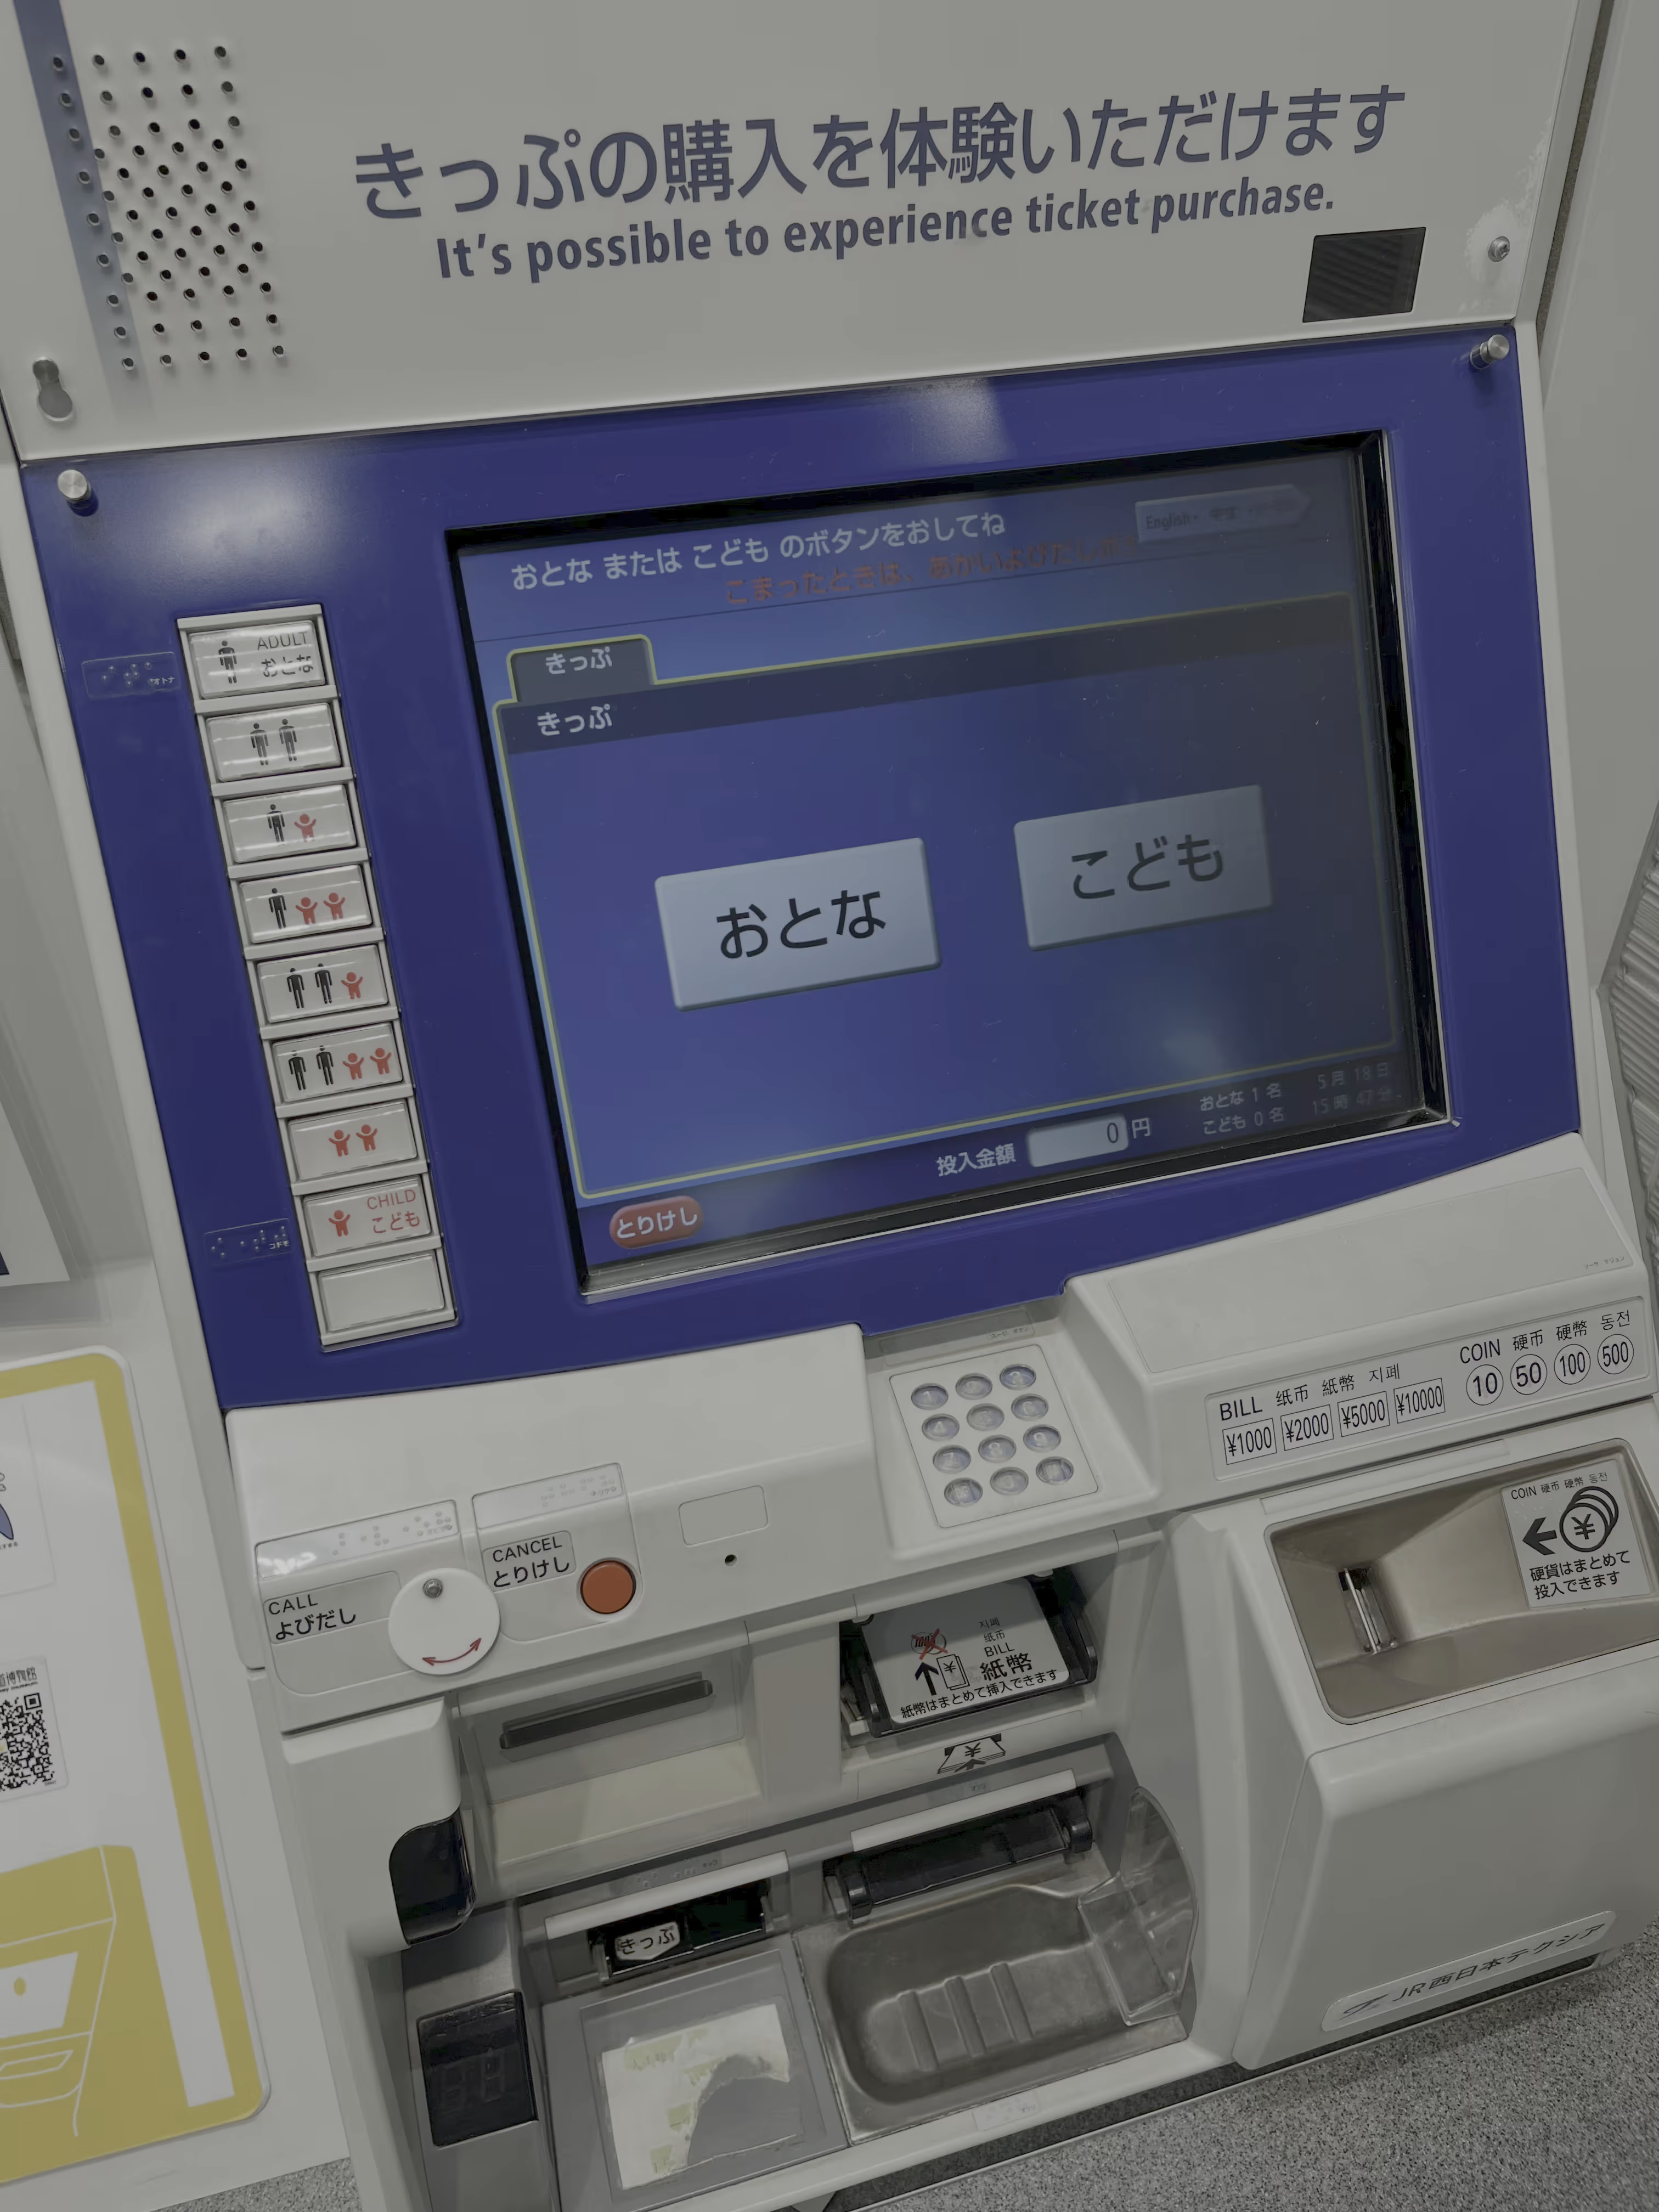
The Kyoto Railway Museum is just one train stop from Kyoto Station. The museum displays several locomotive heads and carriages. You can even board a 0-series Shinkansen.
In the evening, we bought a box of “Kobe beef rice” (around 1300JPY) from a bento shop at Kyoto Station. The heating method is similar to self-heating rice, and the taste is similar to beef rice from Yoshinoya/Sukiya: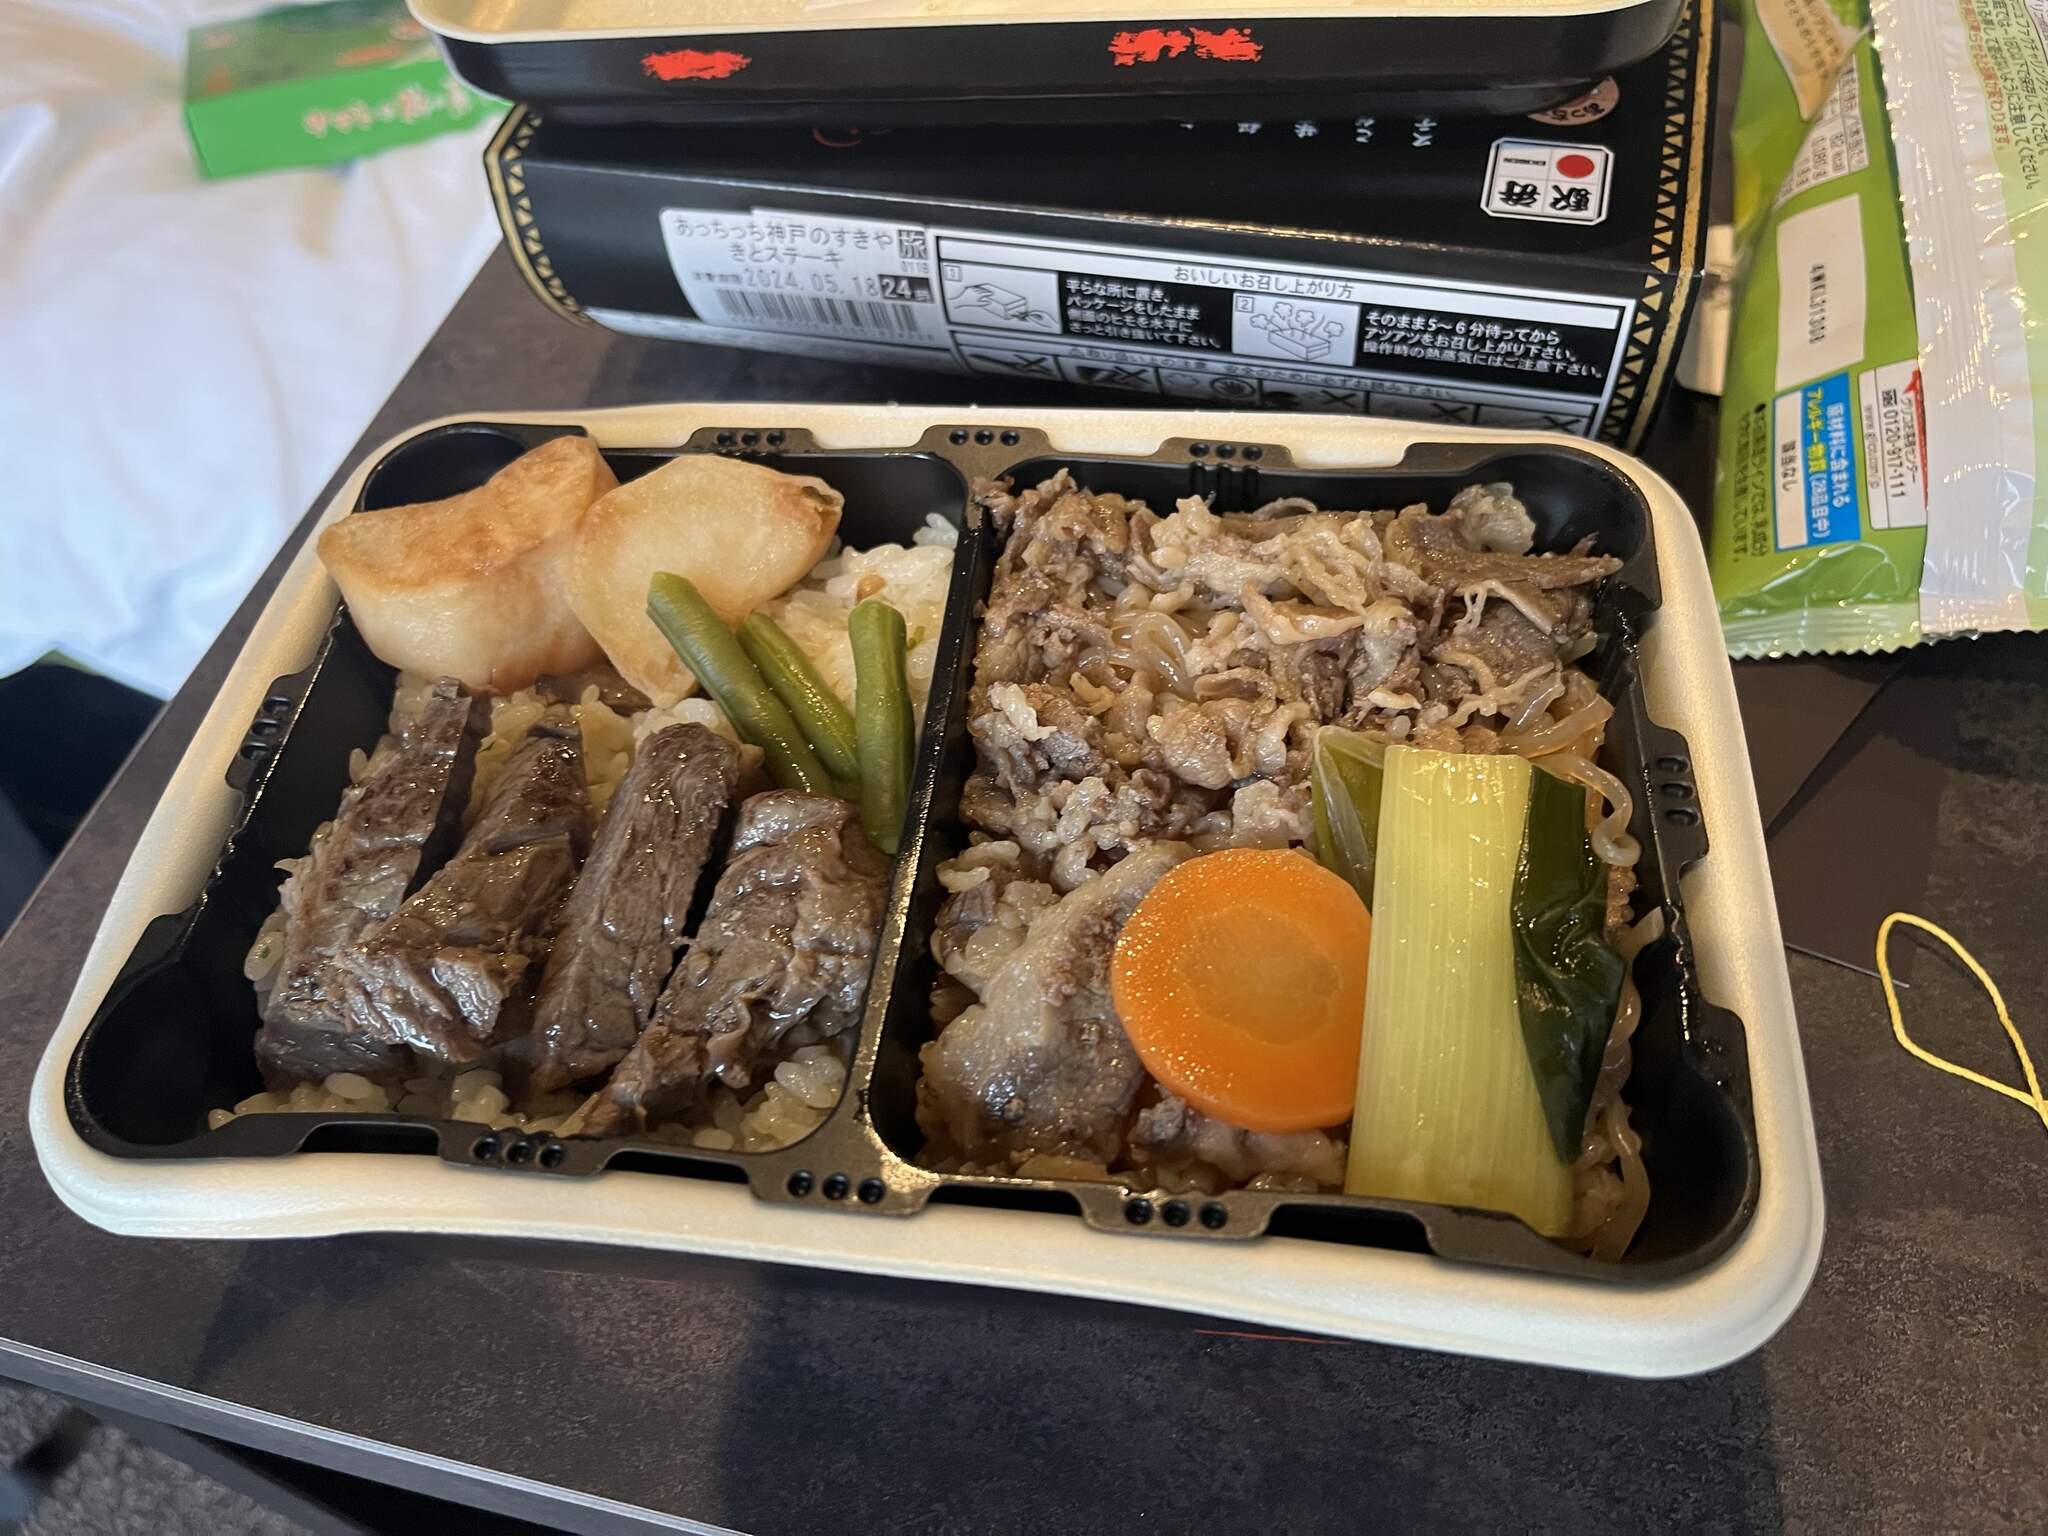
Evening Snapshots
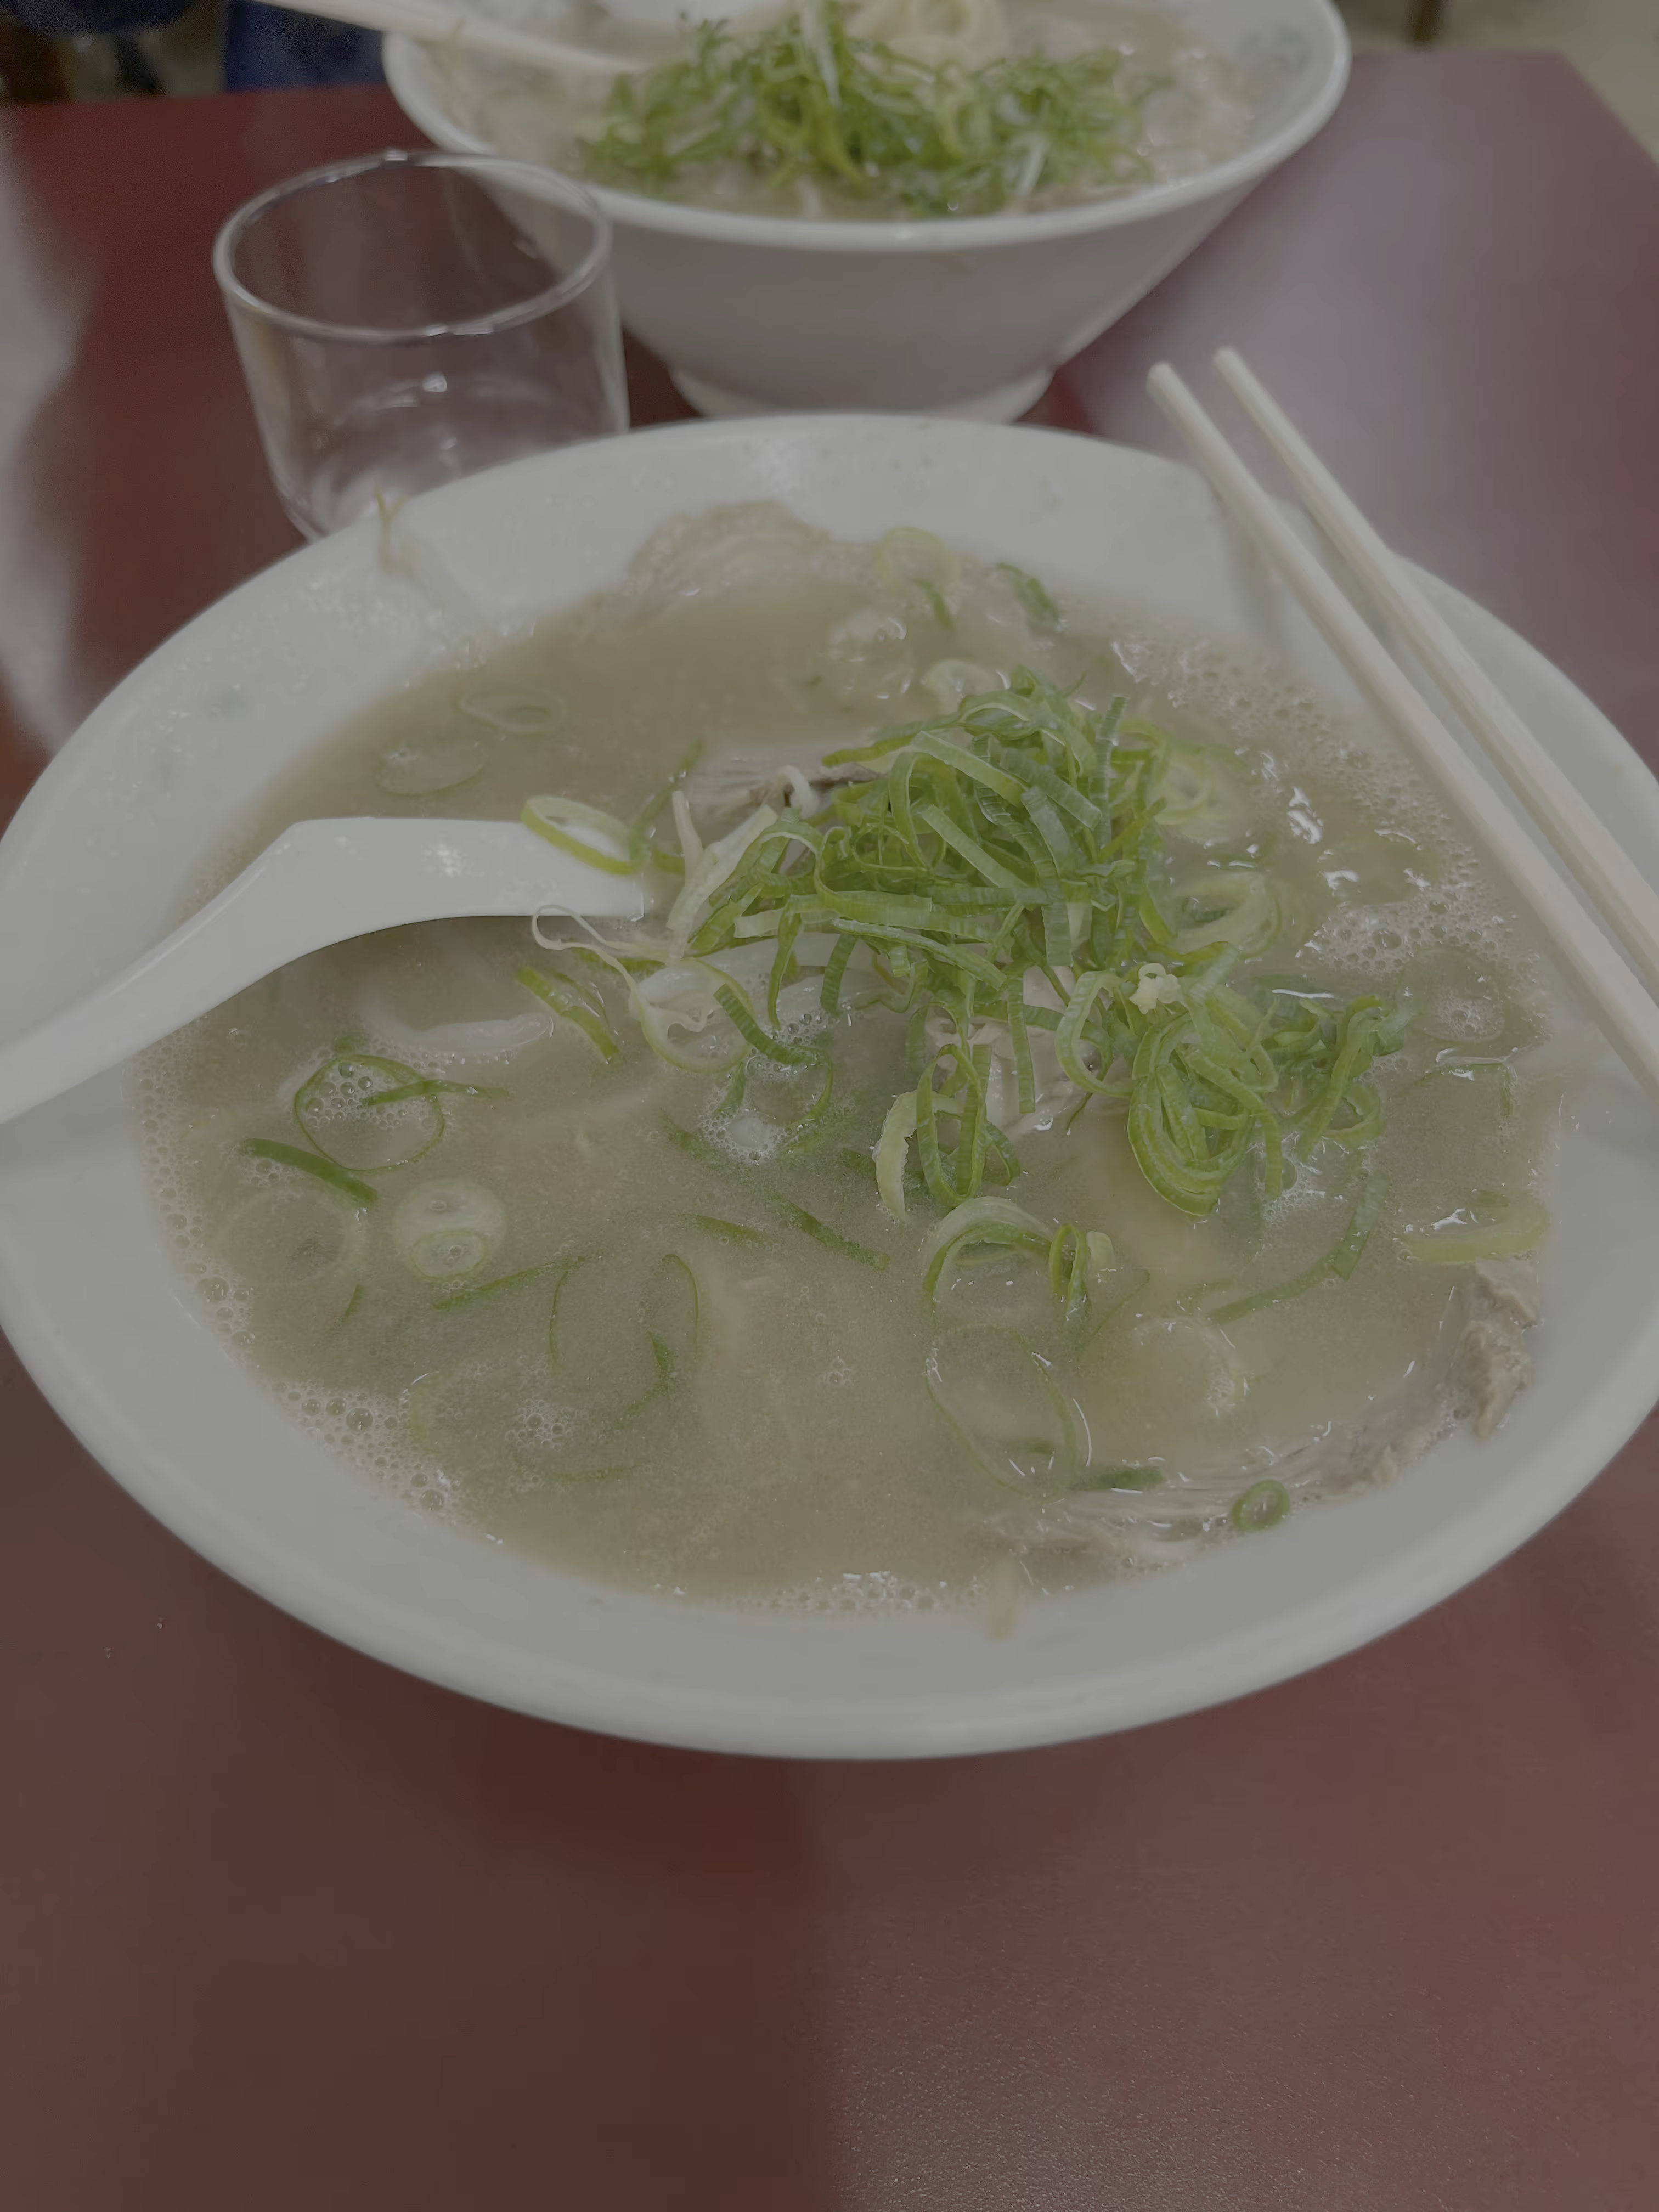
We found a ramen restaurant ( Daikoku Ramen Tofukuji Store) near Tofukuji Station and had a late-night ramen. The taste was decent, and it was very affordable. A basic ramen only cost 500+JPY, and they only accepted cash.
Day 3 Kyoto
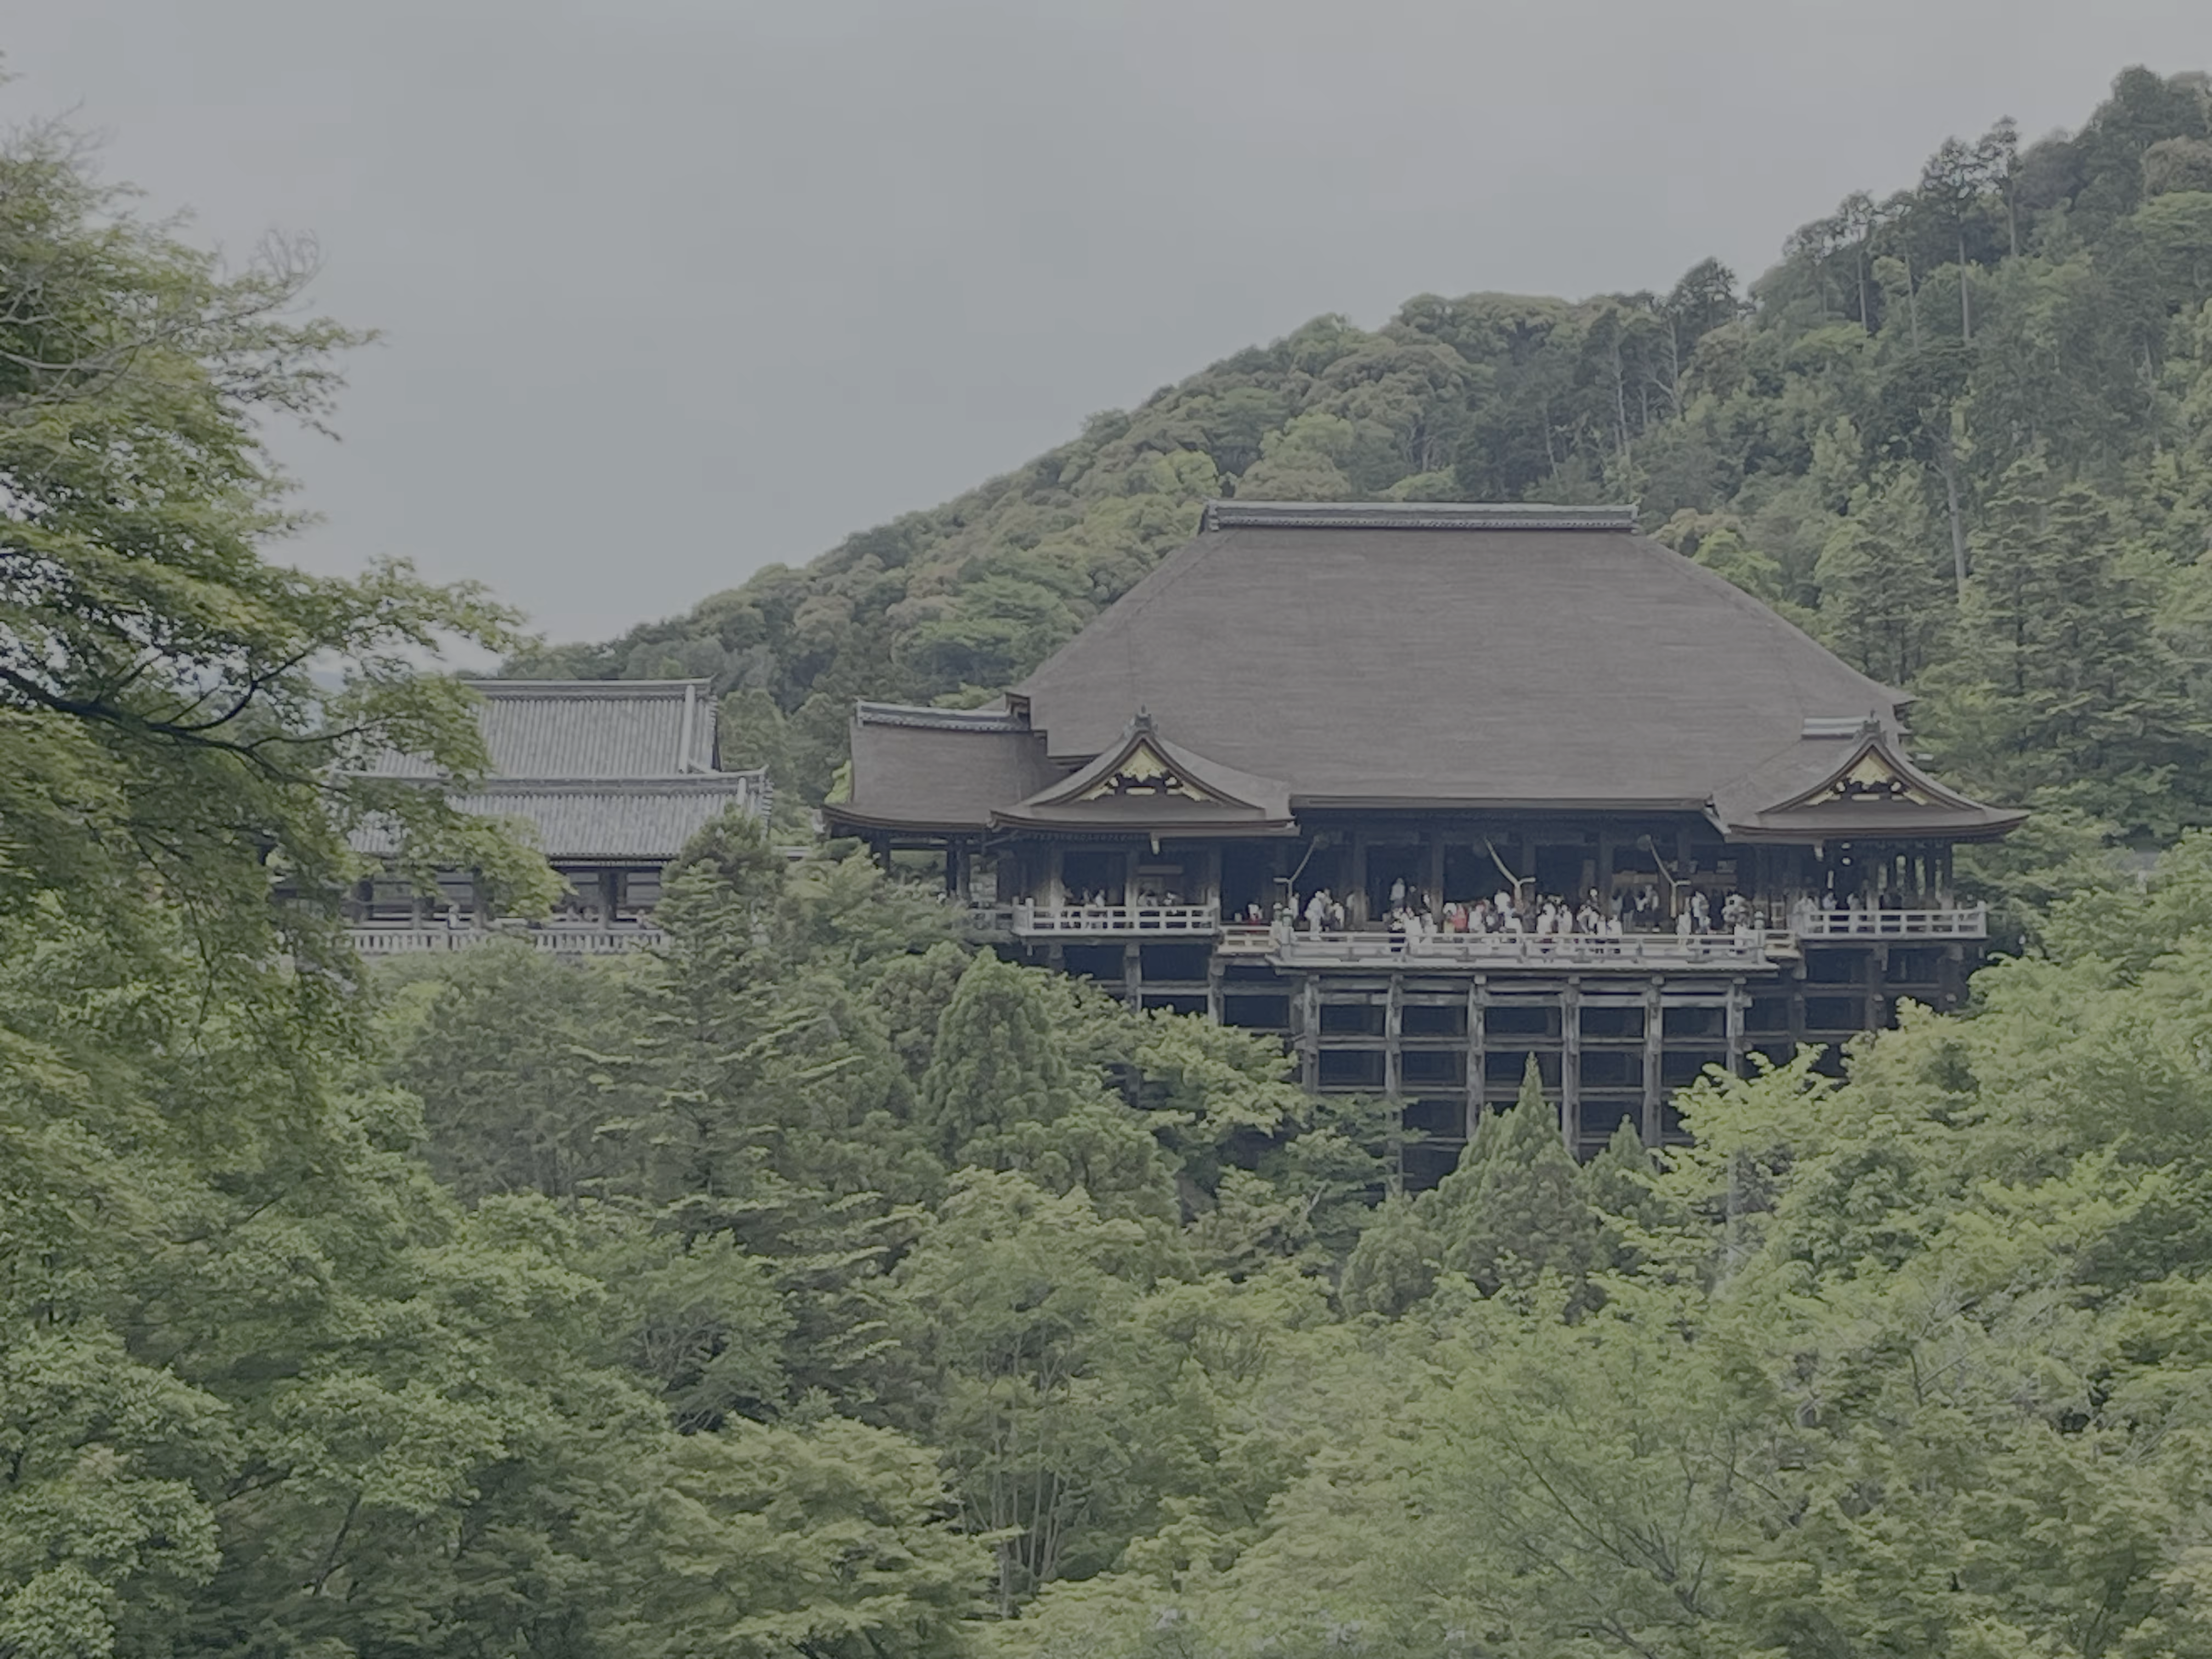
Kiyomizu-dera Temple
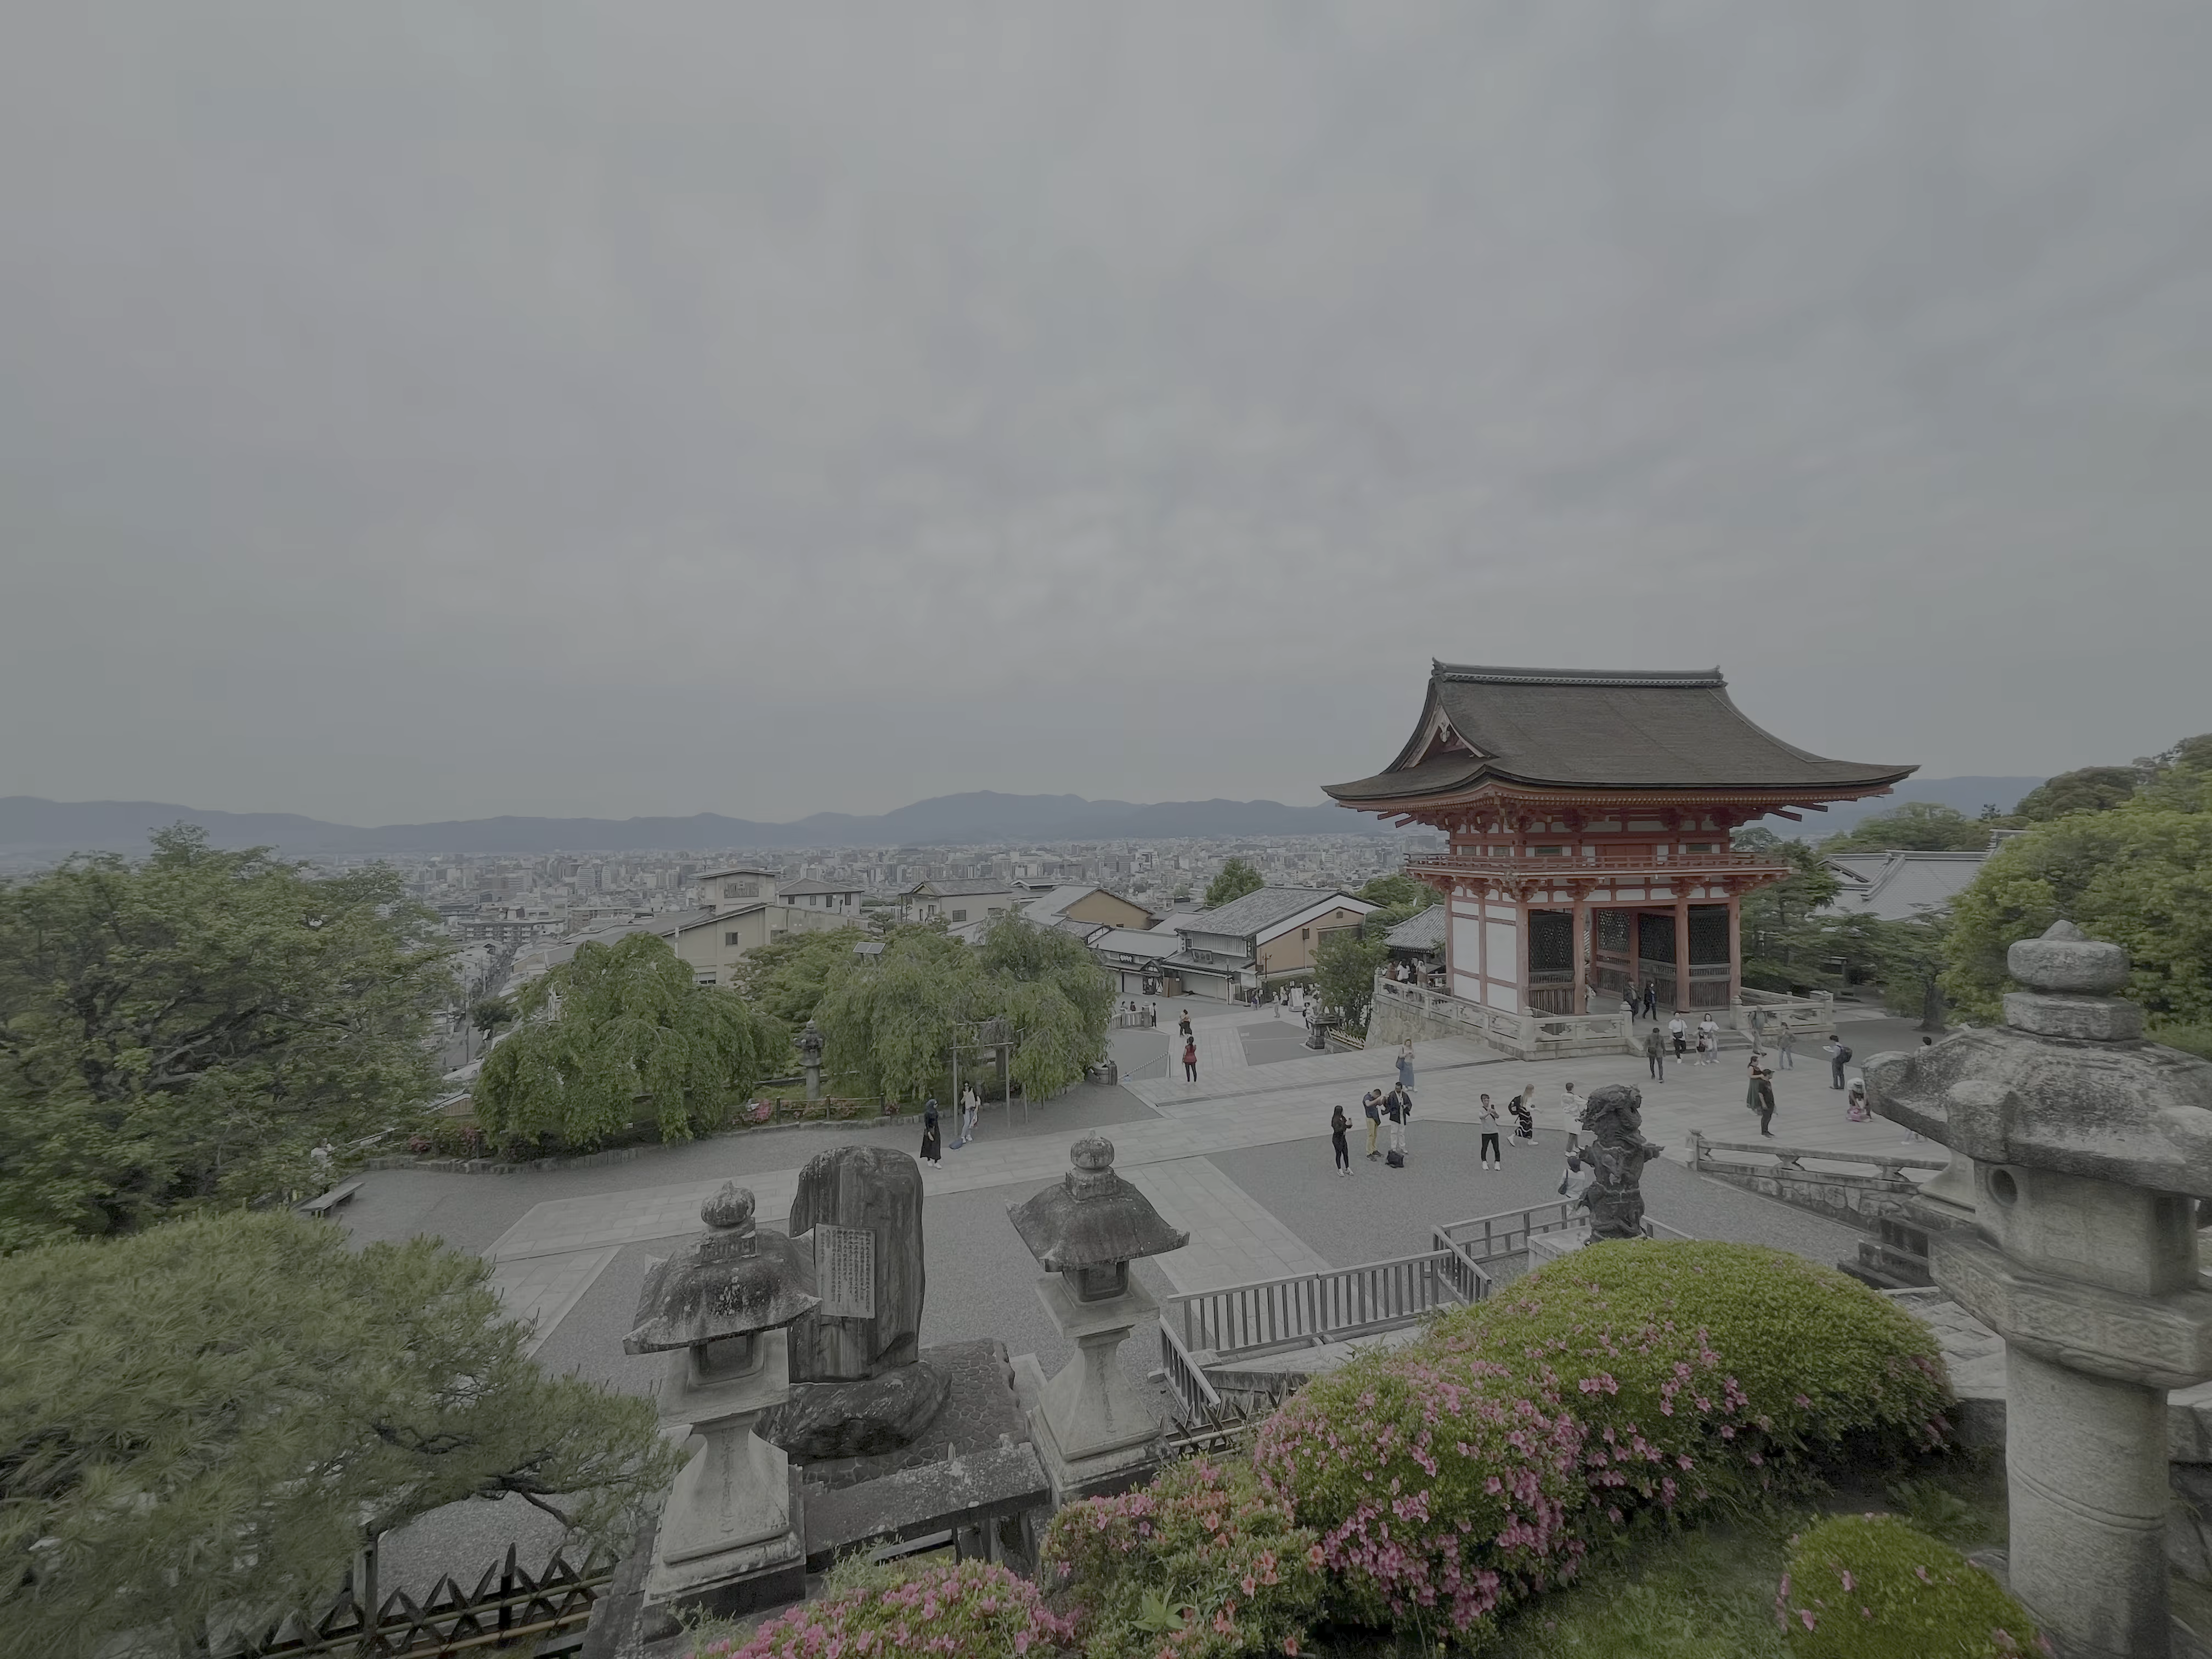
Following a guide on Xiaohongshu, we got an early start (meaning we left at 07:45 and reached the mountain gate by 08:30) and visited Kiyomizu-dera Temple first. The temple was indeed less crowded in the morning, making the experience much better. Entrance to Kiyomizu-dera requires a ticket, which it seems you can only purchase on-site at the ticket office.
Inside the main hall, you can buy charms and draw lots (Japanese lot-drawing is different from Chinese methods. The lot box is opaque, and the drawer shakes the box before a lot falls out of a hole. In contrast, Chinese methods require shaking the box until a lot falls out). After drawing a lot, they will give you a piece of paper, which you can use to check the fortune online.
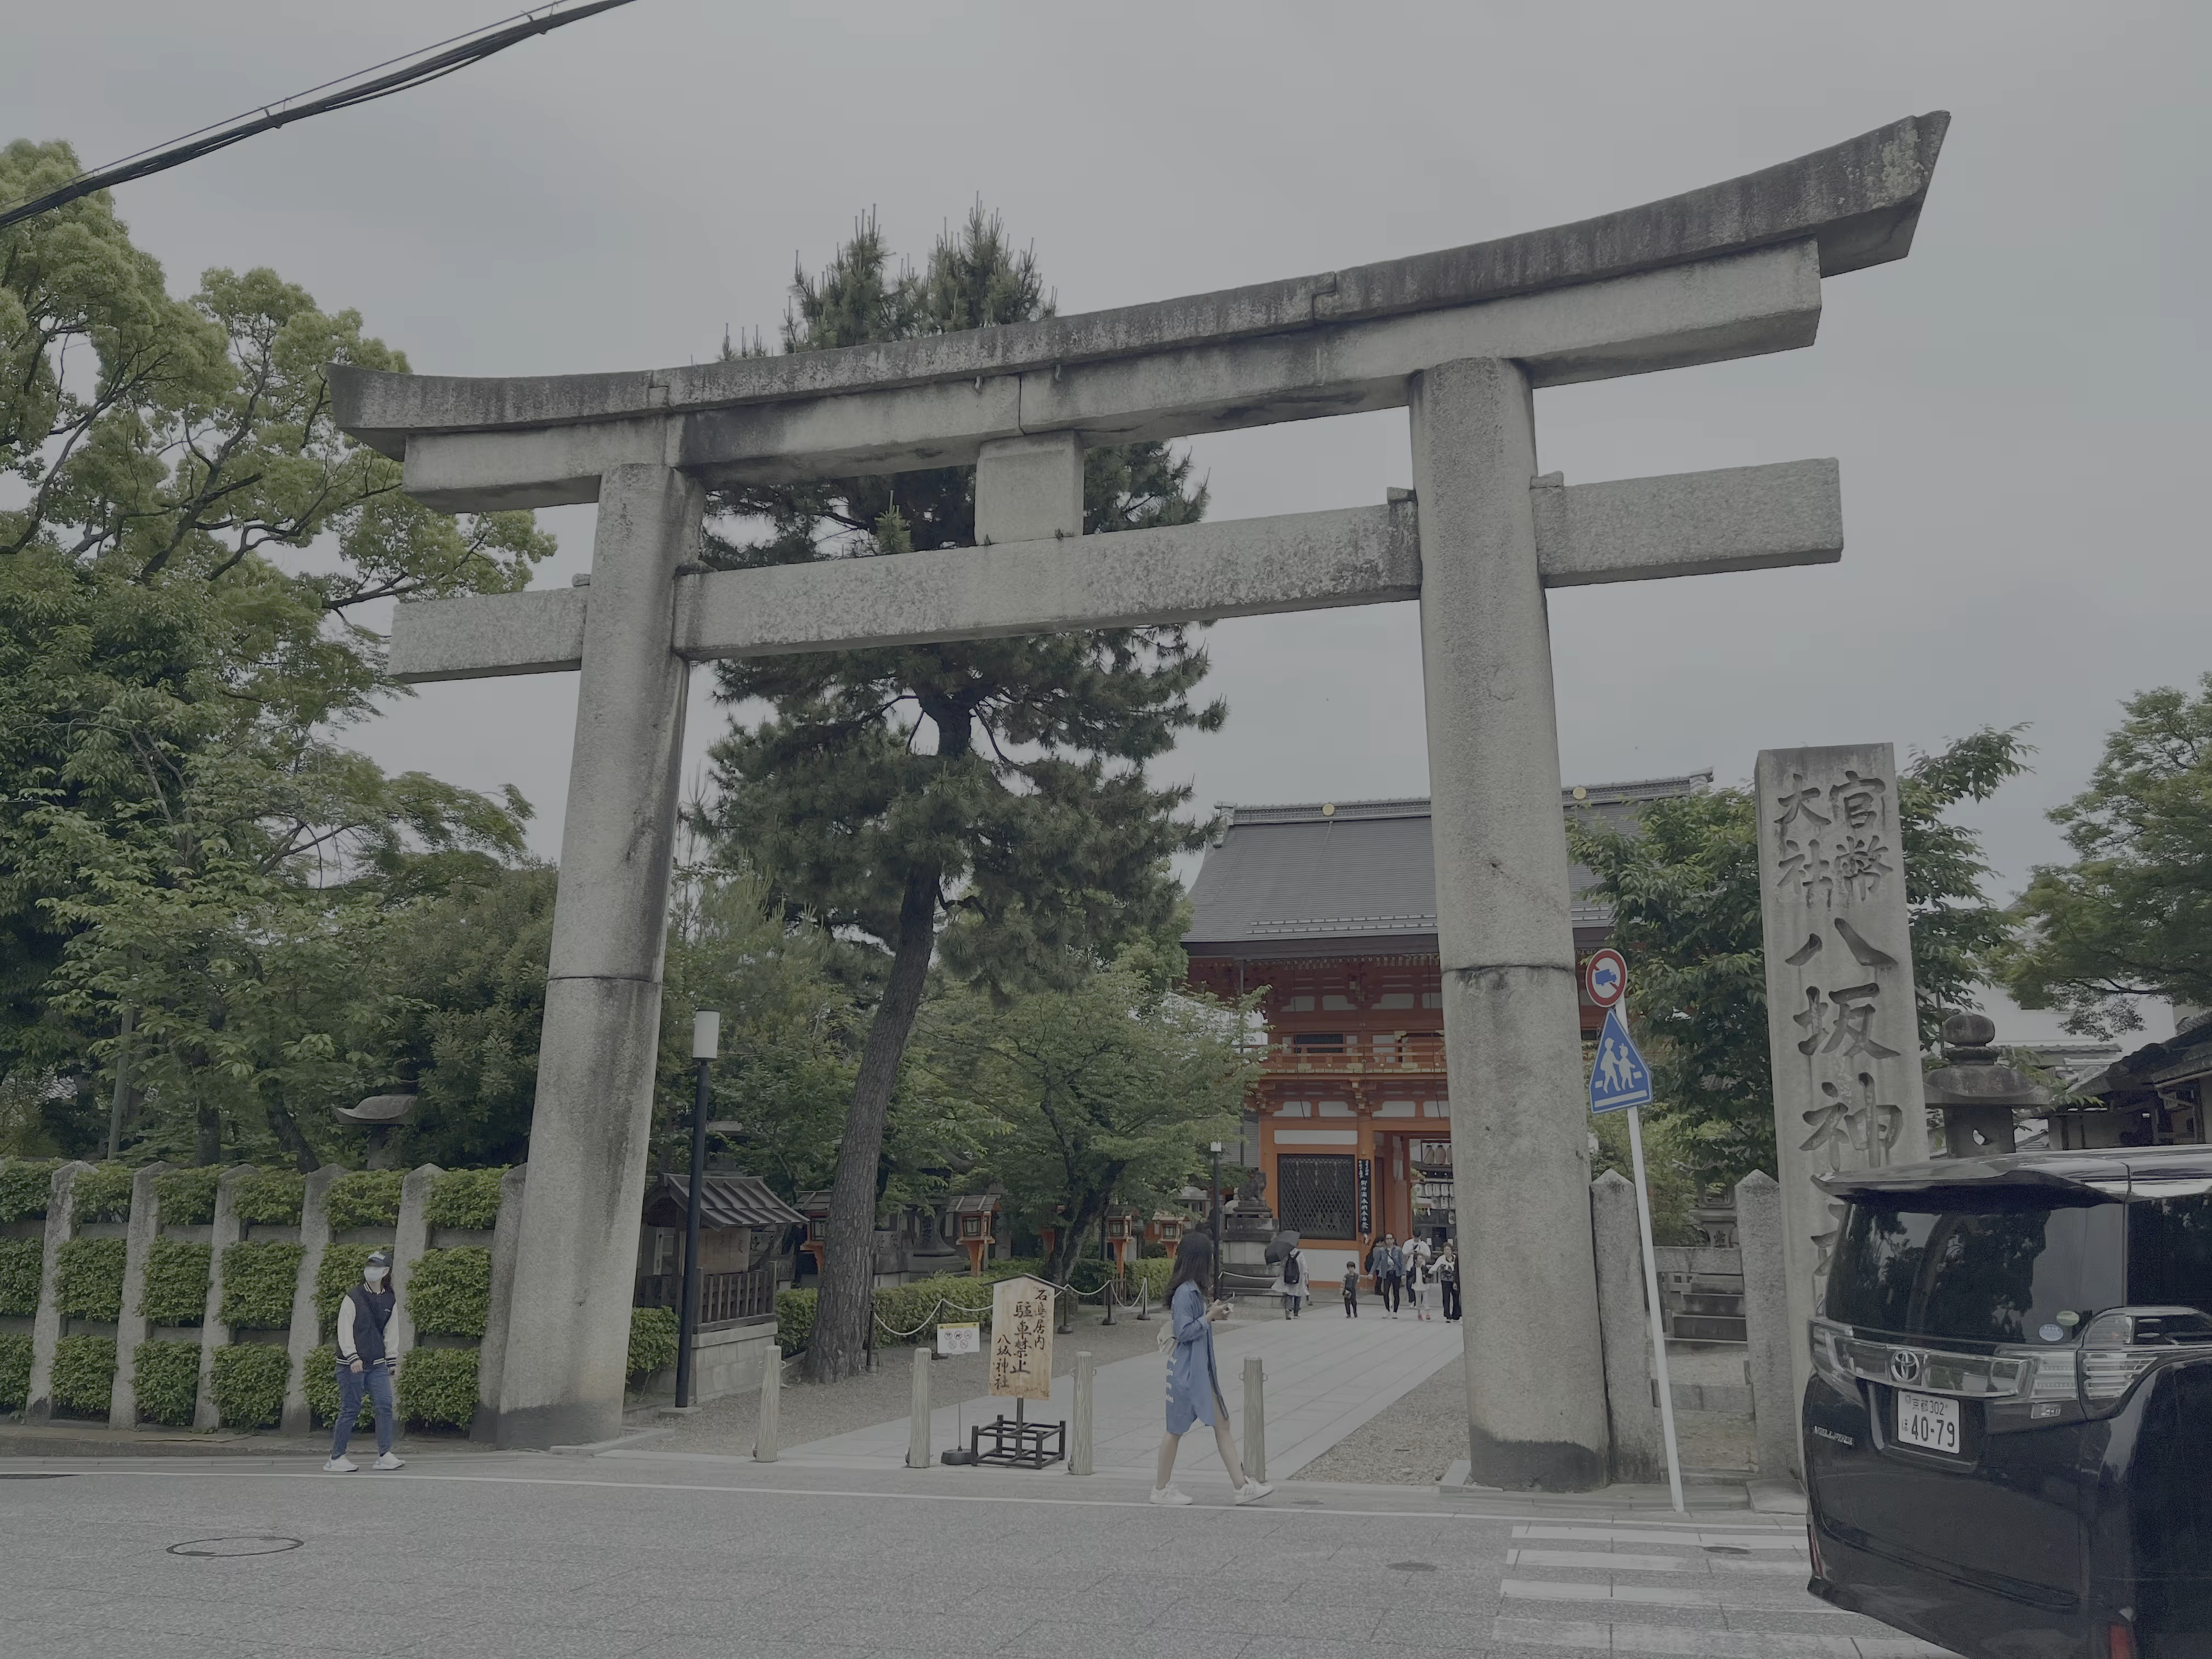
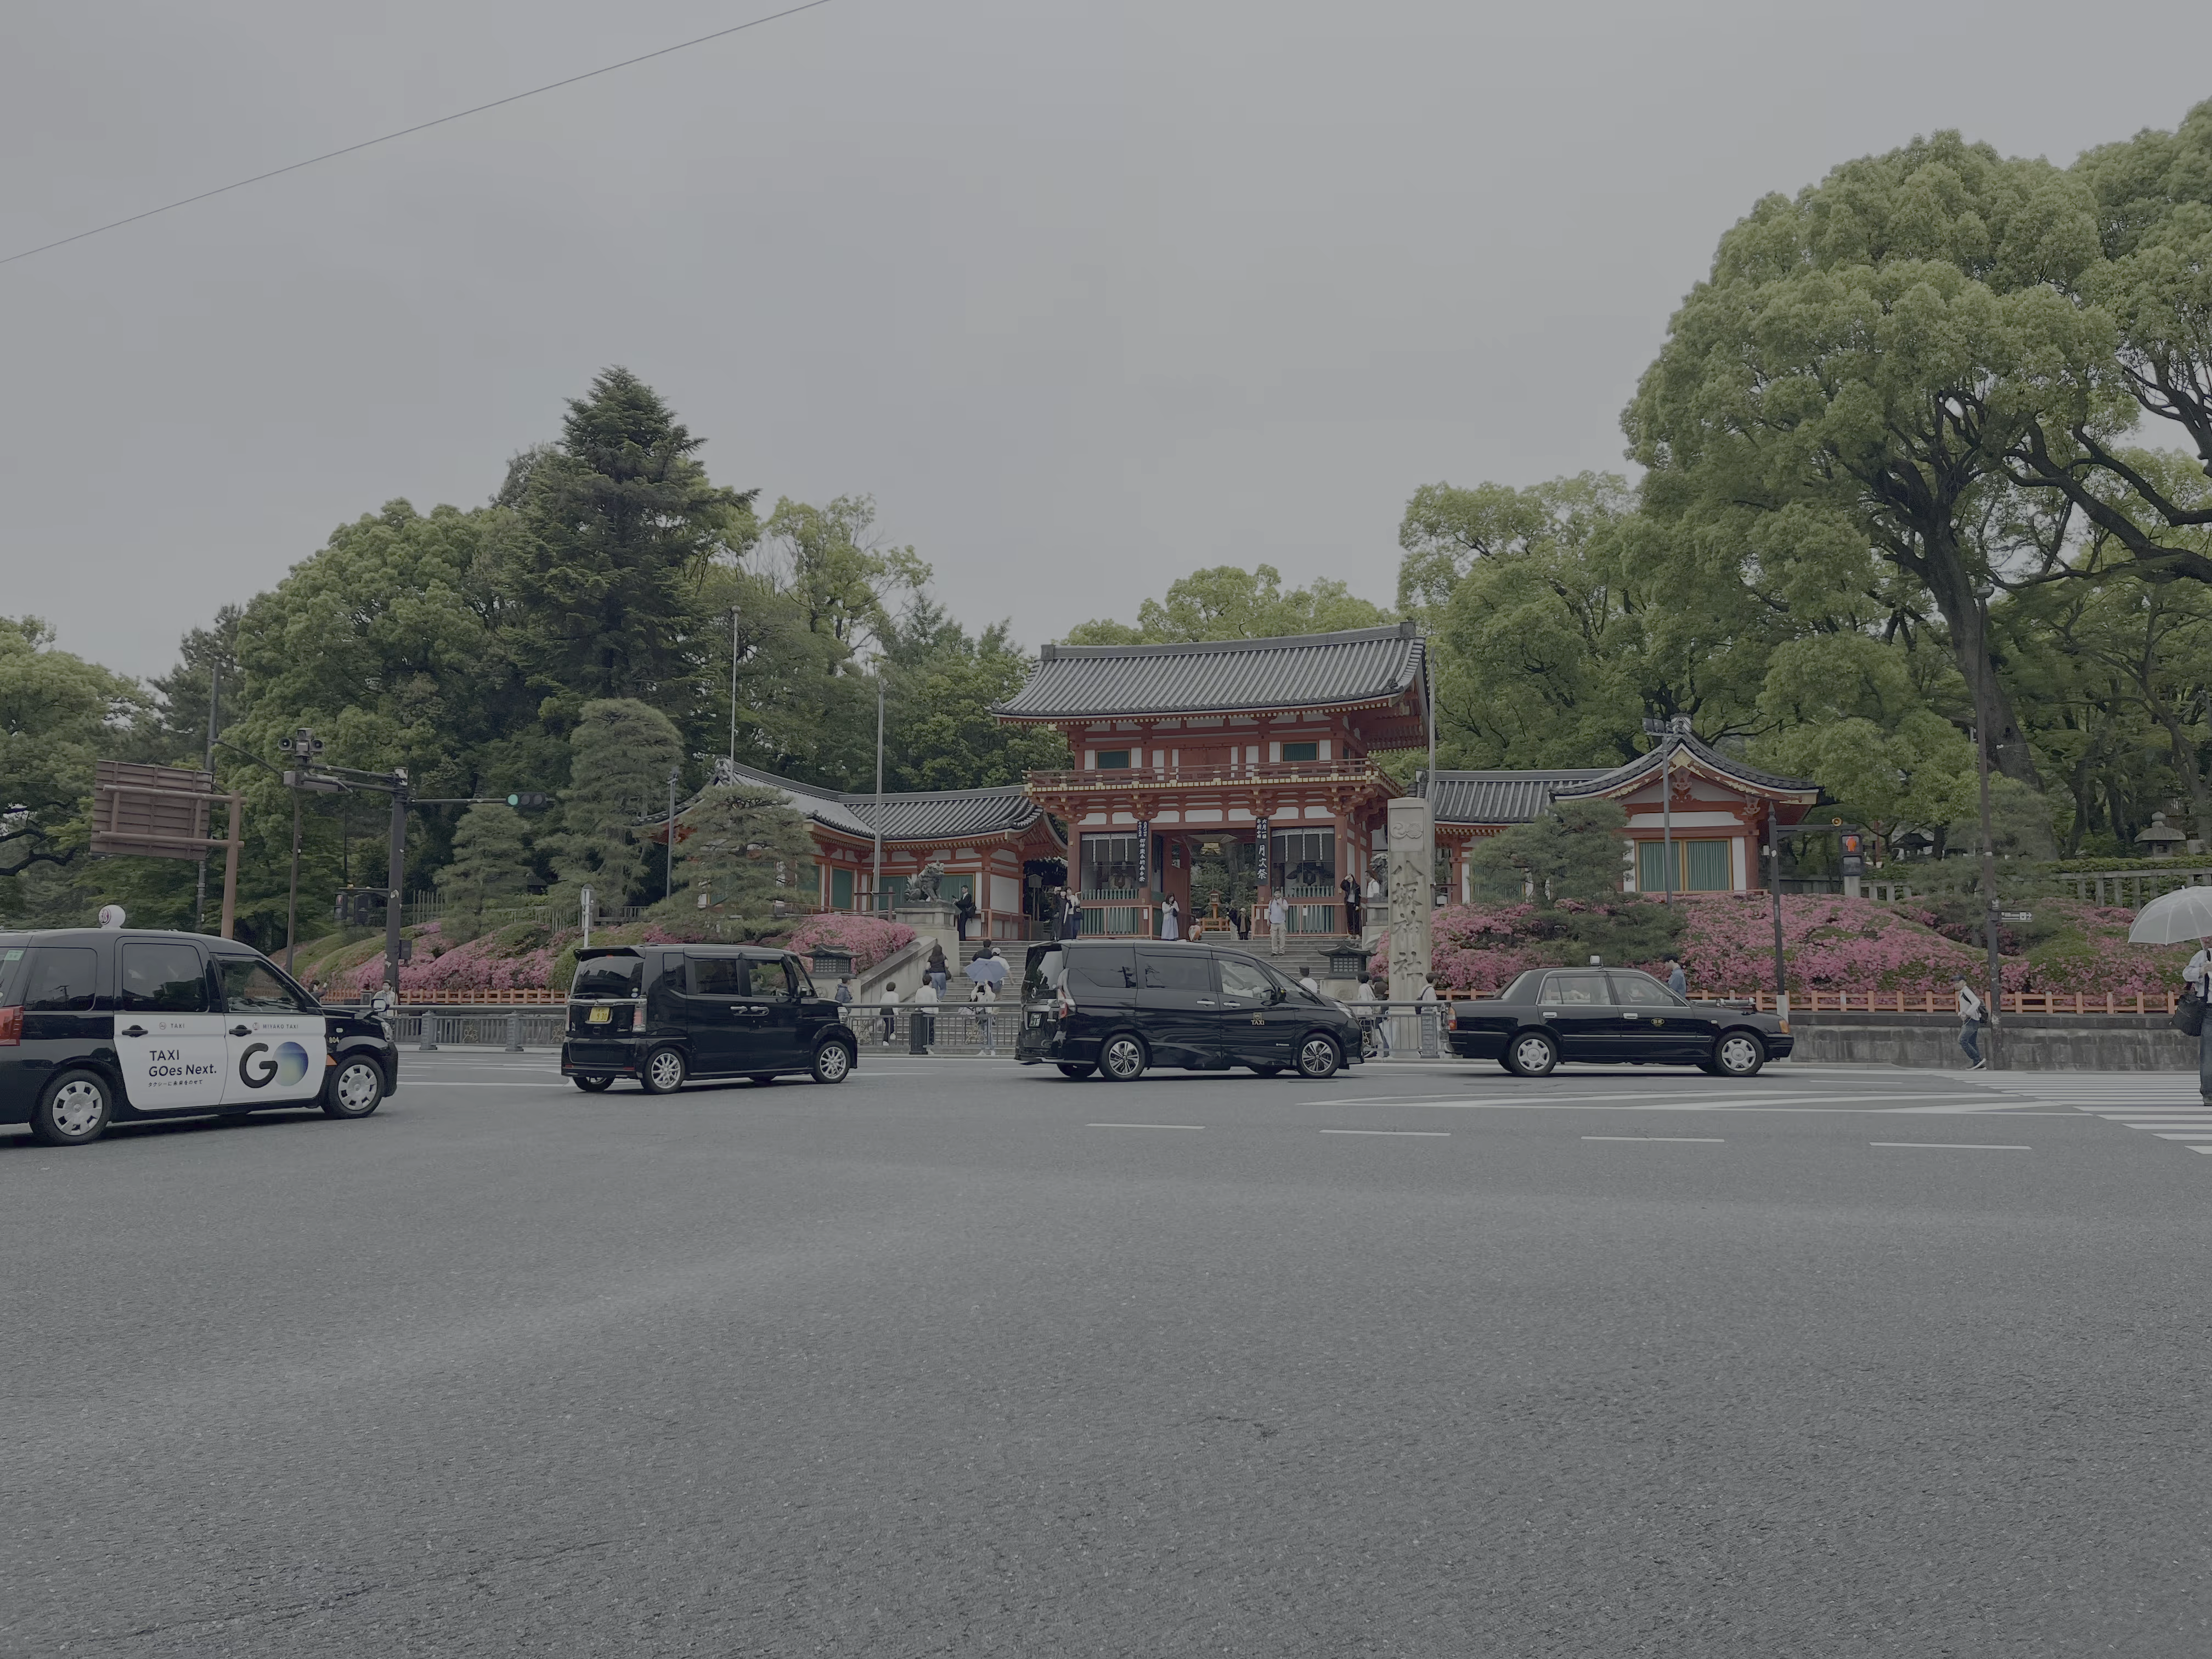
Yasaka Shrine
Fushimi Inari Shrine
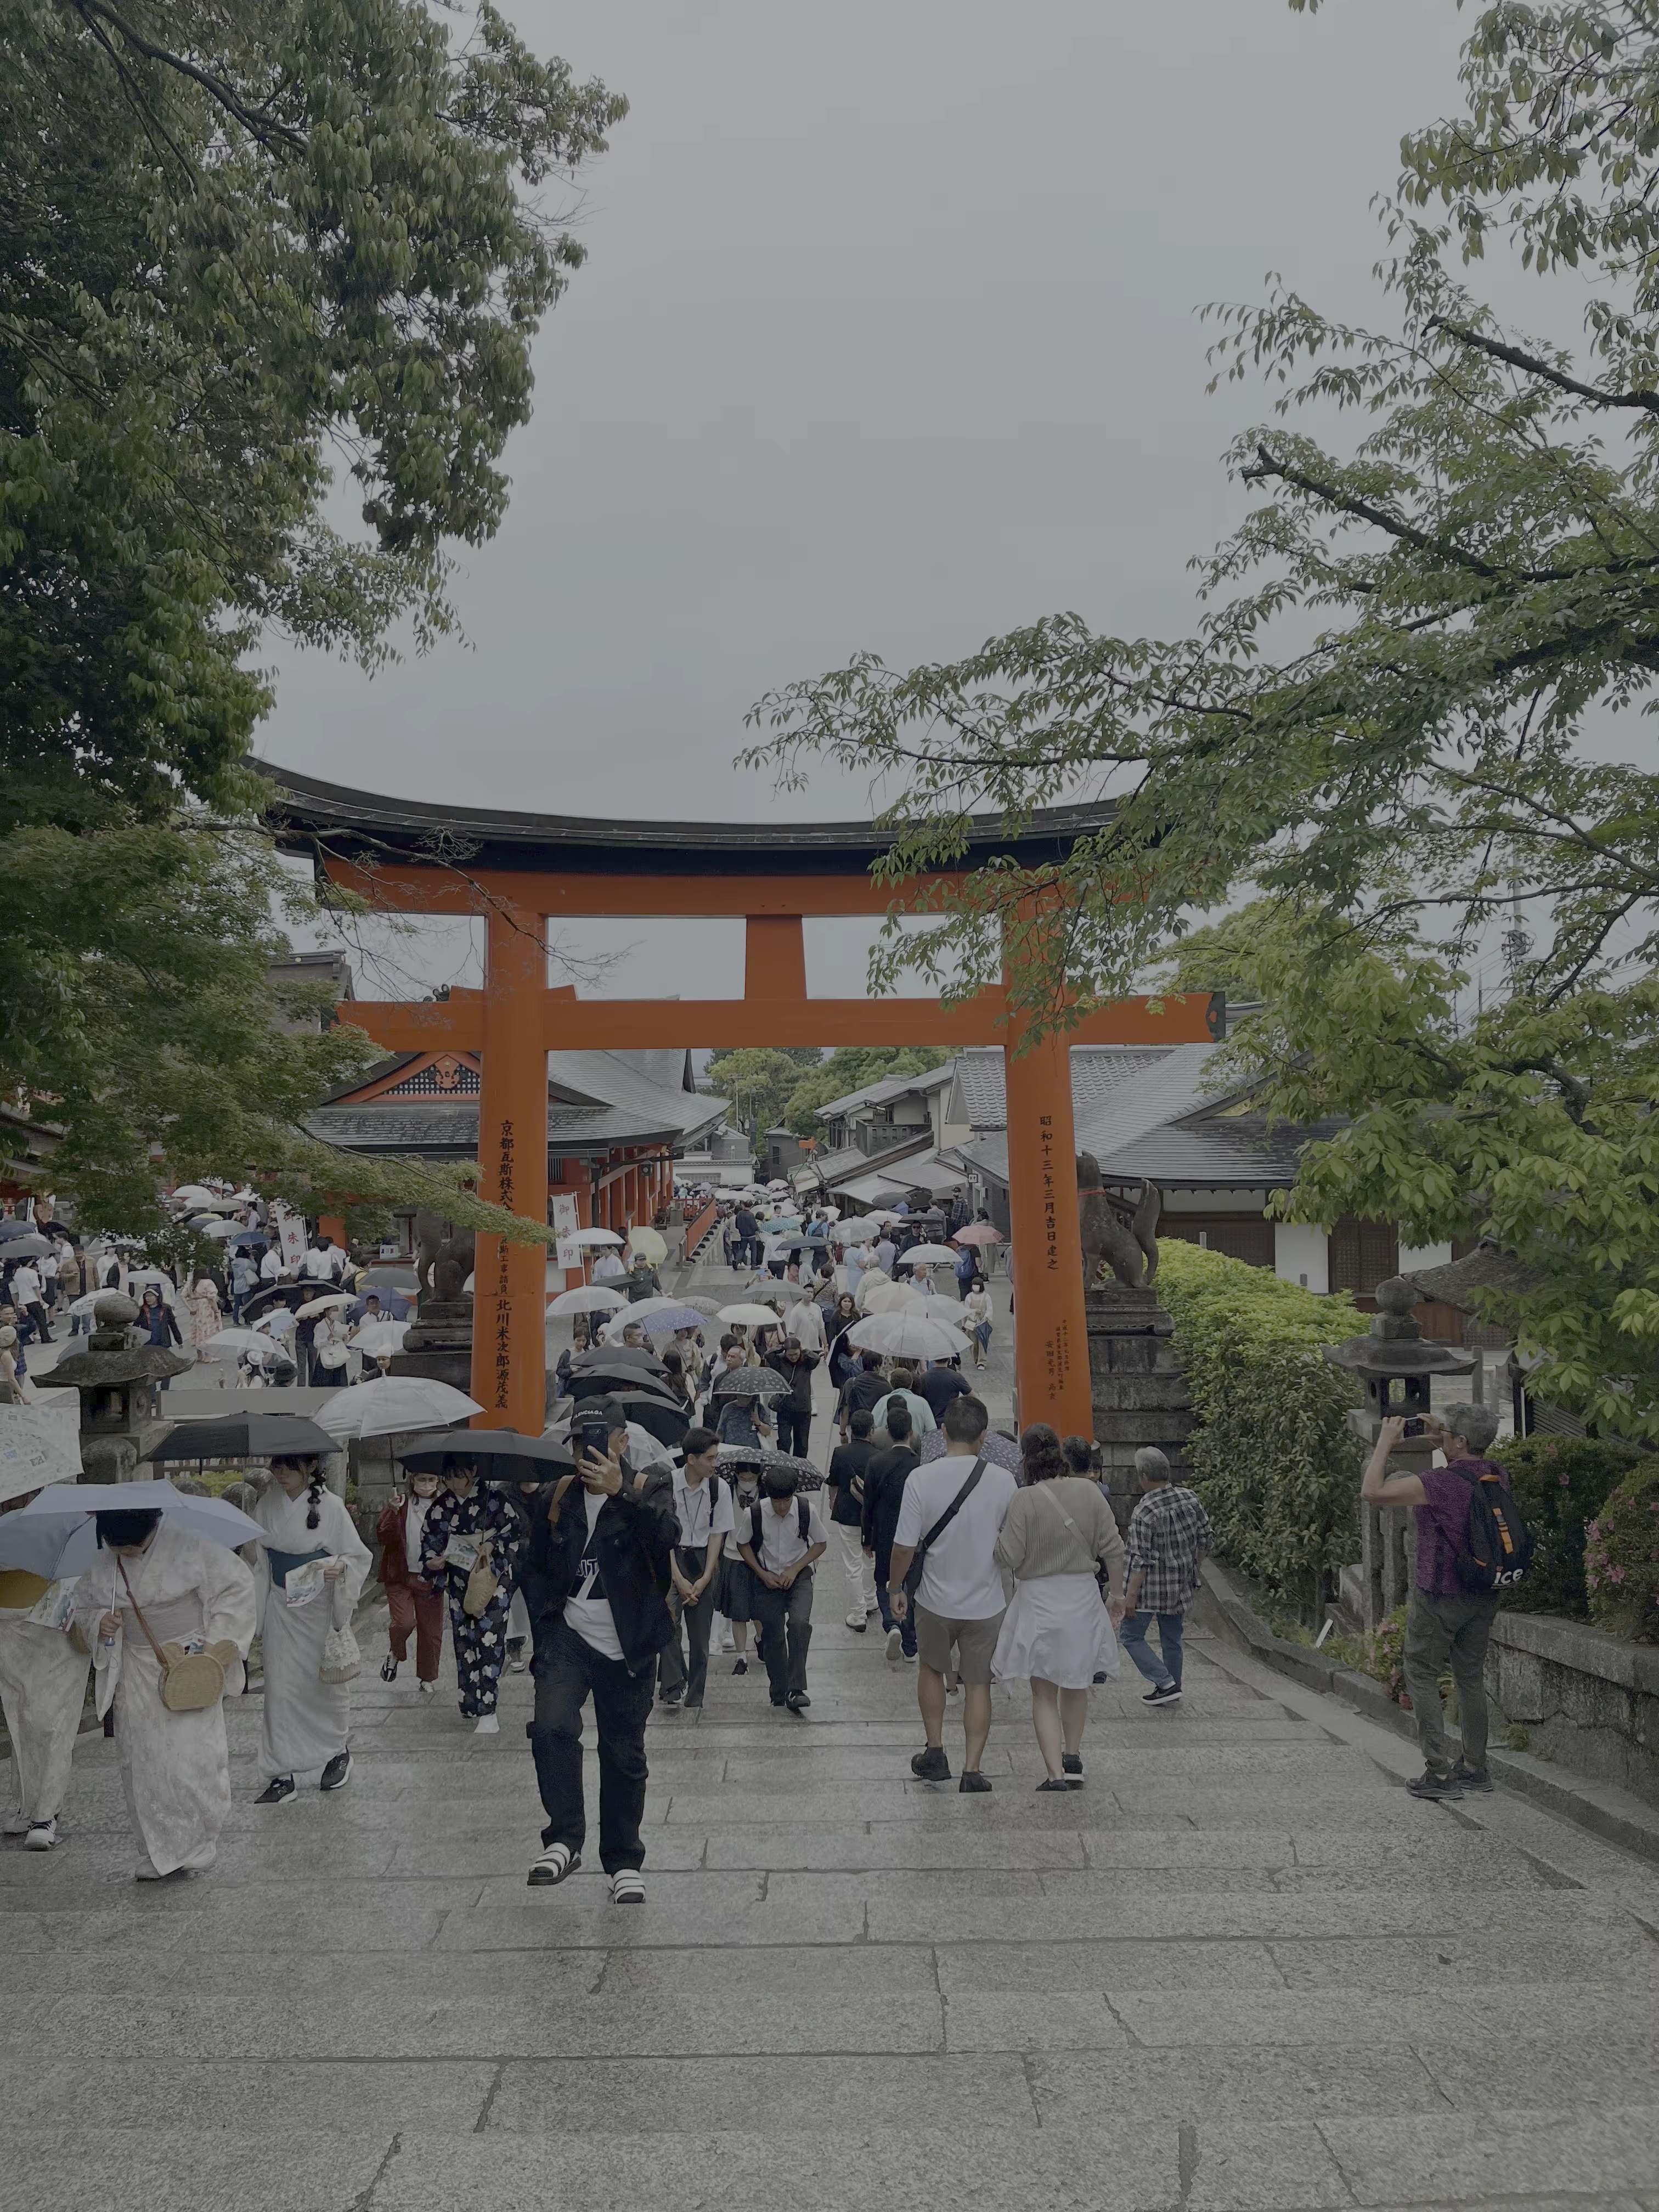
Fushimi Inari Shrine is famous for its thousand torii gates. However, unless you go very early, it will be difficult to capture photos like those in travel books because the path under the torii gates is extremely crowded.
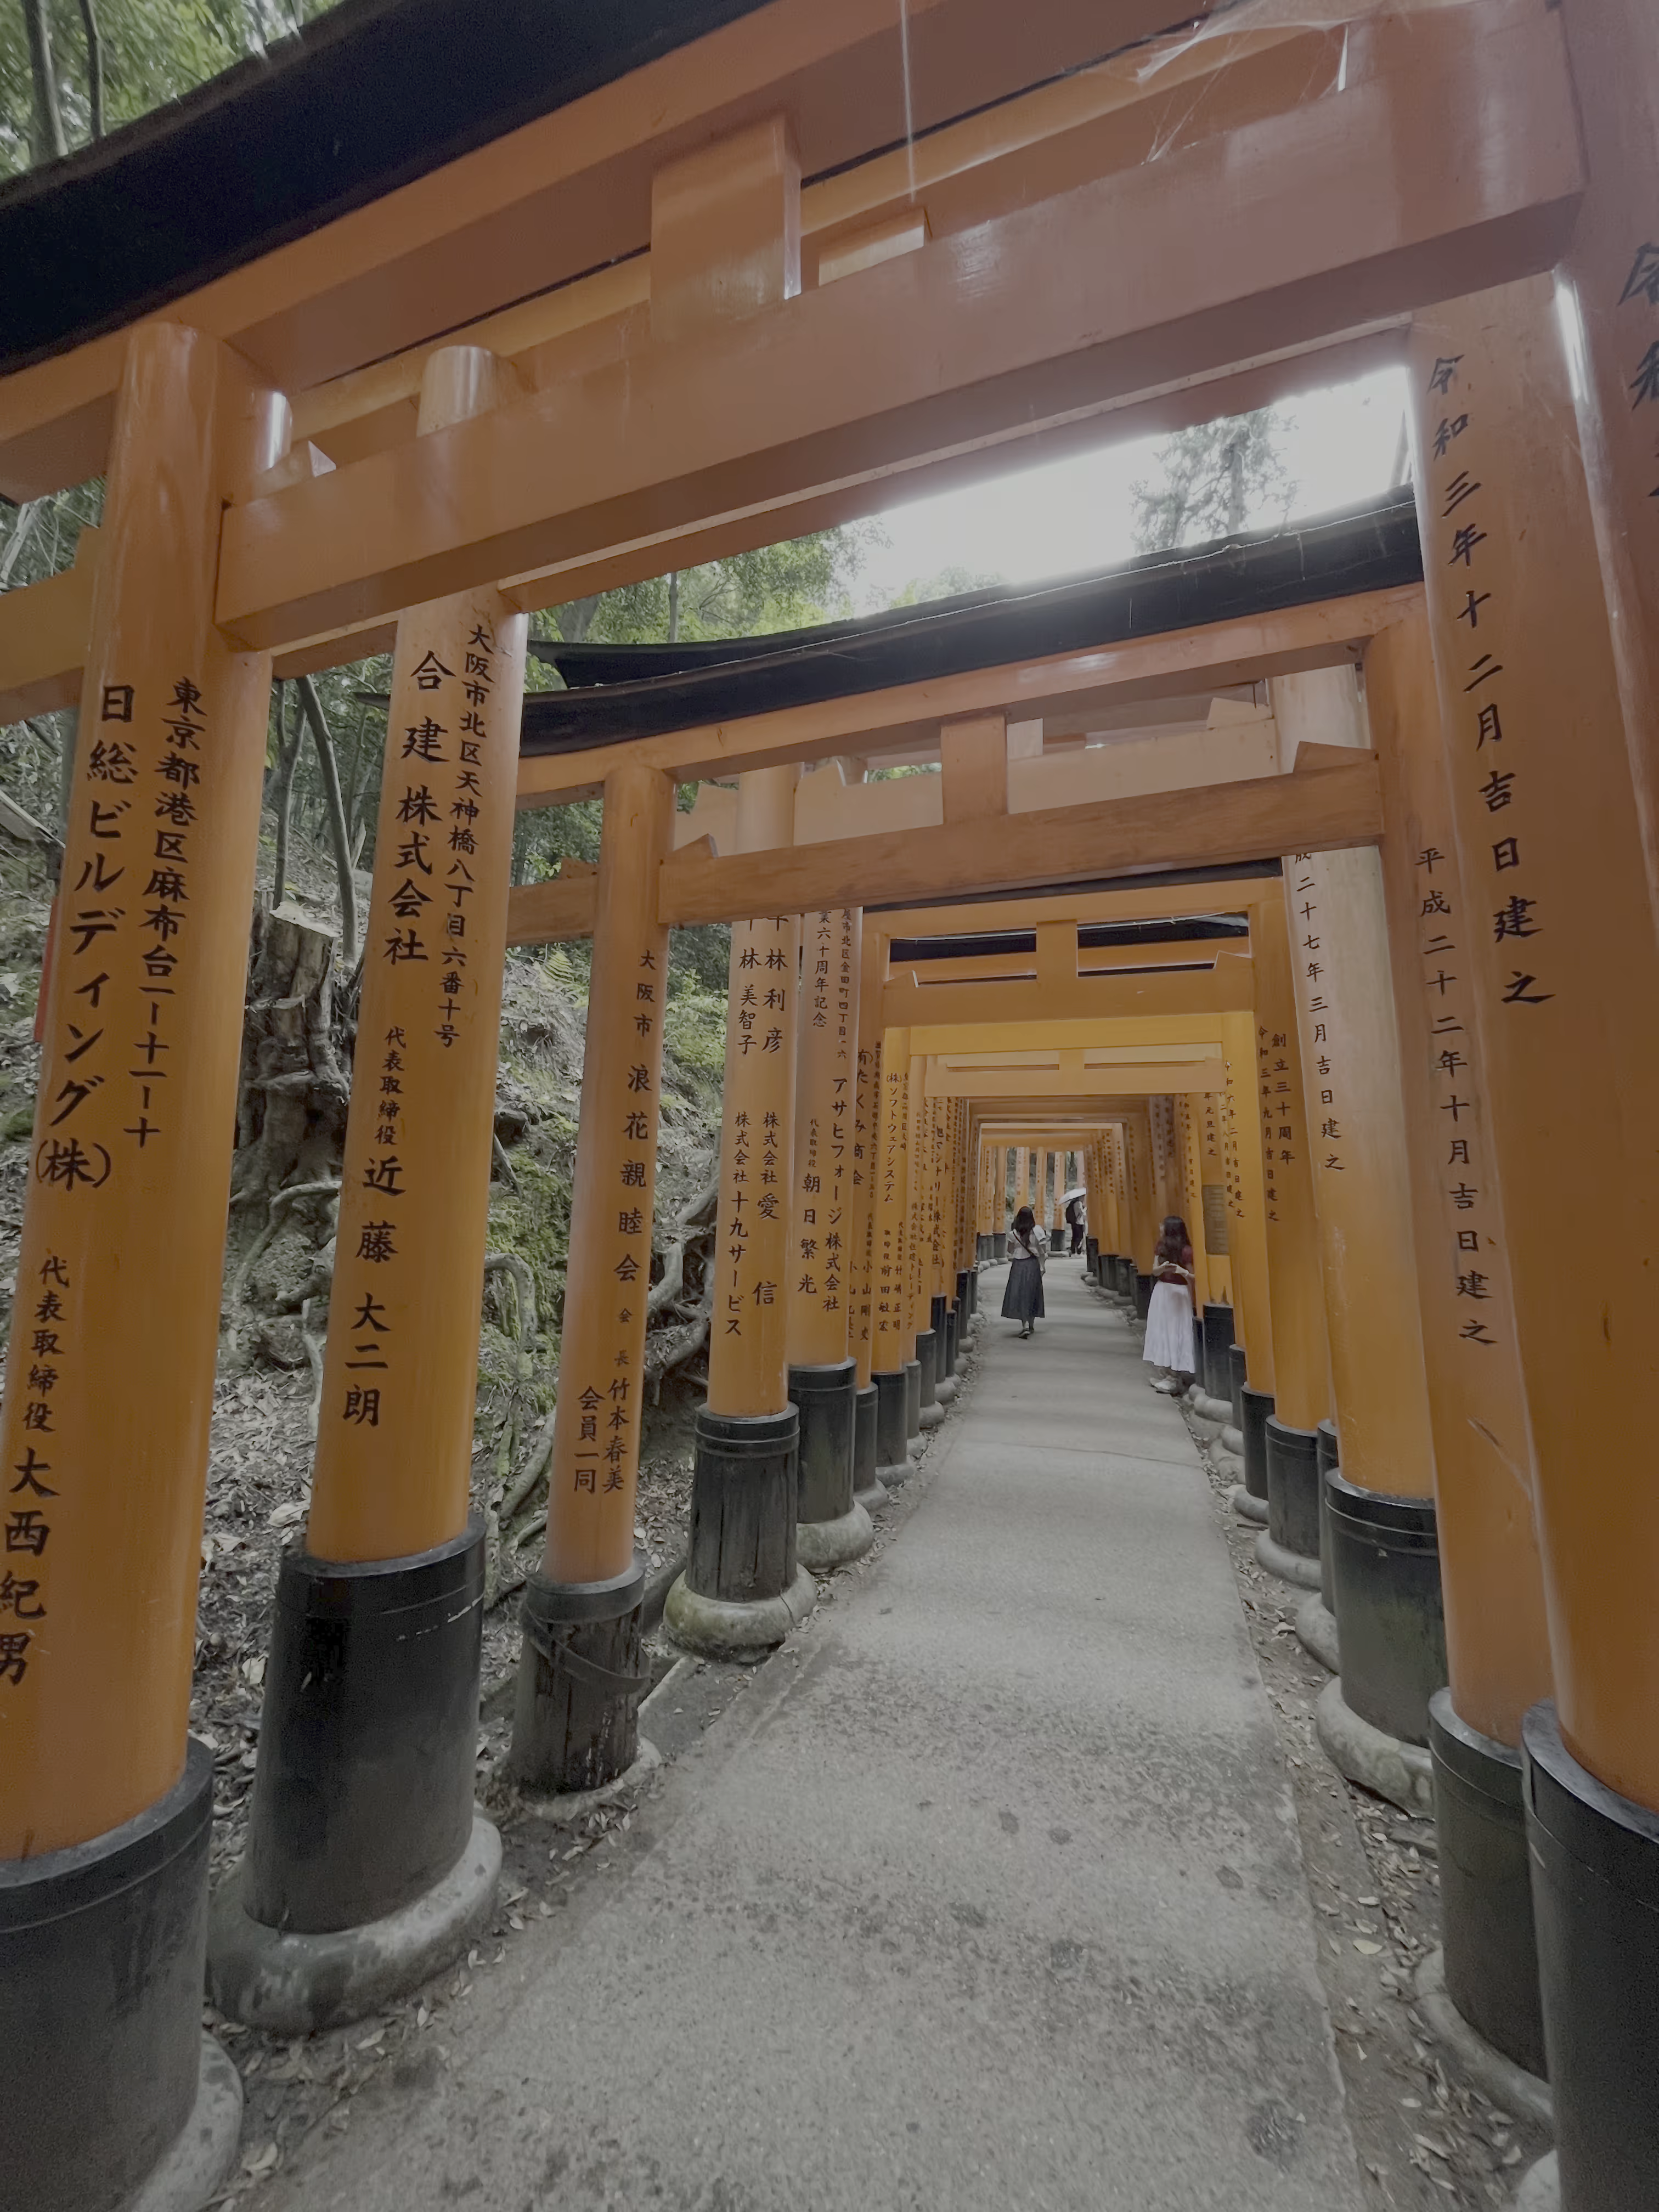
You can also buy charms and draw lots at Fushimi Inari Shrine. It is said that the “lucky” rate of the lots here is higher than at Kiyomizu-dera.
Daytime Snapshots
For lunch, we went to Kaiten-zushi Ginza Onodera Kyoto Store for sushi. This is a conveyor belt sushi restaurant run by a Michelin-starred restaurant (you can consider it a budget version. From my observation, the prices are about double that of Genki Sushi, but it tastes a lot better). The restaurant’s seating is similar to conveyor belt sushi, but customers actually order using tablets at their seats, and the sushi is delivered via conveyor belt. The interesting thing about this restaurant is that you can choose whether to add wasabi to the sushi during preparation, making it taste better than dipping it afterwards. Also, based on Google reviews, it’s recommended to arrive early, as some ingredients may be unavailable later in the day.
Day 4 Return to Hong Kong
In the morning, we took the HARUKA to Kansai Airport as planned and returned to Hong Kong. However, due to a malfunction on another train on the route (apparently someone was hit), the train was delayed by about an hour. Our reserved seats had to be downgraded to the non-reserved section.
Return to Kansai Airport
